5
INSTALLATION
Installation of filter should only be done by qualified, licensed personnel.
Assembly
• Unpack the pump or pump and base and check for transit damage.
• Open the accessory package.
• Install hoses with adapters and clamps provided in the accessory pack-
age. Run one line from the skimmer to the pump suction port and the
other line from the filter outlet to the pool inlet fitting.
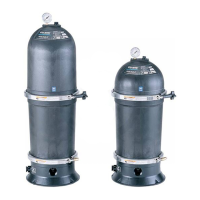
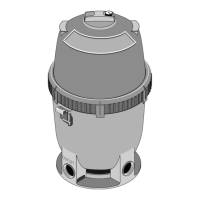
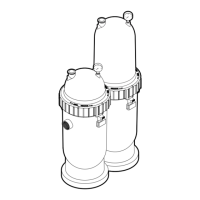
Filter mount must:
• Be solid, level, rigid, vibration free, and provide for adequate drainage.
• Be as close to pool as possible to reduce pressure loss from pipe friction.
• Be protected from excess moisture.
• Provide weather and freezing protection.
• Provide adequate ventilation to prevent motor from overheating.
• Provide space and lighting for easy access for servicing pump and piping
(See Figure 1, Page 4, for space requirements).
• Be installed with the trap suction inlet below the pool water level at all
times (to allow pump to prime).
Piping (See Figure 1B for correct connections):
• Piping must conform to local/state plumbing and sanitary codes.
• Use teflon tape, Plasto-Joint Stik
®1
, or Silastic 732
®
on all male connections
of plastic pipe and fittings. DO NOT use pipe compounds on plastic pipe;
it will cause the pipe to crack. Do not use sealant on unions – assemble
them dry and hand tight.
• Support pipe independently to prevent strains on filter.
• Fittings restrict flow; for best efficiency use fewest possible fittings.
• For ease of maintenance, use Sta-Rite union couplings to connect the pip-
ing to the filter inlet and outlet ports.
• Keep piping tight and free of leaks: pump suction line leaks may cause
trapped air in filter tank or loss of prime at pump; pump discharge line
leaks may show up as dampness or jets of water.
• NOTICE: Overtightening can crack filter ports.
Valves:
• Install valves on both sides of the filter to isolate filter for easy servicing.
NOTICE: Install heater downstream of filter. If heater does not incorporate
a check valve, install one at the heater inlet to prevent hot water from back-
ing up into the filter. Filter modules damaged by excessive heat will void
the warranty.
• A check valve installed ahead of filter inlet will prevent contaminants from
draining back into pool.
Electrical:
• BE SURE filter grounding and bonding meets local and National Electrical
Code standards. All wiring, grounding and bonding of associated equip-
ment must meet local and National Electrical Code Standards.
NOTICE
Make sure that the filter and all
piping can be drained for winteriz-
ing. See “Winterizing”, Page 9.
Head
Body
F
o
reArm
Upper
Arm
Leg Joi
nt
Leg Joint
Leg Joint
Head
Body
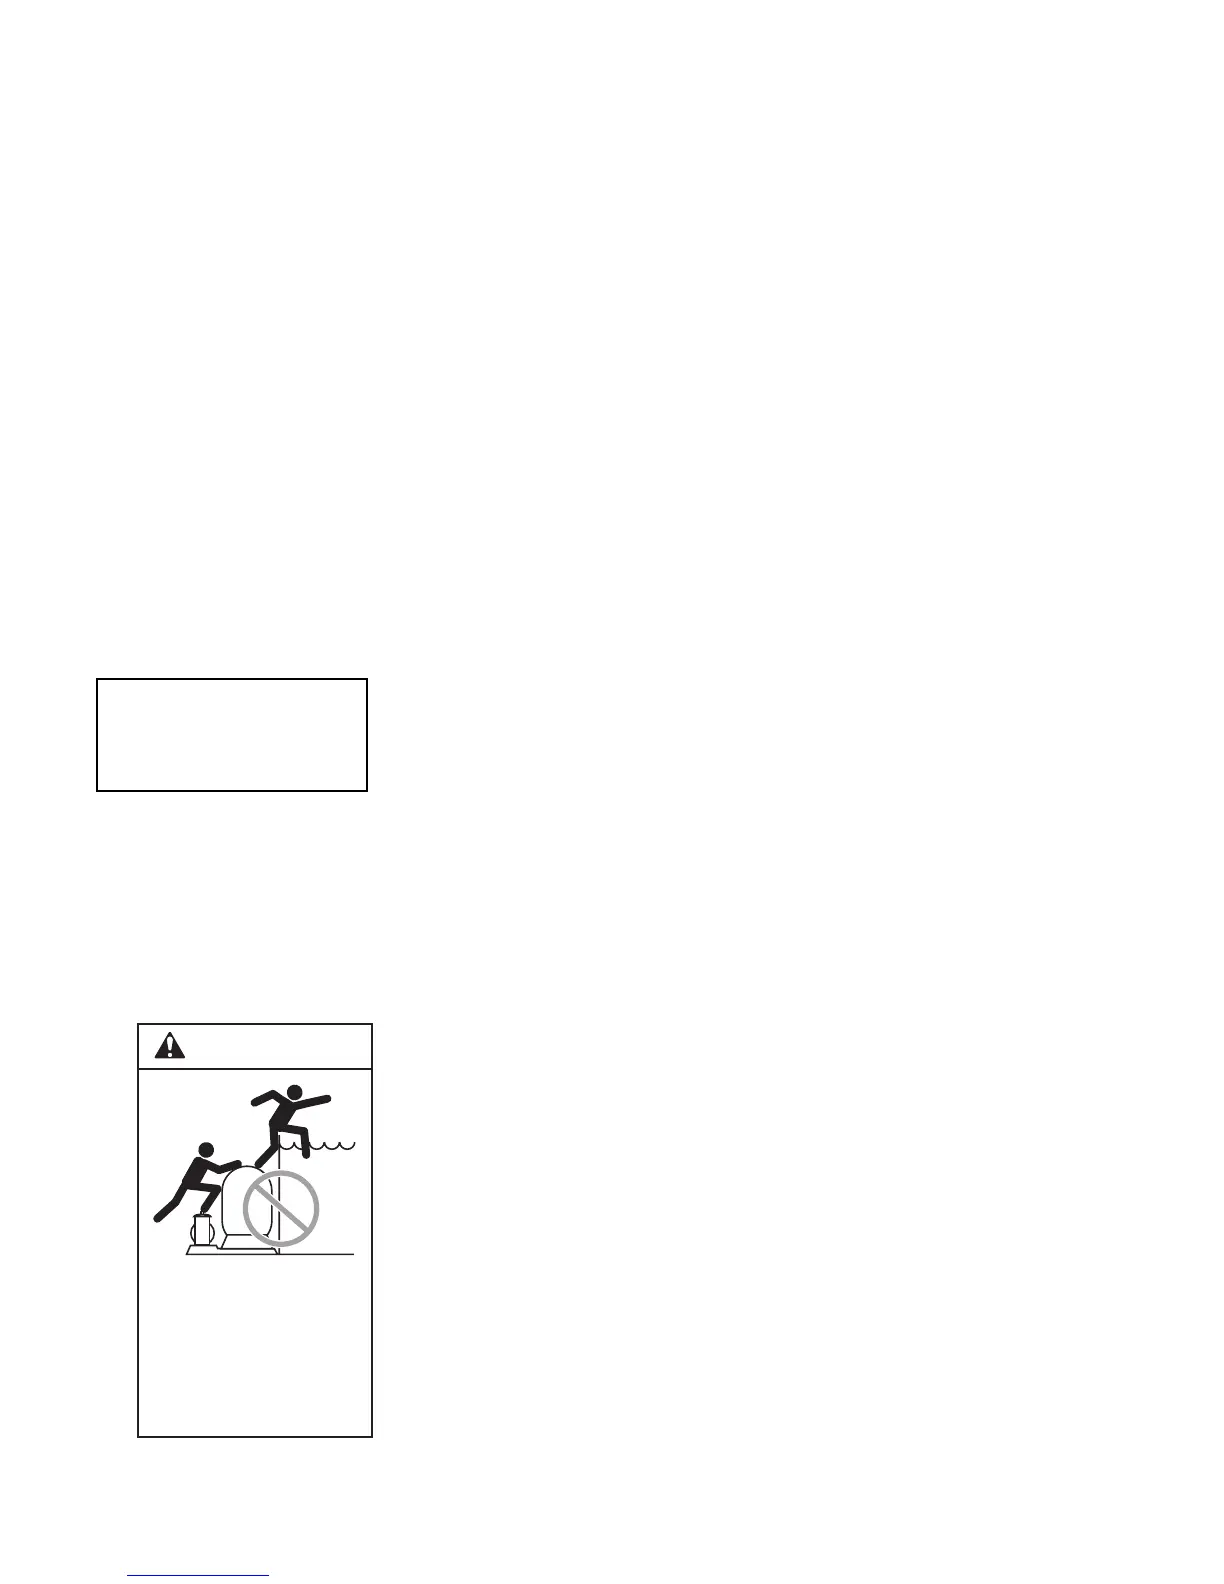
WARNING
Risk of drowning and
falls. Place equipment
at least 4 feet from pool
so that children cannot
climb over it into pool.
sss
Do not allow children
to stand or play on filter
or pump.
Plasto-Joint Stik
®
is a registered trademark of La-Co Industries, Inc. and Silastic 732
®
is a registered
trademark of Dow Corning Corp.