EN
- 33 -
2. Button functions
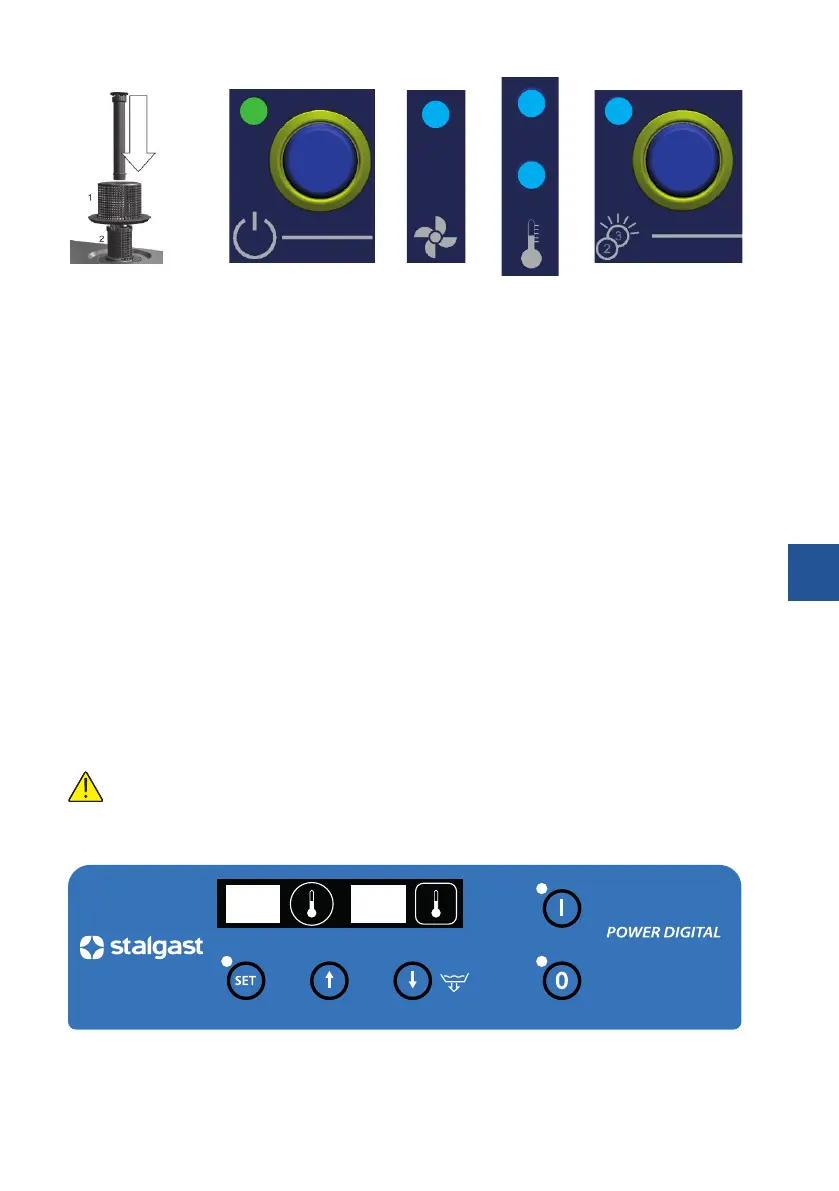
Fig. 6 Fig. 7
On/O
Fig. 8
Wash cycle
Fig. 9
Indicator
light for cham-
ber and boiler
Fig. 10
Selecting program
2 - 120 sec. / 3 - 180 sec.
3. Starting the appliance
Activate the switch placed on the wall and press the On/O (Fig. 7). Then open the hood of the dishwasher,
put the overow plug in place (Fig. 6), put the basket into the chamber and select the program (Fig. 10).
After closing the hood, the appliance will start lling its tank and the boiler with water - the boiler pilot light
will illuminate (Fig. 9). Once the water in the boiler is heated up, the dishwasher chamber starts heating up
the water - a pilot light of the heater compartment light will illuminate (Fig. 9). The washing cycle will start
automatically - the indicator light will illuminate (Fig. 8). If you open the door during the wash cycle, the pro-
gram stops automatically. After closing the door, the program continues the wash cycle. After completing
the program, the wash cycle indicator light turns o (Figure 8). Remove the basket from the chamber of the
appliance. Note! Each operation that involves closing the hood starts a new dishwashing cycle.
4. Emptying the tank in models equipped with a drain pump
Switch o the appliance by pressing the On/O switch (Fig. 7), then open the hood of the appliance, remo-
ve the overow plug (g. 6) and close the hood. The drainage process begins automatically and continues
until the tank is completely emptied of water. In order to activate the appliance place the overow plug back
in its place, close the hood of the appliance, and then press the power button. However, if the appliance is
not already in use, turn o the main switch.
5. Emptying the tank in models not equipped with a drain pump
Switch o the appliance by pressing the On/O switch (Fig. 7), then open the hood of the appliance, remo-
ve the overow plug (g. 6) and wait until the water leaks from the tank completely. Place the overow plug
back in its place, close the hood of the appliance.
In the event of ending work with the appliance, after performing the above, it is mandatory to switch
o the device by pressing the switch and then turning o the main switch and close the water tap.
6.4. WASHING PROCEDURES (803035, 803036, 803037)
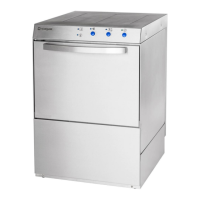
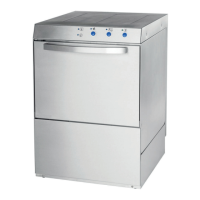
1. Control panel