Do you have a question about the Standard Horizon CP300I and is the answer not in the manual?
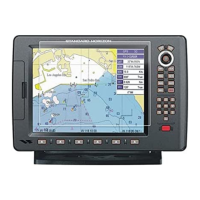
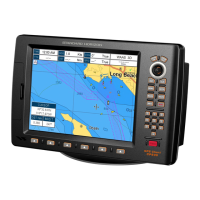
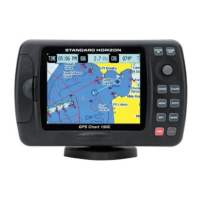
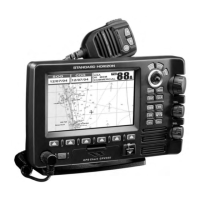
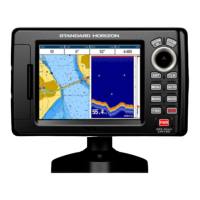
Overview of the GPS Chart Plotter features and specifications.
List of items included in the product package.
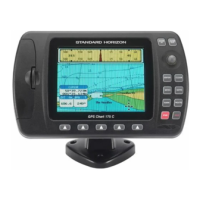
Specific contents of the CP180/CP180i package.
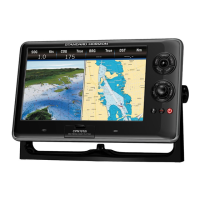
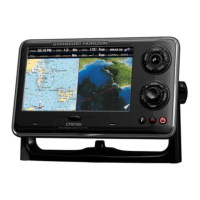
Specific contents of the CP300/CP300i package.
List of additional compatible accessories.
Instructions for physical installation of the unit.
Procedure for using the swivel mounting bracket.
Steps for recessing the unit into a panel.
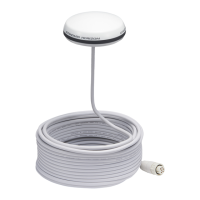
Guide for installing the external GPS antenna.
Details on connecting power, antennas, and external devices.
Pinouts and examples for CP180/CP180i.
Pinouts and examples for CP300/CP300i.
Wiring diagrams for CP180/CP180i.
Wiring diagrams for CP300/CP300i.
Instructions for connecting the power source.
Connecting NMEA devices for data exchange.
Sharing GPS data with VHF radios.
Connecting an optional fish finder.
Information on compatible radar antennas.
Connecting to a PC for data transfer.
Viewing NMEA data on the display.
Displaying video input on CP300/CP300i.
Connecting a video camera.
Connecting VCR/DVD players.
Special mode for demonstrations.
Overview of the device's buttons, keys, and their functions.
Explanation of customizable soft keys on CP300/CP300i.
Initial operations and customization guidance.
Turning the device on/off and using the ShuttlePoint knob.
Understanding the difference between cursor and home modes.
Adjusting cursor and menu navigation speed.
Customizing the vessel's icon on the chart.
Adjusting screen brightness and contrast settings.
Setting chart orientation to North Up or Course Up.
Setting and adjusting the device's time automatically.
Changing the coordinate system display format.
Customizing the color scheme of the chart display.
Changing the device's display language.
Using soft keys to navigate between different display pages.
Accessing general setup configurations.
Information about software and device details.
Overview of the FIND key functionality for searching.
Finding and displaying information about nearby port services.
Finding and viewing details of nearest ports.
Finding tide stations and viewing tide graph information.
Locating and identifying wrecks on the chart.
Finding and displaying information about chart obstructions.
Accessing information about lakes and recreational areas.
Searching for lakes by their specific name.
Locating and displaying details of points of interest.
Managing and searching for custom marks and waypoints.
Entering and viewing positions using coordinates.
Obtaining general information about chart objects.
Instructions for inserting the C-MAP C-CARD.
Accessing various map display settings and options.
Selecting between Standard and Flexi-Zoom modes for chart scaling.
Adjusting the size of icons displayed on the chart.
Customizing the font size for place names on the chart.
Enabling a 3D perspective view of the chart.
Controlling the blinking behavior of navigation aids.
Displaying critical safety information and warnings.
Overlaying satellite imagery onto the chart.
Displaying tidal stream information and current predictions.
Setting the display language for charts and menus.
Displaying associated images and diagrams for chart objects.
Accessing detailed information for ports and marinas.
Procedure for creating marks directly from the chart.
Modifying existing marks, including name, icon, and position.
Removing stored marks or waypoints.
Repositioning existing marks or waypoints.
Viewing and managing all stored marks and waypoints.
Creating marks via the User Points list.
Navigating to a cursor position, route, or mark.
Initiating navigation to a selected point on the chart.
Starting navigation to a saved mark.
Activating the MOB function to mark a position.
Removing a MOB point from the system.
Building a route by connecting waypoints.
Assigning a custom name to a created route.
Special route creation feature.
Creating multiple routes.
Building a route using existing marks.
Adding a waypoint into an existing route.
Navigating along a predefined route.
Procedure to select and start following a route.
Removing a route from memory.
Additional route-related configuration options.
Analyzing a route for potential hazards.
Recording and managing the vessel's path.
How to start and save a new track recording.
Removing recorded tracks.
Various track recording options.
Using and resetting the trip log.
How to display and utilize trip log data.
Resetting the trip log data.
Accessing the User C-CARD functions.
Preparing the C-CARD for data storage.
Saving data (marks, routes, tracks) to the C-CARD.
Restoring data from the C-CARD.
Removing files stored on the C-CARD.
Updating the C-CARD information.
The primary display for nautical charts and navigation.
Managing focus between chart windows in dual display mode.
Shifting focus between chart windows in dual display.
Displaying a single chart view.
Customizing the layout of data windows.
Configuring which data fields are shown in windows.
Controlling the display of information popups for chart icons.
Selecting different chart display modes.
Configuring the display of marine features on the chart.
Adjusting depth range and display settings.
Configuring the display of terrestrial features.
Controlling how chart features are displayed.
Fine-tuning chart display options.
Displaying navigation data and status.
Visualizing the vessel's path in a 3D highway view.
Information on tides and moon phases.
Adjusting the date for celestial calculations.
Monitoring GPS signal strength and satellite status.
Enabling or disabling WAAS/EGNOS correction signals.
Displaying data received from NMEA devices.
Customizing the NMEA display layout.
Viewing raw NMEA data for diagnostics.
Displaying historical trends of NMEA data.
Interfacing with VHF radios for DSC functions.
Wiring and connecting VHF radios to the chart plotter.
Displaying and logging DSC distress calls.
Handling DSC position requests.
Configuring data ports for NMEA, AIS, and RADAR.
Settings related to navigation, coordinate systems, and chart orientation.
Setting up and using Loran TD coordinates.
Configuring compass settings and calibration.
Setting up audible and visual alarms for various conditions.
Using the built-in simulator for practice.
Practicing route navigation in simulation.
Managing DSC polling features.
Understanding AIS terminology and target statuses.
Configuring AIS reception and display settings.
Setting up the AIS system.
Displaying information about AIS targets.
Viewing a list of AIS targets and locating them on the chart.
Interpreting AIS target colors.
Navigating the C-Weather service menu.
Downloading weather data.
Loading C-Weather data from the User C-CARD.
Displaying and navigating weather forecast layers.
Options for viewing real-time weather data.
Selecting the type of weather data to display.
Connecting the MOBILARM system.
Configuring the chart plotter for MOBILARM communication.
Checking the operational status of the MOBILARM.
Information about the MOBILARM Personal Transponder.
Handling MOB alerts from the transponder.
Interacting with the PTX icon on the chart.
Removing a PTX icon from the system.
Navigating to the location of a PTX icon.
Reviewing the list of MOBILARM alarms.
Running an extended auto-test to diagnose issues.
Resetting internal memory to default settings.
Adjusting screen brightness and keypad backlight.
Testing C-CARD insertion and functionality.
Testing serial port communication parameters.
Detailed technical specifications for the CP180/CP180i models.
Detailed technical specifications for the CP300/CP300i models.
Technical specifications for the optional WAAS GPS receiver.
| Brand | Standard Horizon |
|---|---|
| Model | CP300I |
| Category | GPS |
| Language | English |