Do you have a question about the Standard Horizon CP500 and is the answer not in the manual?
Explains bracket and flush mounting procedures for the CP500 unit.
Provides instructions for securely mounting the CP500 using a bracket.
Details the process for flush mounting the GPS Chart Plotter.
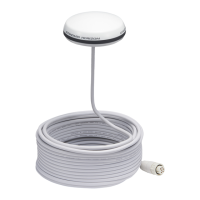
Guides on installing the external GPS antenna for optimal reception.
Explains how to connect the power cable and battery for the CP500.
Details how to connect NMEA devices, including AIS receivers and PCs.
Explains connections to VHF and optional radar antenna via the ACC2 connector.
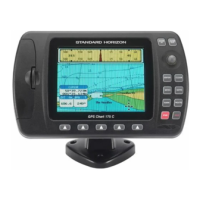
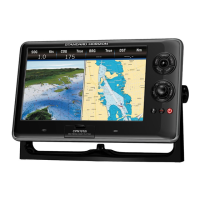
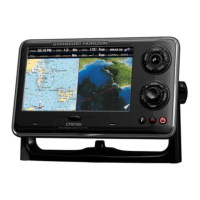
Introduces front panel controls like keys, ShuttlePoint knob, and their functions.
Explains alphanumeric keys and the function of customizable Soft Keys.
Details powering the unit on/off and operating the ShuttlePoint knob.
Explains the two primary cursor modes for chart interaction.
How to adjust cursor speed and change the ship icon.
Guides on adjusting screen brightness, contrast, and chart orientation.
How to set up time zones and daylight saving for accurate time display.
How to select coordinate systems and customize chart display colors.
Instructions on how to insert the C-MAP MAX C-CARD into the unit.
Step-by-step guide to creating a new mark on the chart page.
How to modify existing marks, including their position and name.
Guides on setting navigation to a cursor position, route, or mark.
How to mark the vessel's position in case of a man overboard situation.
Instructions for removing a MOB point from the chart.
Step-by-step guide to creating a route by adding waypoints.
Guides on selecting and navigating a stored route.
How to use the route check feature to identify potential navigation hazards.
Overview of the tracking feature for recording vessel movement.
Step-by-step guide to initiating and saving a new track log.
How to save data (marks, routes, tracks) to the User C-CARD.
Instructions for restoring data from the User C-CARD.
How to check the GPS status and satellite reception.
How to use DSC for distress calls and position requests.
How to configure NMEA, AIS, and RADAR inputs and outputs.
How to set up audible and visual alarms like XTE, Depth, and Grounding.
How to use the built-in simulator for training.
Guides on simulating navigation through a saved route.
How to configure AIS display, activation range, and alarms.
Explains how to connect the MOBILARM system to the CP500.
Steps to configure the CP500 to communicate with the MOBILARM.
How to check the MOBILARM connection status via the About page.
How the CP500 displays PTX icons and warnings for MOB alerts.
How to start navigation to the MOBILARM PTX position.
How to view the list of all received MOBILARM PTX alarms.
Solutions for the GPS Chart Plotter not turning on or getting a valid fix.
Troubleshooting steps for screen issues or unresponsiveness.
How to report and troubleshoot incorrect GPS fix locations on the chart.
Solutions for slow GPS fix acquisition after winter storage.
How to run the extended auto-test to diagnose problems.
Guides on clearing RAM to restore default settings and resolve issues.
| Brand | Standard Horizon |
|---|---|
| Model | CP500 |
| Category | GPS |
| Language | English |