TIMER PROGRAMMING
1. To SET CURRENT DAY AND TIME the Time button must be pressed and held,
throughout this step. Press the Day button until the present day of the week
appears. Do the same with the h+ and m+ buttons to set the time. To fast
forward, hold the buttons down. Note that either A or P appears in the bottom
right of display window to indicate AM or PM.
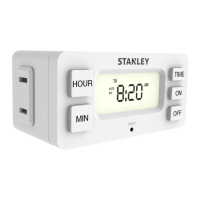
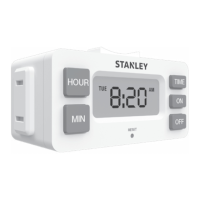
2. To SET THE TIMER press the “Timer” button once and the display will appear
as shown here. Next, set the time with the “h+” and “m+” buttons and day(s)
you want your appliance/light “ON”. Press the “Timer” button a second time
[note that OFF appears in the display] and set the time and day(s) you want your
appliance/light “OFF.” For more detail, see examples on other side. This step can
be repeated five times, for a total of 6 “ON/OFF” programs.
3. Press the “Time” button to return to current day and time display.
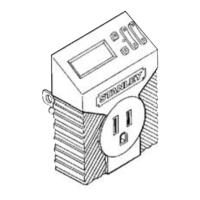
4. Finally, plug your appliance/light into the timer. Be sure that the item plugged into
the timer is switched “ON”.
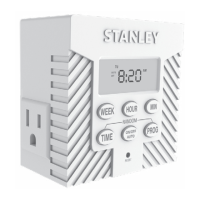
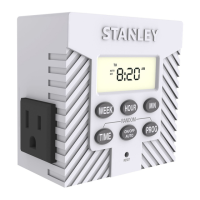
BUTTON FUNCTIONS
Time–Set and display present day and time.
Timer–Set/view 6 “ON /OFF”programs .
Day–Set day(s). See eleven different settings below [Hold
for fast forward].
h+– Set hours. [Hold for fast forward]
m+– Set minutes. [Hold for fast forward]
Override–Manual “ON/OFF”. When this button is pressed
it will change the current state from “OFF” to “ON” or vice
versa. When the next programmed time is reached the
timer will revert to the program’s control.
Also in case of overload, this button is used to re-activate
the timer.
Reset – Clear all settings.
RESETTING OVERLOADED TIMER
If the Power LED is OFF and the Overload LED is ON, an
overload has occurred. The timer automatically shuts power
down to the plugged-in components in order to prevent
damage and/or other dangerous events such as explosion
or fire. (Current time and program(s) settings will not be
affected by the overload shutdown of plugged-in devices.)
In order to re-activate the overloaded timer:
1. You must remove the excess plugged-in components;
otherwise, the overload and power shut-down will
repeat.
2. After allowing the timer’s temperature to cool down
(~15 min.), press the Override button.
TH
OFF
P
MO TU WE TH FR SA SU
TIMER
ON
THE NUMBER ON THE
LEFT (“1”) REPRESENTS
WHICH PROGRAM (OF 6)
IS BEING VIEWED
TIMER BUTTON:
The first press of the Timer button
displays the ON settings for the
1st program, the second press – its
OFF settings. The third press dis-
plays the ON settings for the 2nd
program, and so on to the twelfth
press of the Timer button, which
displays the OFF settings for the
6th program. You don’t have to
use all six ON/OFF programs.
DAY BUTTONS SETTINGS FOR
TIMER MODE
1. Daily ON/OFF settings will
repeat every day.
2. An individual day/s of the
week only. e.g. MO will only
operate on Monday.
3. MO TU will only operate on
Monday and Tuesday.
4. Weekdays Only will operate
Monday to Friday.
5. Weekends Only will operate
Saturday and Sunday.
6. All 7 Days of the week.