12 13
USING THE AIR COMPRESSOR
Before starting run through this simple list:
1. Drain tap – open and drain tank
2. Drain tap – close fully
3. Check power lead for any damage. If damaged have replaced by
an authorised service centre.
4. Plug air compressor into a standard 240V 10Amp AC power point
and turn ON.
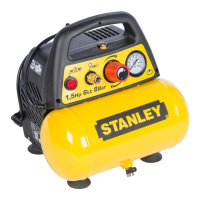
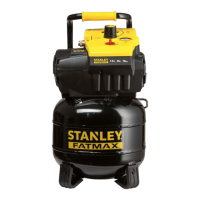
5. Push the switch to to turn ON, see page 12, Pic. 6.
6. Allow the air compressor to fill the air tank.
7. Turn the air compressor OFF.
8. Turn the power point OFF and disconnect the power lead from the
power point.
9. Connect your air hose and air tools.
10. Reconnect to the power lead to the power point and turn ON.
11. Turn your air compressor ON.
Note: Depending on the length of air hose used the air
compressor may start immediately it is turned on due to the size
of the tank.
12. You can begin using the connected air tools and the air
compressor will start and stop without warning. This is
controlled by the pressure switch. These pressure settings are
factory set and should not be changed.
Pumping starts at (minimum) 85PSI and stops at (maximum)
115PSI. Once the initial pump up stage has finished you can
adjust the outlet air pressure to the tools recommended working
pressure and open the air tap fully.
RUNNING IN YOUR NEW AIR COMPRESSOR
Your new air compressor does not require running
in:
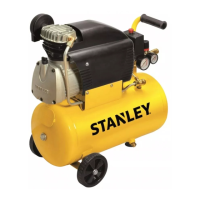
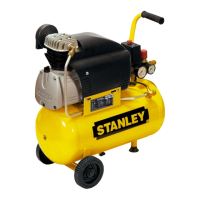
This compressor is ready to use immediately as a portable compressor.
If using as a wall mounted compressor ensure the compressor is fully
assembled.

 Loading...