11
ENGLISH
(Original instructions)
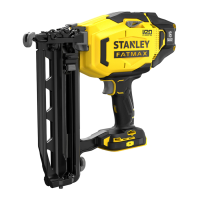
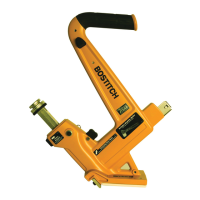
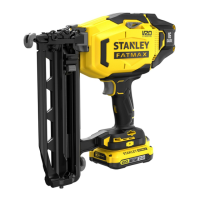
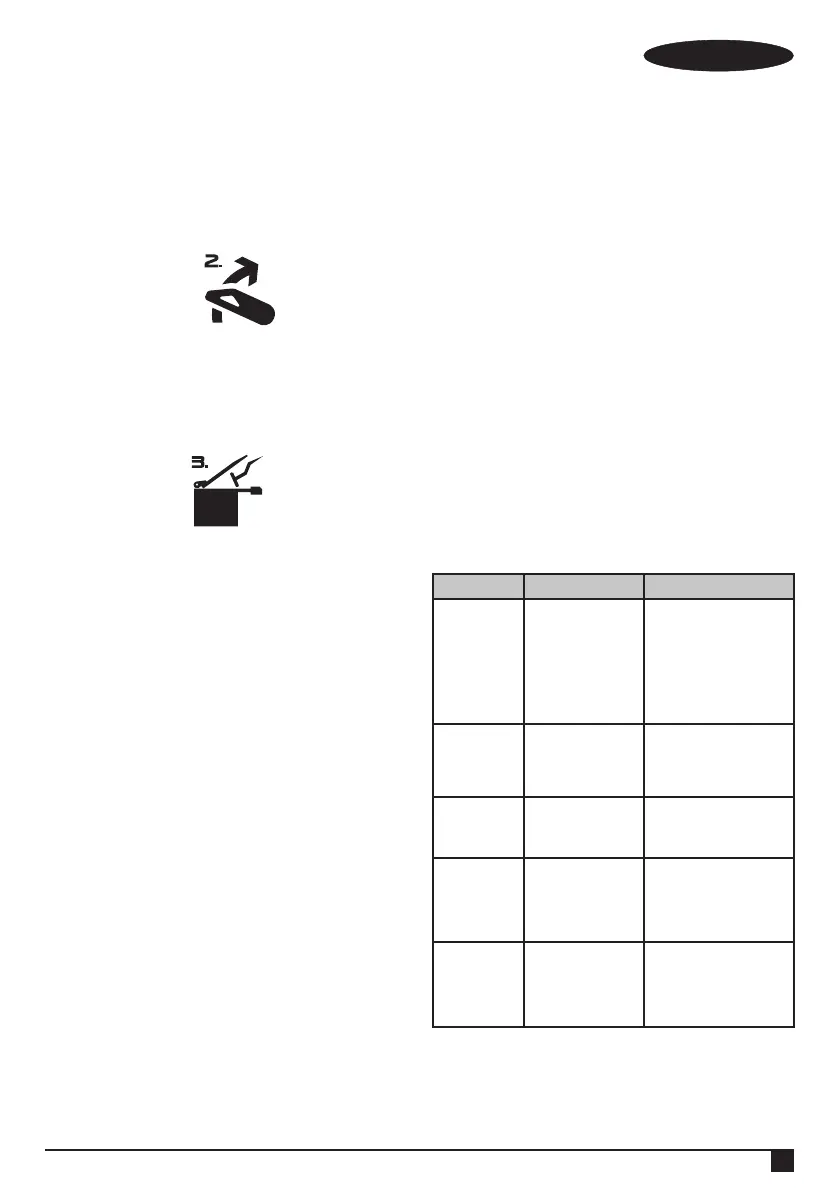
Clearing a Jammed Nail (Fig. I, J)
Warning! To reduce the risk of personal injury, disconnect
battery pack from tool and engage trigger lock-off before
performing maintenance, or clearing a jammed nail.
If a nail becomes jammed in the nosepiece, keep the tool
pointed away from you and follow these instructions to clear:
u Remove battery pack from tool and engage
trigger lock-off.
u Rotate the stall release lever (6) on the tool to release the
driver blade and clear the jam. If tool is still jammed follow
the 9 steps listed below:
u Pull pusher downward until it locks in place then tip the
tool over so the nails slide freely out from the bottom of
the magazine.
u Lift the jam clearing latch (7) then pull up to open front
door (17).
u Remove bent nail, using pliers if necessary.
u If driver blade is in the down position, insert screwdriver
or other rod into nosepiece and push driver blade back
in position.
u Close the front door and engage the wire form (19)
under the two arms (18) on the contact trip. Push jam
clearing latch down (7) until it locks in place.
u Reinsert nails into magazine (see Loading the Tool).
u Pull pusher (10) downward until the nail follower (16)
falls behind the nails as shown in gure G.
u Reinsert battery pack.
u Disengage trigger lock-off (2), allowing the trigger to
be actuated.
Warning! If a jam occurs, the tool will disable itself and will
require you to reset it. To do so, follow instructions on clearing
the jammed nail. Next remove battery pack and then reinsert
battery pack. The tool will now be operational.
Note!Should nails continue to jam frequently in contact trip,
have tool serviced by an authorized STANLEY FATMAX
service center.
Cold Weather Operation
When operating tools at temperatures below freezing:
u Keep tool as warm as possible prior to use.
u Actuate the tool 5 or 6 times into scrap lumber
before using.
Hot Weather Operation
Tool should operate normally. However, keep tool out of direct
sunlight as excessive heat can deteriorate bumpers and other
rubber parts resulting in increased maintenance.
Replacement parts
Warning!To reduce the risk of personal injury, disconnect
battery pack from tool and engage trigger lock-off before
performing maintenance, or clearing a jammed nail.
The tool comes equipped with a spare no mar tip located on
the side of the nail magazine.
u To replace the no mar pad, simply pull off the old no mar
pad and ret the new no mar pad onto the contact trip.
Use only identical replacement parts. For a parts list or to
order parts, visit our service website at www.stanley.eu/3co.
uk. You can also order parts from your nearest
STANLEY FATMAX Factory Service Center or STANLEY
FATMAX Authorized Warranty.
Troubleshooting
If your appliance seems not to operate properly, follow the
following instructions. If this does not solve the problem,
please contact your local STANLEY FATMAX repair agent.
Warning! Before proceeding, unplug the appliance.
Problem Possible Cause Possible Solution
Unit will not start. Battery pack not
installed properly.
Battery pack
not charged.
Trigger lock-off is
engaged.
Check battery
pack installation.
Check battery pack
charging requirements.
Disengage trigger lock-off.
Tool doesn’t
actuate.
(Headlights on,
motor does not
run)
Motor stops running
after 2 seconds.
Normal operation; release
trigger or contact trip and
re-depress.
Tool doesn’t
actuate.
(Headlights
ash)
Low battery charge or
damaged battery.
Charge or replace battery.
Tool doesn’t
actuate.
(Headlights ash
continuously)
Jammed fastener /
tool stalled.
Jammed mechanism
Remove the battery, rotate the
stall release lever. Clear the
jammed fastener and reinsert
battery pack.
See authorized service center.
Tool doesn’t
actuate
(Headlights on,
motor runs,
driver blade
stuck down)
See authorized service center.
 Loading...