8
MUST be recharged before use or the unit’s built-in low voltage protection will activate. The empty
Battery Status Icon will flash for a short period of time before automatic shut down.
The compressor is capable of inflating up to 120 pounds per square inch (psi) pressure. Return hose
to the storage compartment after use.
IMPORTANT NOTES:
• Make sure the Jump Starter Power Button has been turned off before attempting to use the unit
as a Compressor.
• The Compressor will not operate if the unit’s battery falls below 12V. This is to protect the
Compressor and the battery. If the Battery Voltage Indicator reads lower than 12V, recharge the
unit before using the Compressor.
WARNING – TO REDUCE THE RISK OF SERIOUS INJURY OR PROPERTY DAMAGE: Follow
all safety instructions found in the “Specific Safety Instructions for Compressors” section of this
instruction manual.
CAUTION – TO REDUCE THE RISK OF SERIOUS INJURY OR PROPERTY DAMAGE: When
the compressor is operated at a low PSI, the unit may start in low and gradually rev up. When the
compressor is operated at higher PSIs, the unit may operate normally for several minutes, then rev
down for a few minutes before returning to normal operation. This feature protects the unit from
overheating during normal use. In any event, do not operate compressor continuously for longer
than 10 minutes, as it may overheat. This could damage the compressor. If the compressor must
be operated for longer periods: every 10 minutes press the Compressor Power Button to turn the
compressor off, then restart after a cooling down period of approximately 30 minutes.
Inflating Tires or Products With Valve Stems
1. Screw the Sure Fit
®
nozzle onto the valve stem. Do not overtighten.
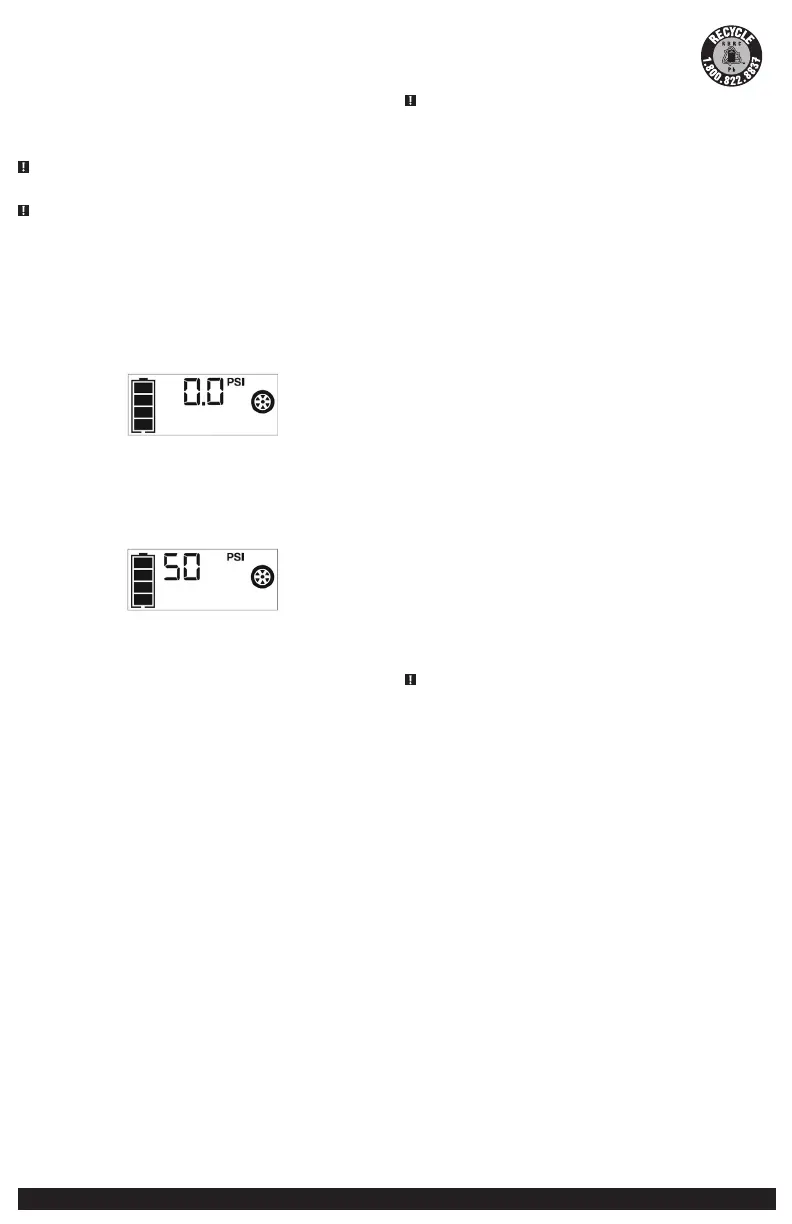
2. Press the Compressor Power Button. A beep will sound and the backlit LCD screen will display
the following:
The Compressor Icon will light and the digital display will alternately show the flashing pre-set
psi value (that was last set by the compressor pressure control buttons) and the current pressure
of the item being inflated (which will light solid).
3. Press the “+” and “–” Pressure Control Buttons to set the desired pressure from a range pre-set
values (between 1 and 120), which will display on the backlit LCD screen. The unit will sound a
beep with each press of the buttons (holding the button speeds up the upward or downward
value selection). Once the desired pressure has been entered, release the button and the
flashing digital display will show the new selected pressure, as follows:
The new selected value is now stored in the unit’s memory until it is manually reset.
4. Press the Compressor Power Button once more to begin inflating. The Compressor Icon will
flash and the digital display will only show the current pressure value (which will light solid) to
indicate the compressor is activated. Monitor the pressure on the LCD screen.
IMPORTANT NOTE: To interrupt during inflation, press the Compressor Power Button again.
5. When desired pre-set pressure is reached, the compressor will automatically stop.
6. Press the Compressor Power Button again to turn off the unit.
7. Unscrew and remove the Sure Fit
®
nozzle from the valve stem.
8. Allow the unit to cool, then recharge before storing away.
9. Store the compressor hose and Sure Fit
®
nozzle in storage compartment.
Inflating Other Inflatables Without Valve Stems
Inflation of other items requires use of the nozzle adapter.
1. Screw the nozzle adapter into the Sure Fit
®
nozzle. Do not overtighten.
2. Insert the nozzle adapter into item to be inflated.
3. Follow steps 2 through 4 of the “Inflating Tires or Products With Valve Stems” section.
IMPORTANT: Small items such as volleyballs, footballs, etc. inflate very rapidly. Keep this in
mind when setting pressure. Take extra care not to over-inflate.
4. When the desired pressure is reached, the compressor will automatically stop. Press the
Compressor Power Button again to turn off the unit.
5. Disconnect the adapter from the inflated item.
6. Unscrew and remove the nozzle adapter from the Sure Fit
®
nozzle.
7. Allow the unit to cool, then recharge before storing away.
8. Store the compressor hose, Sure Fit
®
nozzle and nozzle adapter in the storage compartment
when not in use.
CARE AND MAINTENANCE
All batteries lose energy from self-discharge over time and more rapidly at higher temperatures.
When the unit is not in use, we recommend that the battery is charged at least every 30 days.
Never submerge the unit in water. If the unit gets dirty, gently clean the outer surfaces of the unit
with a soft cloth moistened with a mild solution of water and detergent.
There are no user-replaceable parts. Periodically inspect the condition of adapters, connectors and
wires. Contact manufacturer to replace any components that have become worn or broken.
Battery replacement/disposal
BATTERY REPLACEMENT
The battery should last the service life of the unit. Service life is dependent on a number of factors
including but not limited to the number of recharge cycles, and proper care and maintenance of
the battery by the end user. Contact manufacturer for any information you may need.
SAFE BATTERY DISPOSAL
Contains a maintenance-free, sealed, non-spillable, lead acid battery, which
must be disposed of properly. Recycling is required. Failure to comply
with local, state and federal regulations can result in fines, or imprisonment.
Please recycle.
WARNINGS:
• Do not dispose of the battery in fire as this may result in an explosion.
• Before disposing of the battery, protect exposed terminals with heavy-duty electrical tape to
prevent shorting (shorting can result in injury or fire).
• Do not expose battery to fire or intense heat as it may explode.
TROUBLESHOOTING
Unit will not charge
• Make sure all of the unit’s functions are turned off.
• Make sure a suitable gauge extension cord is properly connected to both the unit and a
functioning AC outlet.
Unit fails to jump-start
• Make sure the unit is not being operated in the Compressor mode.
• Make sure a proper polarity cable connection has been established.
• Make sure unit’s Jump-Starter Power Switch is in the on position.
• Check that unit has a full charge. Recharge unit if necessary.
USB power port will not power appliance
• Make sure the USB Power Button has been pressed to turn the USB Ports on.
• If a fault condition exists in any of the USB Ports, the Fault Icon on the LCD screen will flash. Refer
to the Important Notes in the “USB Ports” section to remedy any faults.
• Make sure that the total draw the USB device plugged into the USB Port does not exceed 3.1A (5V).
• Some USB-powered household electronics will not operate with this USB charging/power port.
Check the manual of the corresponding electronic device to confirm that it can be used with this
type of USB charging/power port.
• Check that unit has a full charge. Recharge unit if necessary.
LED area light does not come on
• Make sure the area light power button has been pressed to turn the area light on.
• Check that unit has a full charge. Recharge unit if necessary.
Portable compressor will not inflate
• Make sure the unit is not being operated in the Jump Starter mode.
• Make sure the Sure Fit
®
nozzle connector is securely screwed on to the valve stem when
attempting to inflate tires; or that the nozzle adapter is securely screwed into the Sure Fit
®
nozzle
connector and is inserted properly into the item to be inflated on all other inflatables.
• Make sure the compressor power button has been pressed to turn the compressor on.
• The compressor may be overheated. Press the compressor power button to turn the compressor off.
Restart after a cooling down period of approximately 30 minutes.
• Check that unit has a full charge. Recharge unit if necessary.
ACCESSORIES
Recommended accessories for use with your tool may be available from the manufacturer. If you
need assistance regarding accessories, please contact the manufacturer at 1-877-571-2391.
WARNING: The use of any accessory not recommended for use with this appliance could
be hazardous.
SERVICE INFORMATION
Whether you need technical advice, repair, or genuine factory replacement parts, contact the
manufacturer at 1-877-571-2391.
FULL ONE-YEAR HOME USE WARRANTY
The manufacturer warrants this product against defects in materials and workmanship for a period
of ONE (1) YEAR from the date of retail purchase by the original end-user purchaser (“Warranty
Period”).
If there is a defect and a valid claim is received within the Warranty Period, the defective product
can be replaced or repaired in the following ways: (1) Return the product to the manufacturer
for repair or replacement at manufacturer’s option. Proof of purchase may be required by
manufacturer. (2) Return the product to the retailer where product was purchased for an exchange
(provided that the store is a participating retailer). Returns to retailer should be made within the
time period of the retailer’s return policy for exchanges only (usually 30 to 90 days after the sale).
Proof of purchase may be required. Please check with the retailer for their specific return policy
regarding returns that are beyond the time set for exchanges.
This warranty does not apply to accessories, bulbs, fuses and batteries; defects resulting from
normal wear and tear, accidents; damages sustained during shipping; alterations; unauthorized
use or repair; neglect, misuse, abuse; and failure to follow instructions for care and maintenance
for the product.
This warranty gives you, the original retail purchaser, specific legal rights and you may have other
rights which vary from state to state or province to province. This product is not intended for
commercial use.
Please complete the Product Registration Card and return within 30 days from purchase of the
product to: Baccus Global LLC, One City Centre, 1 North Federal Highway, Suite 200, Boca Raton, FL
33432. Baccus Global LLC, toll-free number: 1-877-571-2391.

 Loading...