Moneris Go Appétit: Hardware Installation Guide 4
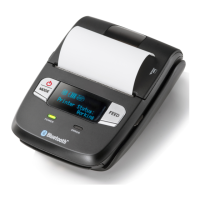
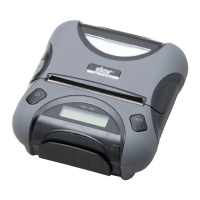
Setting up the kitchen printer
The kitchen printer should be placed in the kitchen, but away from any heat sources or areas where it can get
splashed or dirty with food particles during the process of preparing dishes for your customers.
These instructions explain how to set up the printer hardware, how to enable the printer in the portal, and how
to assign the printer to a kitchen. Follow the instructions in this section for all kitchen printers in your restaurant.
Before you get started
In order to properly set up the printer, ensure the following conditions have been met:
You are able to login to the Moneris Go Appétit portal.
Kitchens have been created and defined in the Moneris Go Appétit portal. For more information on creating
and defining kitchens, refer to the Moneris® Go Appétit: Using your Restaurant Solution guide.
The Kitchen Display tablets are functioning and on the same network as the router to which you connect the
kitchen printer.
Set up the printer hardware
Note: You are required to connect the printer to the WiFi router in your establishment that provides connection
to your Kitchen Display tablets. You may need to contact your network/IT technician to help you with the wiring
and running cable.
1. Follow the manufacturer’s instructions to connect the power and Ethernet cables to the rear of the printer.
2. Follow the manufacturer’s instructions to install the paper roll and ribbon inside the printer.
3. Connect the Ethernet cable to an available port on your router.
4. Turn on the printer by toggling the power switch on the right side of the printer.