3
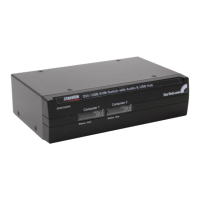
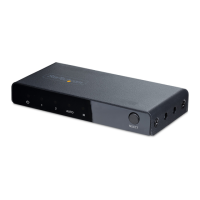
Connecting Computers to the KVM Switch
This section describes how to connect a computer you wish to control to the KVM switch.
Repeat these steps for each computer you wish to connect.
1. Remove any existing keyboards, mice, monitors, speakers, and microphones from
the computer.
2. Using a DVI-I or DVI-D male-to-male switchbox cable, connect one end to the video
out connector on the computer. (This will be the same connector from which you
disconnected the monitor in step 1, if applicable.) Connect the opposite end to the
DVI connector on the KVM switch that corresponds to the computer number you
wish to use for that system (marked PC 1 ~ PC 2 or PC 1 ~ PC 4 as applicable).
3. Using a USB Type A to Type B cable, connect the “A” (at) end to an available
USB port on the computer. Connect the opposite end to the “B” (D-shaped) USB
connector on the KVM switch that corresponds to the computer number you wishto
use for that system (directly under the monitor connection in step 2). This will
provide both keyboard and mouse access to that system.
4. Optional:You can use 3.5mm male-to-male phono speaker cable to connect the
speaker and/or microphone outputs on the computer to the corresponding
connectors on the KVM switch, located under the monitor connector that
corresponds to that computer on the KVM. Most computers have sound and
microphone connectors that are color-coded to the standard used on the KVM
switch: green for speakers, pink for microphone. See the documentation for the
computer for assistance, if needed.