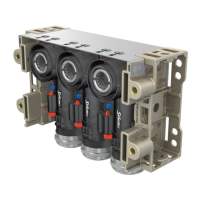
9 / 12
13
15
16
17
14
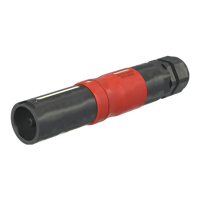
Contrôle de l‘assemblage Assembly check
(ill. 13)
Introduire le contact serti par l’arrière
dans l’isolation de che ou de douille
jusqu’à l’enclenchement� Exercer
une légère traction sur le câble pour
contrôler que la pièce métallique est
bien enclenchée�
(ill. 13)
Insert the crimped contact into the
insulator body from the rear until it
engages� Pull gently on the lead to
check that the metal part has engaged
correctly�
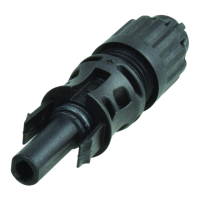
(ill. 14)
Encher la che de test par le côté
correspondant dans la douille ou la
che jusqu’en butée. Si le contact est
monté correctement, le marquage
blanc sur la che de test est encore
visible�
(ill. 14)
Insert the appropriate end of the test
pin into the male or female coupler as
far as it will go� If the contact is cor-
rectly located, the white mark on the
test pin must still be visible�
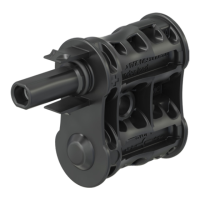
(ill. 15)
Serrer le presse-étoupe à l‘aide de
l‘outil PV-MS-PLS et la clé dynamomé-
trique 17 mm-
(ill. 15)
Tighten the cable with the tool PV-
MS-PLS and a torque wrench with a
wrench size of 17�
Remarque:
Le couple de serrage effectif doit
être adapté aux câbles solaires spéci-
ques utilisés.Voir Tab. 3.
Note:
The acting tightening torque must
be adapted to the solar cables used
in each specic case.
See Tab 3.
Remarque:
Nous recommandons le calibrage
de la clé dynamométrique avant le
début du montage�
Note:
We recommend to calibrate the
torque wrench before assembly
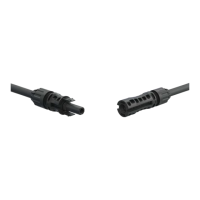
Embrochage / Débrochage Plugging and unplugging
(ill. 16)
Embrochage:
Embrocher le raccord jusqu‘au ver-
rouillage� Contrôler le verrouillage en
tirant sur le raccord�
(ill. 16)
Plugging:
Plug the two halves of the coupler
together until they click into place�
Check correct engagement by lightly
pulling on the cable coupler�
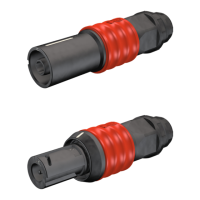
(ill. 17)
Débrochage:
Le raccord peut être déconnecté
uniquement avec l‘outil PV-MS-PLS/2�
Comprimer les languettes de verrouil-
lage avec l‘outil et séparer les deux
moitiés du raccord�
(ill. 17)
Unplugging:
Insert the unlocking pins of PV-MS-
PLS/2 through the openings provided
in the male connector onto the locking
clips of the female connector and
separate the halves of the coupling�
Diamètre du câble
Cable diameters
Couple de serrage
Tightening torque
AWG mm
2
Nm
14 2,5 4,5
12 4 4,0
10 6 3,5
8 10 3,5
Tab. 3
 Loading...