18 / 52
38
F
S
K
39
Z
40
E
E
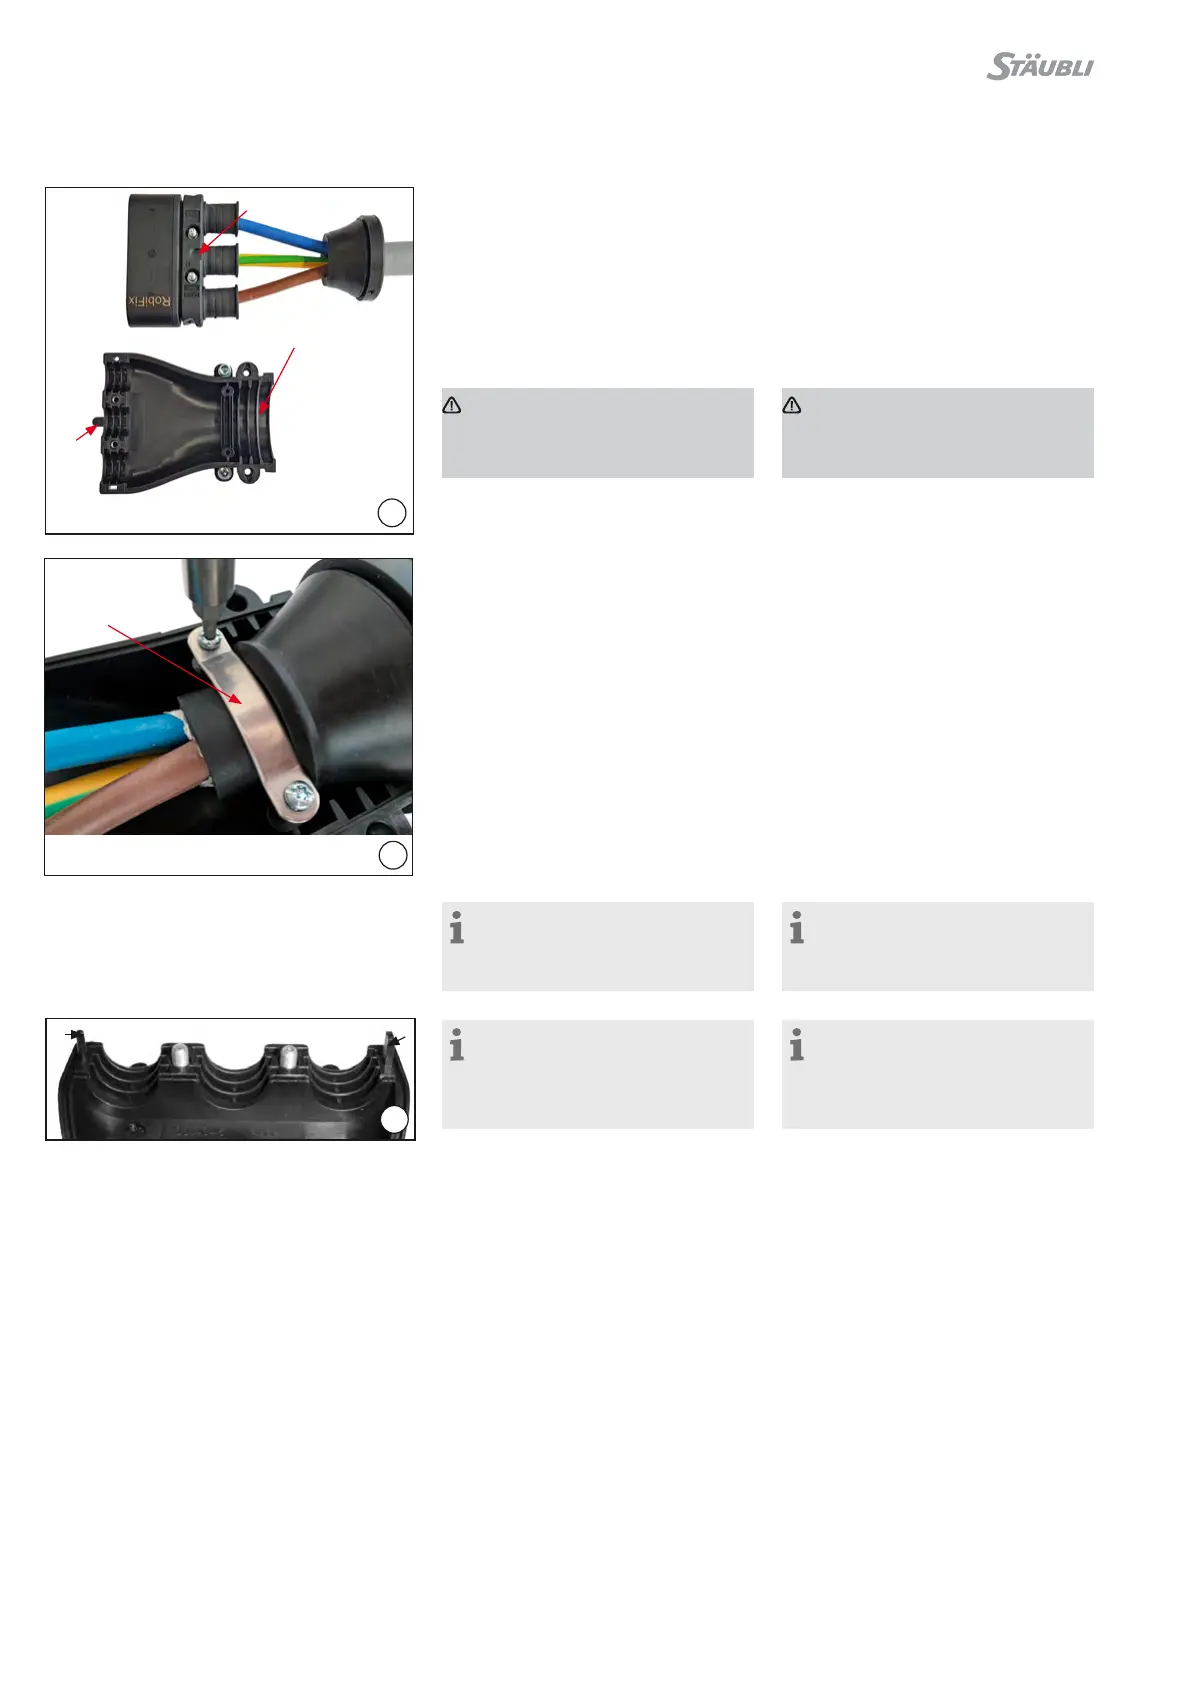
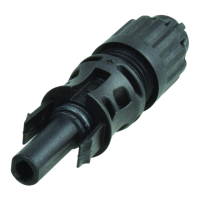
(ill. 38)
Introducir el cable ensamblado con el
portacontactos del RobiFix en la pieza
inferior del RobiFix ZEM� La lengüeta
de codificación (K) ha de encajar en la
ranura (F)�
Colocar la junta-guía FD50 en el cable
e introducirla de manera que quede
encajada en el último arco (S)�
(ill. 38)
Insert assembled lead with RobiFix con-
tact carrier in RobiFix-ZEM lower part�
The coding tongue (K) must fit in the
cut-out (F)�
Position seal FD50 on the cable and fit
over the rearmost ridge (S)�
Importante:
Tener en cuenta posibles ajustes
necesarios de diámetro con anillos
de goma, consultar la página 6��
Important:
Note possible necessary diameter
adjustment with rubber rings, see
page 6�
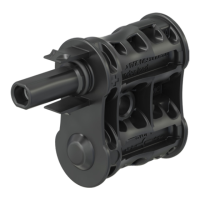
(ill. 39)
Una vez colocados el portacontactos
y la junta-guía, fijar la abrazadera de
descarga de tracción del RobiFix (Z) al
recubrimiento del cable�
Apretar los tornillos de forma alterna
(par de apriete 1N m)�
(ill. 39)
After inserting the seal and contact
carrier, attach the RobiFix strain relief (Z)
on the cable jacket�
Take care to tighten the screws alter-
nately (tightening torque 1N m)�
Nota:
Verificar que el sello FD50 esté bien
montado� Si es necesario corregirlo,
presionarlo con la mano�
Note:
Check correct mounting of the seal
FD50, correct if necessary by press-
ing in manually�
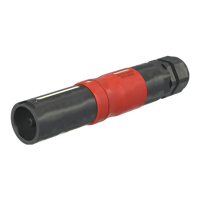
Nota (ill. 40):
Durante el montaje, prestar aten-
ción a que las dos patillas de intro-
ducción (E) no se doblen al introducir
la pieza inferior del RobiFix ZEM�
Note (ill. 40):
When assembling, check for pos-
sible tilting of the two locating pins (E)
in relation to the RobiFix-ZEM lower
part�
ZEM pieza inferior/ZEM lower part
Tornillo de cabeza ovalada 20mm
Oval-head screws 20mm