25
Trim Review
Trimming Review
If the camera tilts forward, push up the Fore-and-Aft Trim Roller alongside the Stage several
quick turns (like the arrows) to raise the front of the Merlin, and vice versa.
If the camera tilts toward the monitor (to the left), push up the Side-to-Side Trim Roller several
quick turns to return to level. If it tilts right, pull down on the Roller.
In each case, hold the Merlin level and steady. Then, let it go to test your trim.
Perform the Drop Test to check the degree of bottom-heaviness. If it’s top-heavy, the camera will
stay tilted over. If it’s excessively bottom-heavy, the Lower Spar will fall too quickly. Remember
to also tilt your Grip hand as it falls, so you do not forcefully exceed the range of the Gimbal
bearings.
If your Merlin is correctly balanced, slightly bottom heavy, the Lower Spar will slowly fall and
the camera will right itself. The Spar should take just over a second to swing through the bottom
of its travel, like a slow pendulum. Remember to stop it from swinging further by grasping the
Upper Spar.
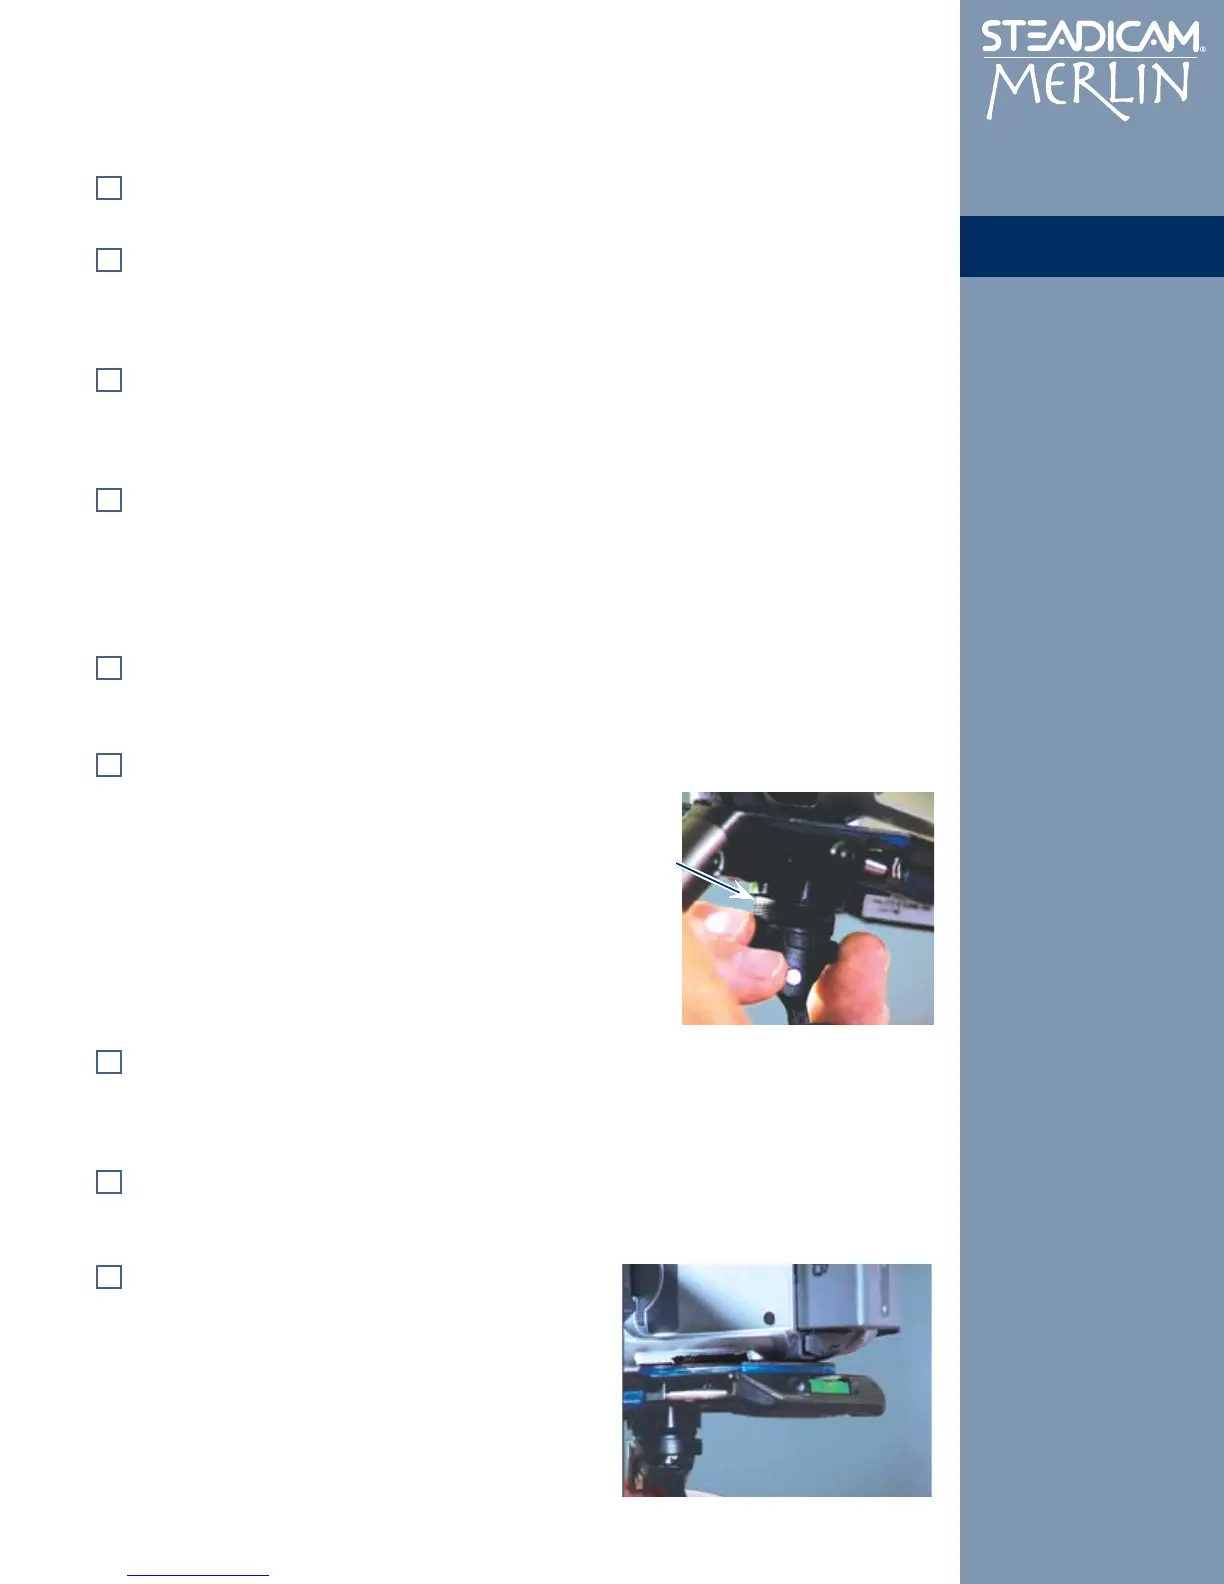
If your Merlin is very slightly top-heavy (falls too slowly):
Raise the Gimbal by pushing in the small black Latch and rotating the Guide Ring clockwise.
If your Merlin is very slightly bottom-heavy (falls too quickly):
Lower the Gimbal by pushing in the Latch and rotating the
Guide Ring counter-clockwise.
Note: The total “Z” travel available is 12 turns counter-
clockwise from fully tightened. When unscrewing the
Guide, watch for the unthreaded band above the threaded
section. When it appears, it is dangerous to further
unscrew the Guide as it may fall out of the socket.
When the camera is level, grasp the Grip with your strongest hand. Remove your other hand from
the unit and try moving your Grip hand from side to side. The camera should remain essentially
level. (If the Lower Spar swings like a pendulum when you stop you may still be too bottom-
heavy.)
Put the thumb and forefinger of your other hand gently on the Guide Ring above the Gimbal. Try
using your fingers to tilt the camera up and down and to swivel (pan) from side to side. A properly
trimmed Merlin can be panned and tilted with almost no effort on the Guide.
Under most circumstances, you will want to trim to keep
the Bubble Level at the back of the Stage centered,
indicating that your camera’s framing is not tilted to either
side. As you shoot, you will find that fine-tuning of both
trim controls becomes a familiar, ongoing process.
Congratulations! You have now completed the Setup
part of the manual. Now you are ready for the fun
part, Operating.
 Loading...