6
2. A Tour of the Merlin
Before you take your Steadicam out of the box…
We’ll begin by describing the purpose of the system and identifying
the major components. Then we’ll cover the procedure for safely
unpacking and unfolding the unit. So leave it in the box for now!
Camcorders are unstable because the human beings holding them are
always in motion. Small rising, falling and side-to-side movements
don’t really show unless there’s some object close in the foreground,
but tilting the camera up, down or side-to-side by a similar amount
will noticeably affect the framing.
Activate your camcorder, go fairly wide-angle and frame
a scene across the room. Keeping the camera level, try
raising and lowering it about an inch by slightly bending
and unbending your knees, then moving it side-to-side the
same amount by slightly shifting your weight from one foot
to the other. Note that the effect on the framing is slight.
Now tilt the camera half an inch or so to the left…to the right…up…down. Note the
dramatic effect on framing of these tipping motions.
Hand-holding a camera, particularly a small camera, results in angular motions (little ‘tilt’ and ‘pan’
corrections) which are quite disturbing because the human eye doesn’t see the world with the shakes.
So-called ‘digital stabilizers’ and optically stabilized lenses work well to eliminate vibrations, but are
useless for the large-scale bumps that occur when you attempt to walk, run or climb stairs.
The Steadicam works by disconnecting the camera support from the camera and allowing you just
enough angular influence to aim it. In addition to being a great stabilizer, it is also an elegant way of
holding a camcorder to permit complicated and graceful moves that would otherwise be impossible.
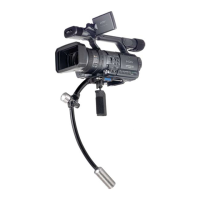
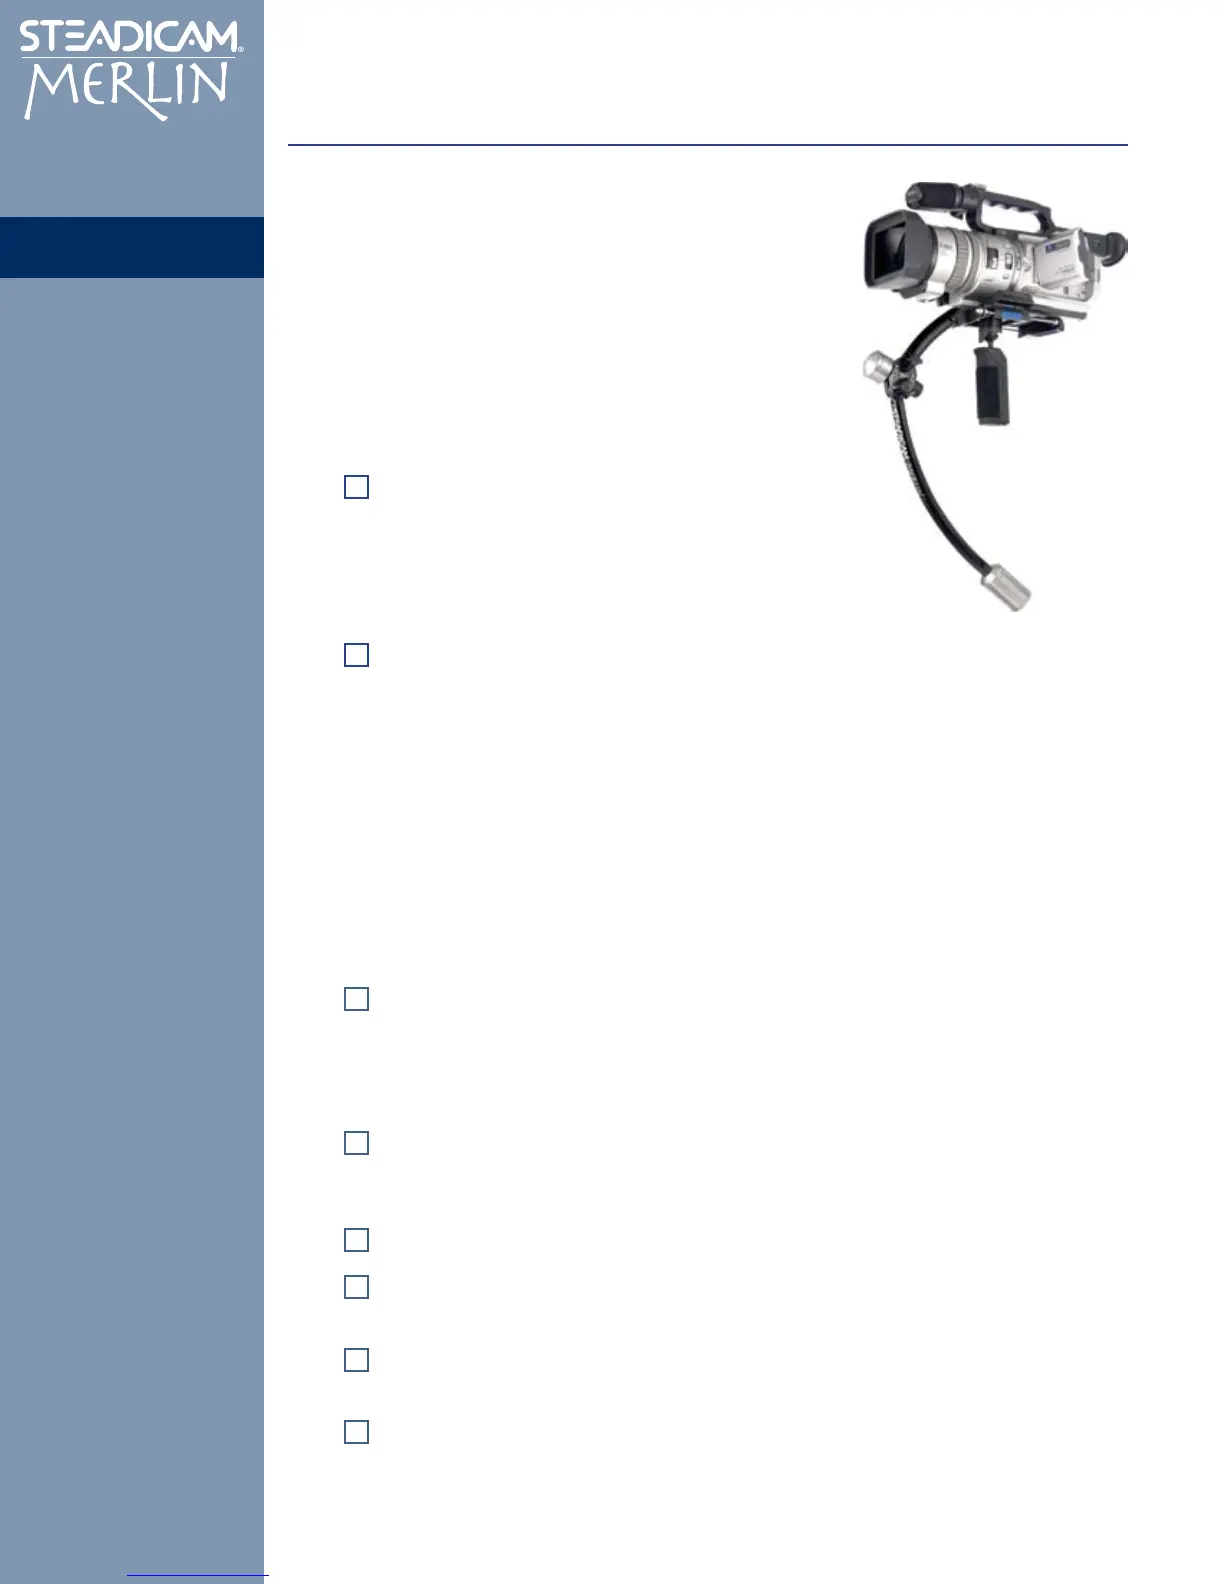
Locate the following parts on Diagram 1:
Gimbal and Grip. The shape of the Merlin is designed to stabilize the system by placing
its center-of-gravity below the camera — in fact, just below the center of the Gimbal. The
Gimbal won’t permit any angular force to pass through it, so it doesn’t matter if your hand
shakes while holding the Grip, which is below the Gimbal and therefore isolated from the
camera.
Just above the Gimbal is the Guide, the small surface you use to aim the Merlin. Since your
“gripping hand” does all the work in supporting the Merlin, your “guiding” hand can retain
the extremely light touch necessary to aim the camera without transmitting the shakes.
Your camera will mount to the quick-release Dovetail Plate, which attaches to the
Stage.
The Trim Controls on the Stage make it possible to tune the balance of the system so
that it is poised level on the Gimbal, but is every-so-slightly bottom heavy.
The Upper Spar and Lower Spar distribute the mass of the system. (Note the tapered
Start and Finish weights screwed together at the end of the Lower Spar.)
The Folding Caliper Hinge has two functions: It permits the Merlin to fold and
unfold between the travel (storage) and shooting positions; and it adjusts the size of the
arc between the upper and lower spar, to tune the vertical balance of the Merlin. (Note the
single Finish weight in place.)
The Parts