INSTILLATION & SETUP
Moving your PRO 40
Leveling your PRO 40
Placing your PRO 40
• Keep unit vercal at all mes.
• Never use cord to li or pull.
• Two people should carry to prevent injury.
• Place unit on solid, rm and level ground.
• WARNING: Do not store or install appliance outdoors.
• WARNING: Unit is NOT DESIGNED FOR CABINET INSTALLATION.
• We do not recommend installaon on carpeted surface.
• Do not install near heat source such as oven or replace.
• Avoid placement in area with high moisture.
• Place unit on solid, rm and level ground.
• Leave at least 5 inches (12cm) around all sides of the unit to insure proper
venlaon.
• The unit must not be placed in direct sunlight.
• Install the unit in a well venlated area where the ambient temperature is above
50F and below 95F.
• Adjust the leveling feet so that the unit is level.
INSTALLING
THE PRO 40
• Move your PRO 40 to its nal desnaon.
• Have someone gently lean on the front of the PRO 40 to take some of the
weight o of the leveling leg.
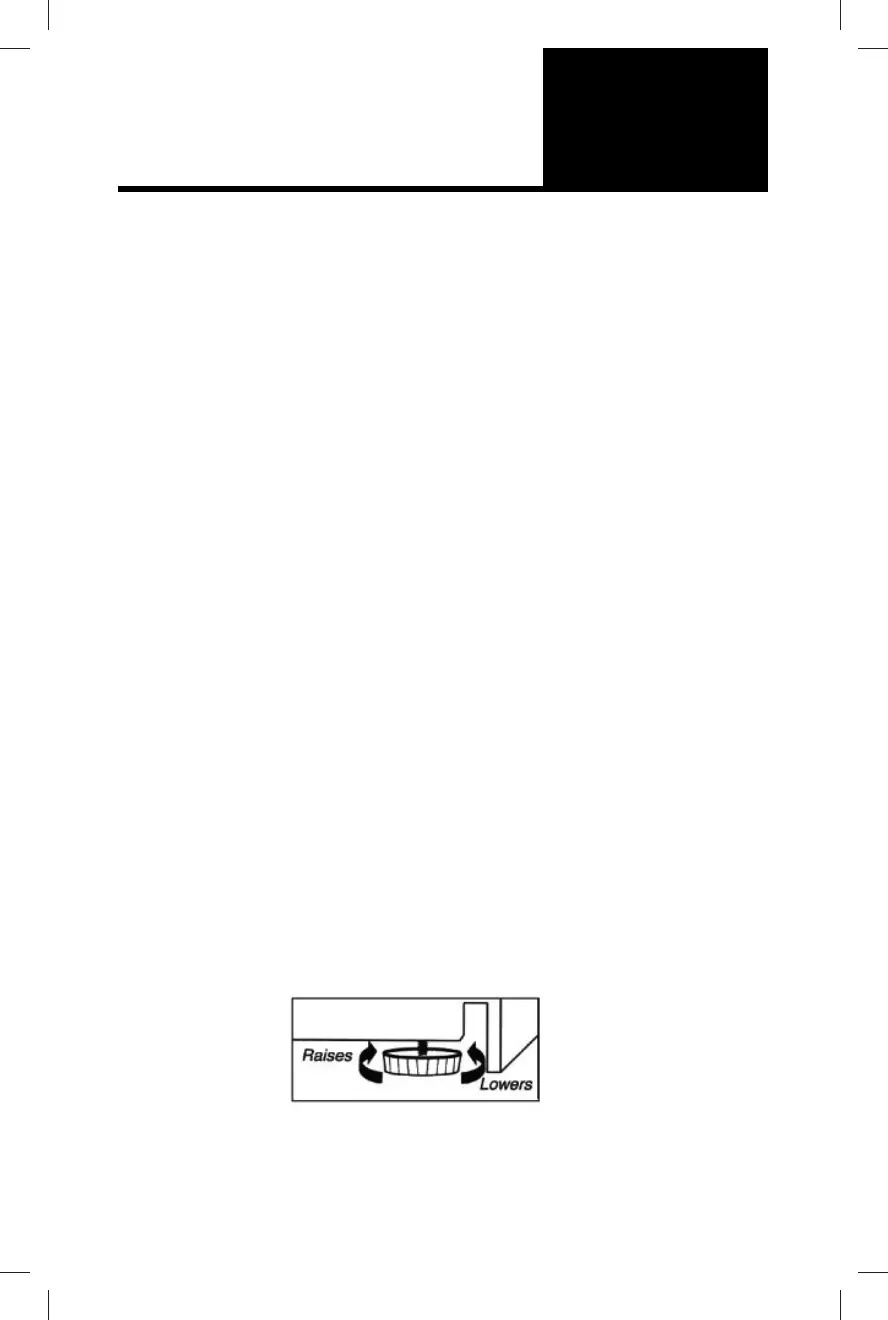
• Turn the leveling leg clockwise to raise, and counter-clockwise to lower the PRO
40. Connue in this manner unl the PRO 40 is level. Its best to ensure the
appliance is lted slightly to the rear for draining of water.
Humidity upgrade
PRO 40 Assembly Guide - Humidicaon
All PRO 40 SteakAger models come standard with the ability to add
humidicaon. Our simple plug and play system will allow you to take full control
of acve humidicaon inside your PRO 40. For ages under 50 days the PRO
40 will manage and maintain humidity levels without the added humidicaon
upgrade. For ages over 50 days added humidity will need to be added in order to
maintain the ideal humidity range. Humidicaon upgrades are available for
purchase on at www.TheSteakAger.com.
1. When you receive your Humidicaon upgrade, it will come fully assembled
annd ready to run. You will need to ll the water tray up to the 1.5Q mark and
then slide the tray back into the assembly.
2. There will be a cable coming from the back of the assembly, this will need to be
plugged into the top plug locaon on the Back Plate with the “H” label.
5