First Time Operang Instrucons
• Let the unit sit for 24 hours before plugging in the power cable and
turning on.
• Be sure to remove all packaging inside and outside.
• DO NOT load your PRO 40 unl it reaches 34F-39F (1C-3C).
• Cauon : We do not recommend using extension cords. If you must
use an extension cord make sure it is UL/CUL, 3-wire grounding type
appliance extension cord having a grounding type plug and outlet
and that the electrical rang of the cord be 115 volts and at least 10
amperes.
• Two plugs are provided for the operaon of your PRO series SteakAger.
The main plug for the refrigerator and one 12V plug for SteakAger
electronics control unit. Both must be plugged in for full operaon.
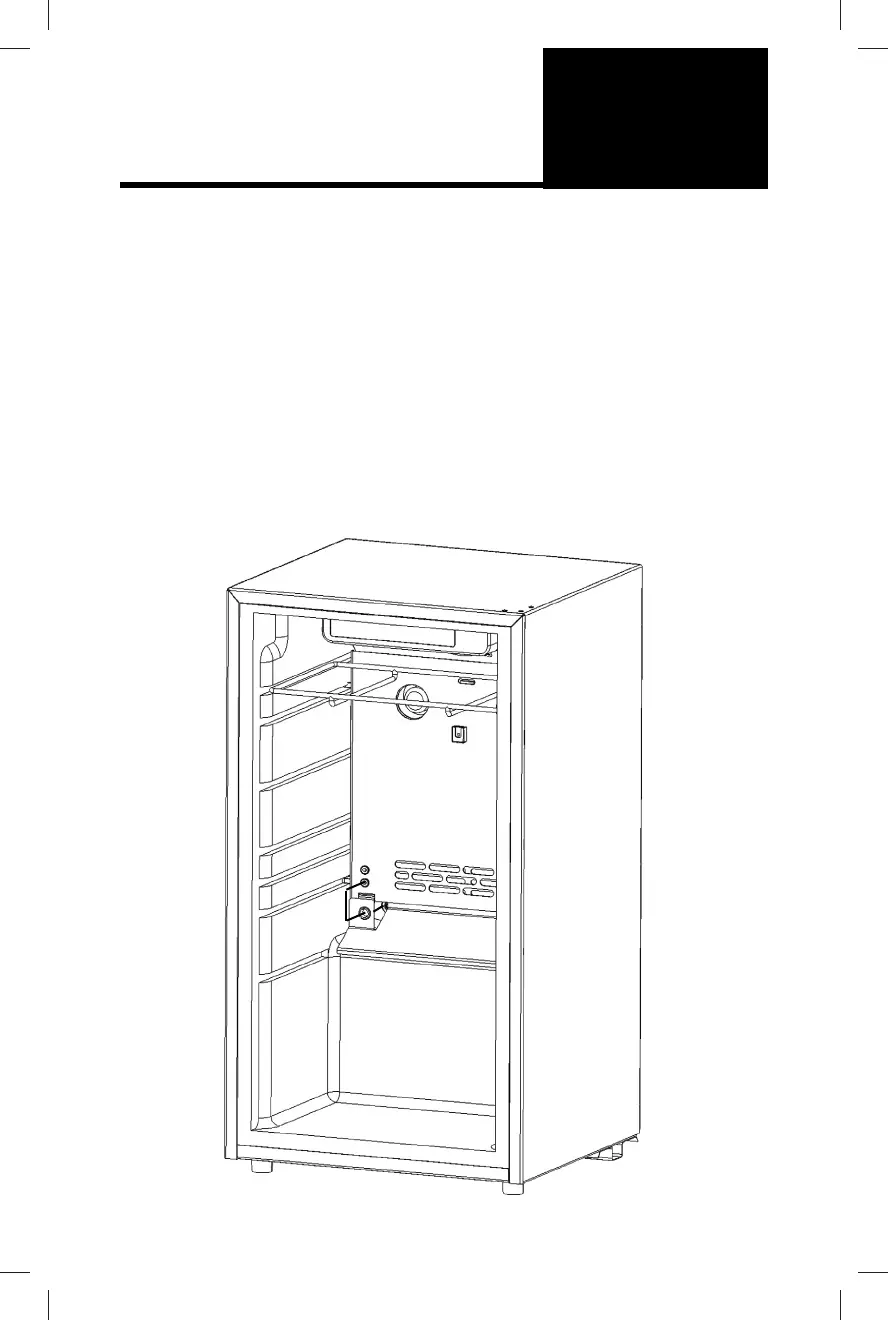
Initial Setup
Truss Rack
PRO 40 Assembly Guide - Truss Rack
3. Using all of the hook secons lace (Like a boot) the butchers twine all the way
to the top. Once you reach the top, e a knot and fasten the twine to the hook
secon that you end on.
4. Once you have completed the trussing, you can start to move it to your ager. If
you purchased the Truss Rack Kit, you will have been provided a slide in shelf to
sit the Truss Rack on. With the shelf in place, lowest rack slot, place the lled Truss
Racks on the Truss Rack shelf.
With everything installed enjoy the ease of aging in your Pro 40 SteakAger. It
is possible to install two Truss Racks at a me and can be added or removed at
anyme during the aging process. 45 days on one side and 30 days on the other
side.
6
FEATURES AND
FUNCTIONS