EasyManua.ls Logo

Steelcase Leap V2 User Manual

Steelcase Leap V2
2 pages
To Next Page IconTo Next Page
Page #1 background imageLoading...
Page #1 background image
Steelcase Leap V2 Assembly Instructions
Step 1) Carefully remove
all packing material from
the box and place
components on a flat
surface.
Part List:
- 5-Star Chair Base
- Pneumatic Cylinder
- (5) Hard Caster Wheels
- Seating Unit with Back
and Adjustable Arms
- Seat Pan
- 2 Seat Glides (May be
attached to chair)
Step 2) Insert caster
wheels into holes located
on the bottom of the 5-star
base. Push
metal locking mechanism
firmly into holes to lock in
place. Set the base of the
chair on the floor with
caster wheels down.
Step 3) Place the larger end of the cylinder
into the hole located in the center of the 5-
star base. Note the location of the arrow
sticker on cylinder.
Step 4) Identify if your
cylinder has a Side/Lever
Activated or Top/Button
Activated cylinder. See our
images for reference.
Side/Lever Activated Top/Button Activated
PAGE 1
Question and Answer IconNeed help?

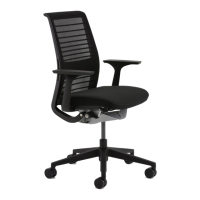
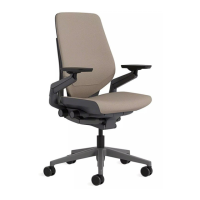
Do you have a question about the Steelcase Leap V2 and is the answer not in the manual?

Steelcase Leap V2 Specifications

General IconGeneral
Chair TypeOffice Chair
Weight Capacity400 lbs
Seat Depth AdjustmentYes
Backrest HeightAdjustable
Lumbar SupportAdjustable
Pneumatic Seat Height AdjustmentYes
Tilt LockYes
Tilt Tension AdjustmentYes
Back Height AdjustmentYes
Warranty12 years
MaterialFabric
Seat Height Adjustment16" - 20.5"
Armrest AdjustmentsHeight, Width, Depth, Pivot

Summary

Steelcase Leap V2 Assembly Instructions

Step 1: Prepare Components for Assembly

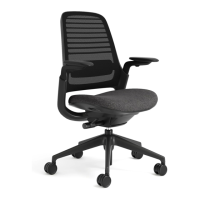
Carefully remove all packing material and place components on a flat surface for assembly.

Step 2: Install Caster Wheels

Insert caster wheels into the 5-star base, ensuring the locking mechanism is firm.

Step 3: Install Pneumatic Cylinder

Place the gas cylinder's larger end into the center of the 5-star base.

Step 4: Identify Cylinder Activation Type

Determine if the cylinder is Side/Lever Activated or Top/Button Activated.

Step 5: Connect Seating Unit to Cylinder

Align and connect the chair assembly to the gas cylinder, adjusting the set screw.

Step 6: Attach Seat Glides

Attach the labeled seat glides (L or R) to the correct sides of the chair.

Step 7: Attach Seat Pan

Slide the seat pan to the chair frame track while depressing the seat pan adjuster.

Step 8: Final Check and Support

Confirm proper function and contact support if any issues arise during assembly.
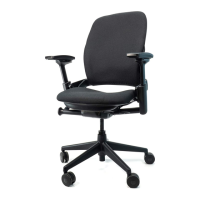
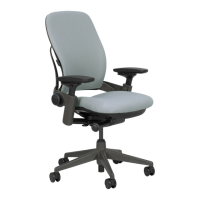
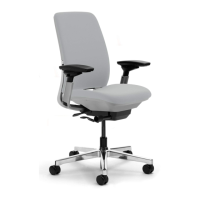
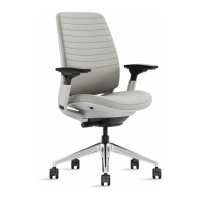
Related product manuals