8 9
Low battery indicator
When the battery weakens, the LED indicator light will blink at a constant rate when the
user’s hands are within the sensor range.
The battery must be replaced within two weeks, as follows:
. Shut the water supply.
. To reach access to the battery, unscrew the set screw
located at the underside part of the Malmo body using
the mm Allen key provided.
. Disassemble the sensor cap.
. Verify that the o-ring is in good condition. If needed, apply grease or replace it.
. Remove the old battery, disconnect from the battery connector and take out the
battery cover protection.
. Place the battery cover protection at the new battery and connect to the battery
connector. A Lithium battery is recommended.
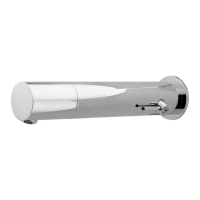
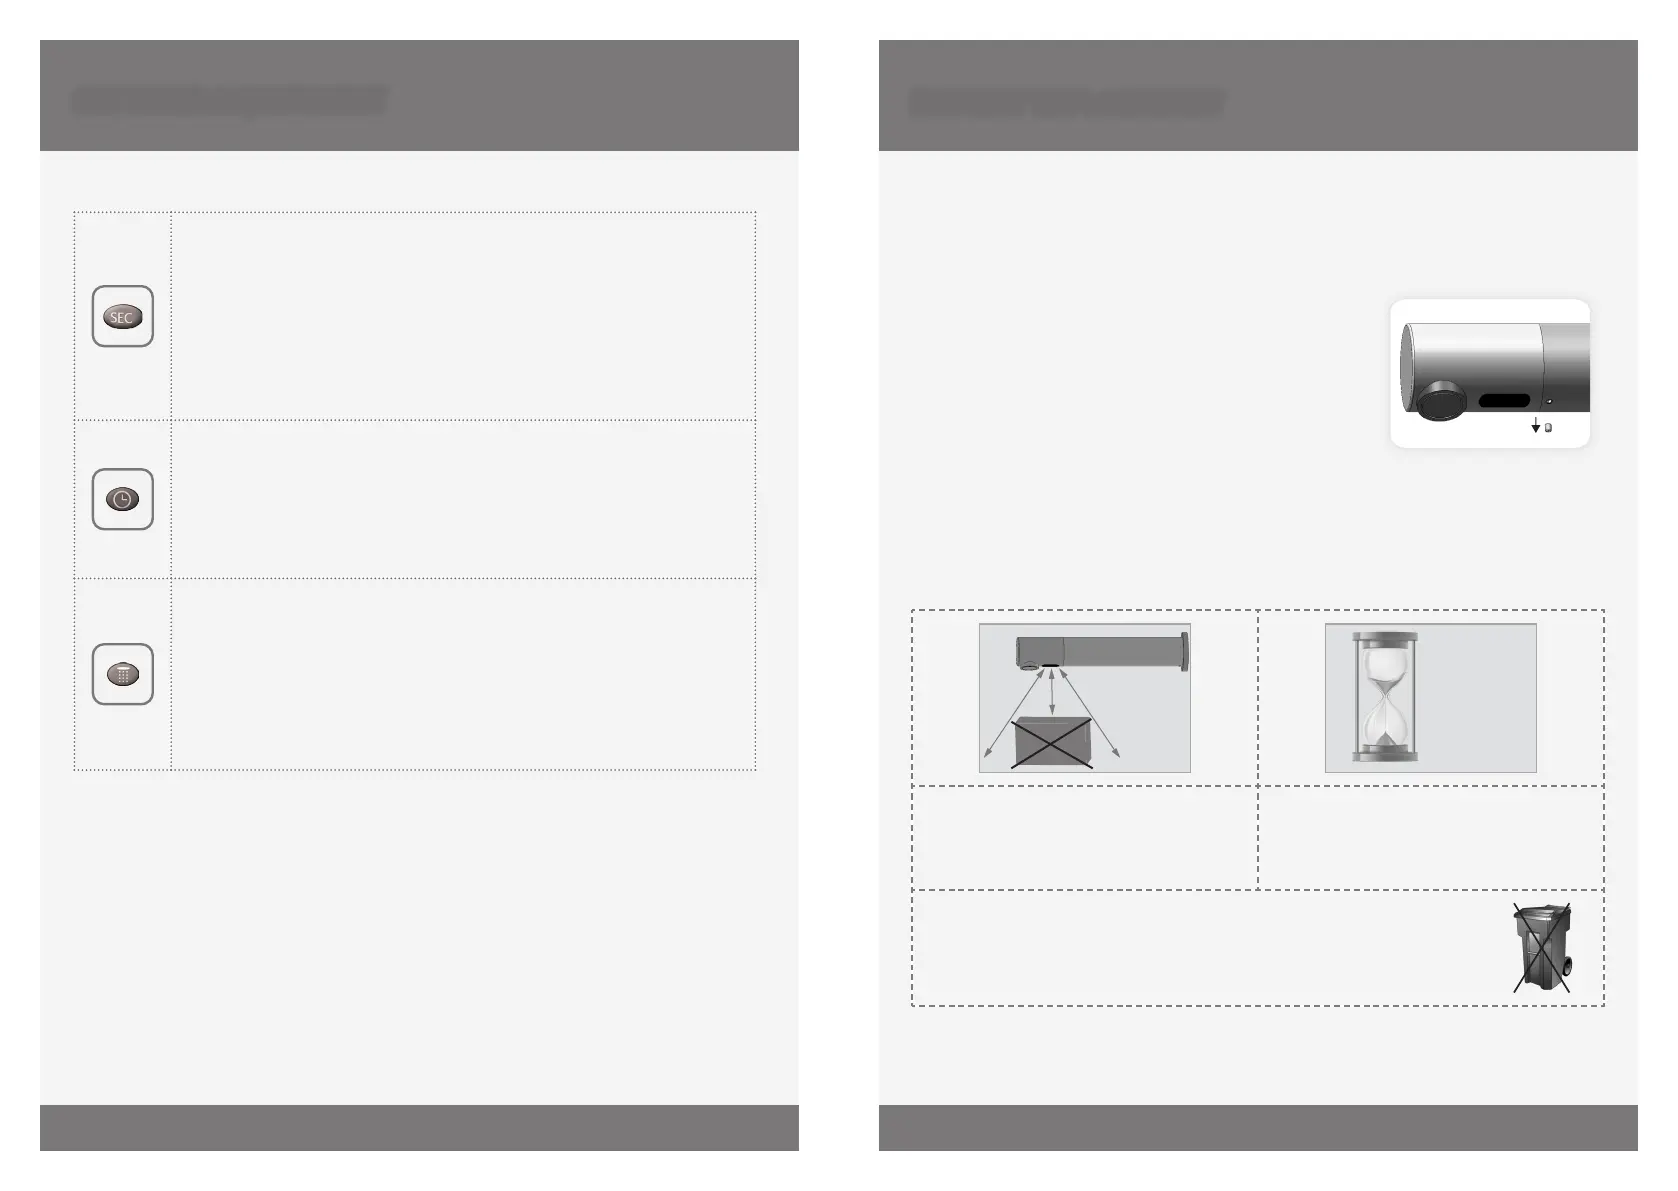
BATTERY REPLACEMENT
15
SECONDS
ABOUT
OBJECT
Wait seconds in order to allow the
system to set the ideal sensor range.
Check that there are no objects in front of
the sensor aer the battery replacement
was completed.
IMPORTANT: Spent batteries should not be disposed of with normal
household waste. Contact your local authority for information on waste
disposal and recycling.
SETTINGS ADJUSTMENT
SECURITY TIME: The Security time, prevents continuous flushing of water
due to reflections or vandalism. By default, if the sensor is covered for
more than seconds the water flow will shut automatically. To resume
regular operation any obstruction must be removed.
Press the SEC button. Wait until a quick flashing of the LED of the sensor
eye is perceived. Then, press + to increase the security time and – to
reduce it.
HOUR HYGIENE FLUSH: This model includes a hours hygiene flush
which is disabled. To activate the hygiene flush, press the clock button.
Wait until a quick flashing of the LED in the sensor eye is perceived.
Then press + to activate the hygiene flush. To disable it again, press – to
deactivate it.
COMFORT FLUSH: If your model includes a COMFORT FLUSH setting, it can
be activated by pressing the flush button.
When the button is pressed, one blink of the blue in the sensor eye is
perceived. The pre-programmed flush cycle will take place then.
The Comfort flush cannot be interrupted or deactivated by pressing any
button until it is over.
 Loading...