10 11
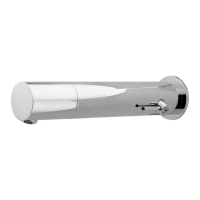
MALMO 1000
MALMO / MALMO 1000
-pack Sensor Kit
-pack Solenoid valve kit
Battery cover
Filter
Remote Control B (optional)
Soap & Water Remote Control (Optional)
MAINTENANCE
CARE AND CLEANING OF CHROME AND SPECIAL FINISHES
DO NOT use steel wool or cleansing agents containing alcohol, acid, abrasives, or
the like. Use of any prohibited cleaning or maintenance products or substances
could damage the surface of the faucet. For surface cleaning of faucet us ONLY soap
and water, then wipe dry with clean cloth or towel. When cleaning bathroom tile, the
faucets should be protected from any splattering of harsh cleansers.
h. Reassemble the faucet body to the base with the rosette setting the screw.
i. Re-establish the incoming water supply.
j. Make sure that there is no water leakage.
SPARE PARTS LIST
MALMO
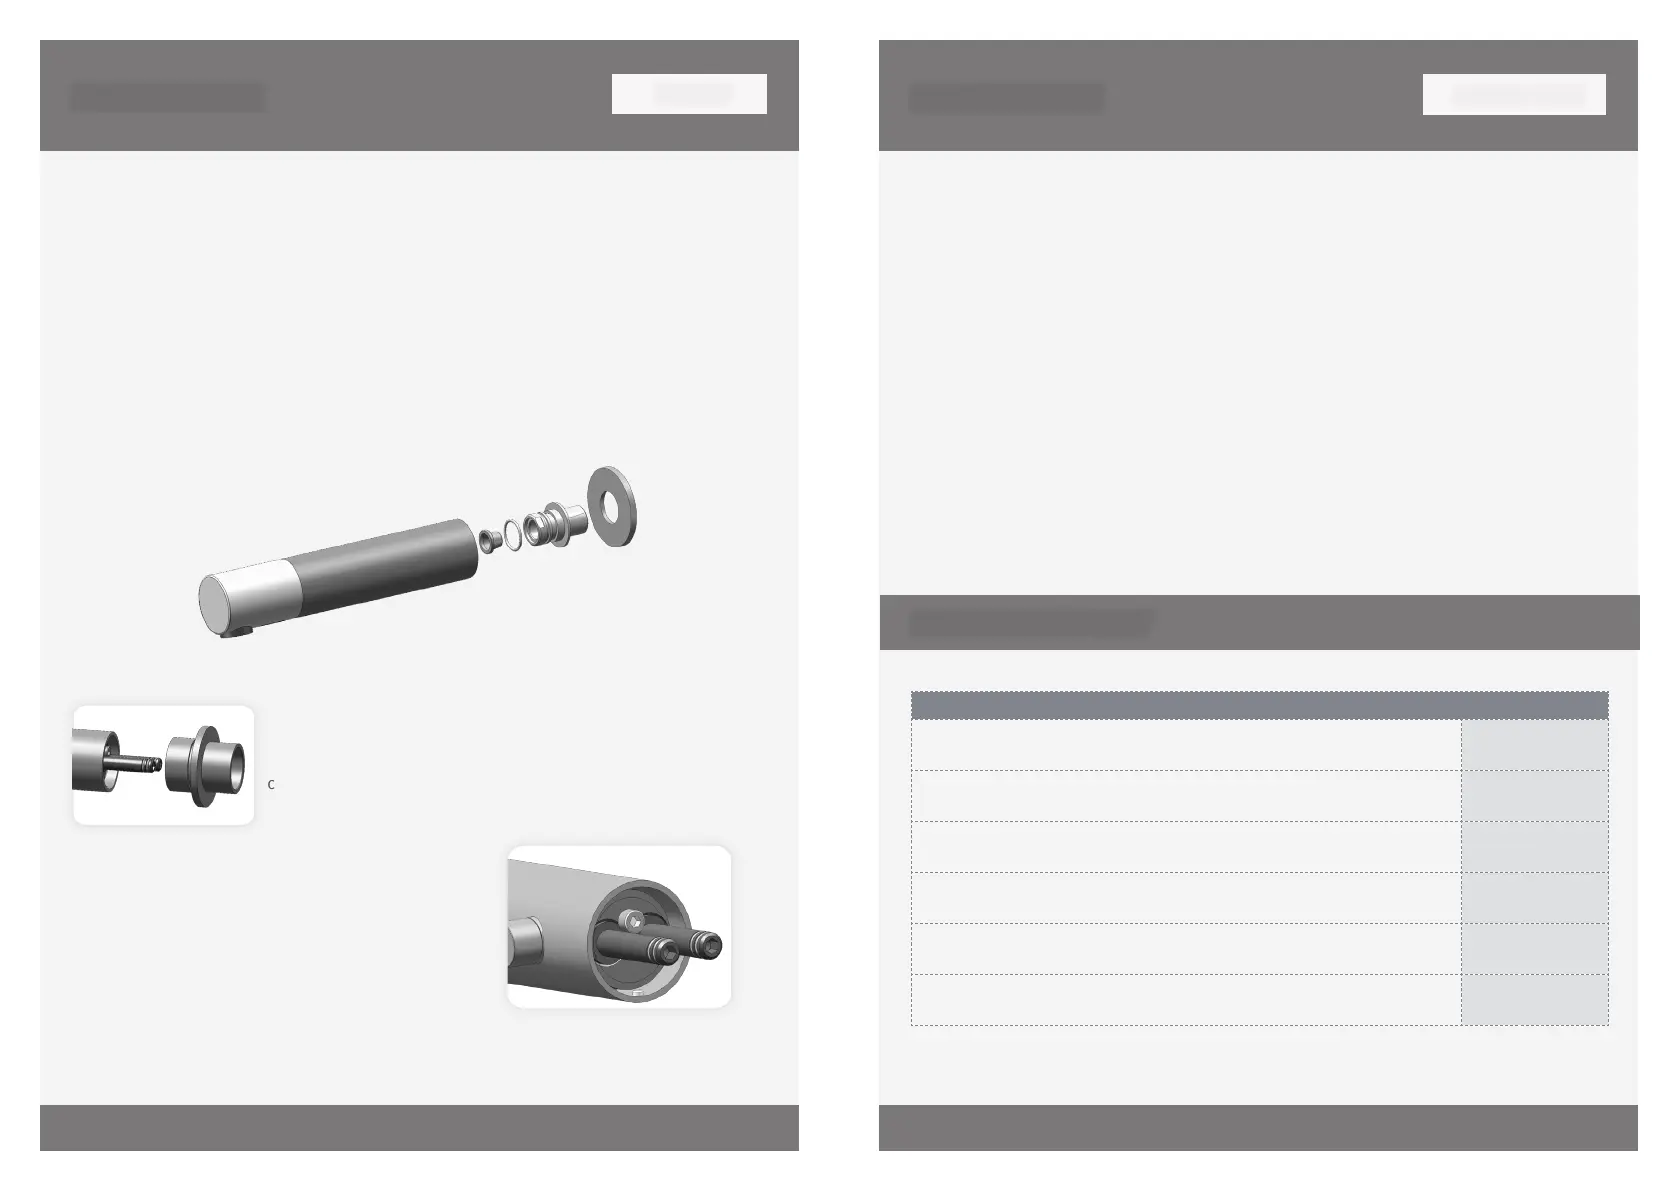
FILTERS CLEANING INSTRUCTIONS FOR MALMO 1000
a. Shut-o the water supply and the valve.
b. Release the set screw at the faucet body using the mm
Allen Key.
c. Pull out the Malmo 1000 body and separate it from the
rosette.
d. At this point you will have access to the two nipples and
the Allen screw that are located at the internal side
of Malmo 1000 faucet. Unscrew this screw using
the provided mm Allen key.
e. Pull out the nipples and dismount the lters.
f. Wash the lters under running water. If needed,
replace the lters with new ones.
g. Restore the lters. Restore the nipples and close
the central screw using the Allen key.
MAINTENANCE
FILTER CLEANING INSTRUCTIONS FOR MALMO
This faucet is provided with a stainless steel lter preventing foreign particles to enter the
lines. If the water flow has decreased, this may be because the lter is clogged. The lter
can be cleaned as follows:
a. Shut-o the water supply and the valve.
b. Release the set screw at the faucet body using the . mm Allen Key. Disassemble the
faucet’s body from the base.
c. Disassemble the lter from the base.
d. Wash the lter under running water. If needed, replace the lter with a new one.
e. Restore the lter. Reassemble the faucet body to the base setting the screw.
f. Re-establish the incoming water supply.
g. Make sure that there is no water leakage.
 Loading...