stewmac.com
10
Install the pickguard and control plate
Lay out the pickguard and control plate using the neck and
bridge for reference. Once positioned, mark out the mount-
ing screw holes with a scribe or punch. Drill pilot holes for
the screws using a 1/16" drill bit.
Choose the location of your strap buttons, and drill holes for
them with a 3/32" bit. Drill these holes 1/2" deep.
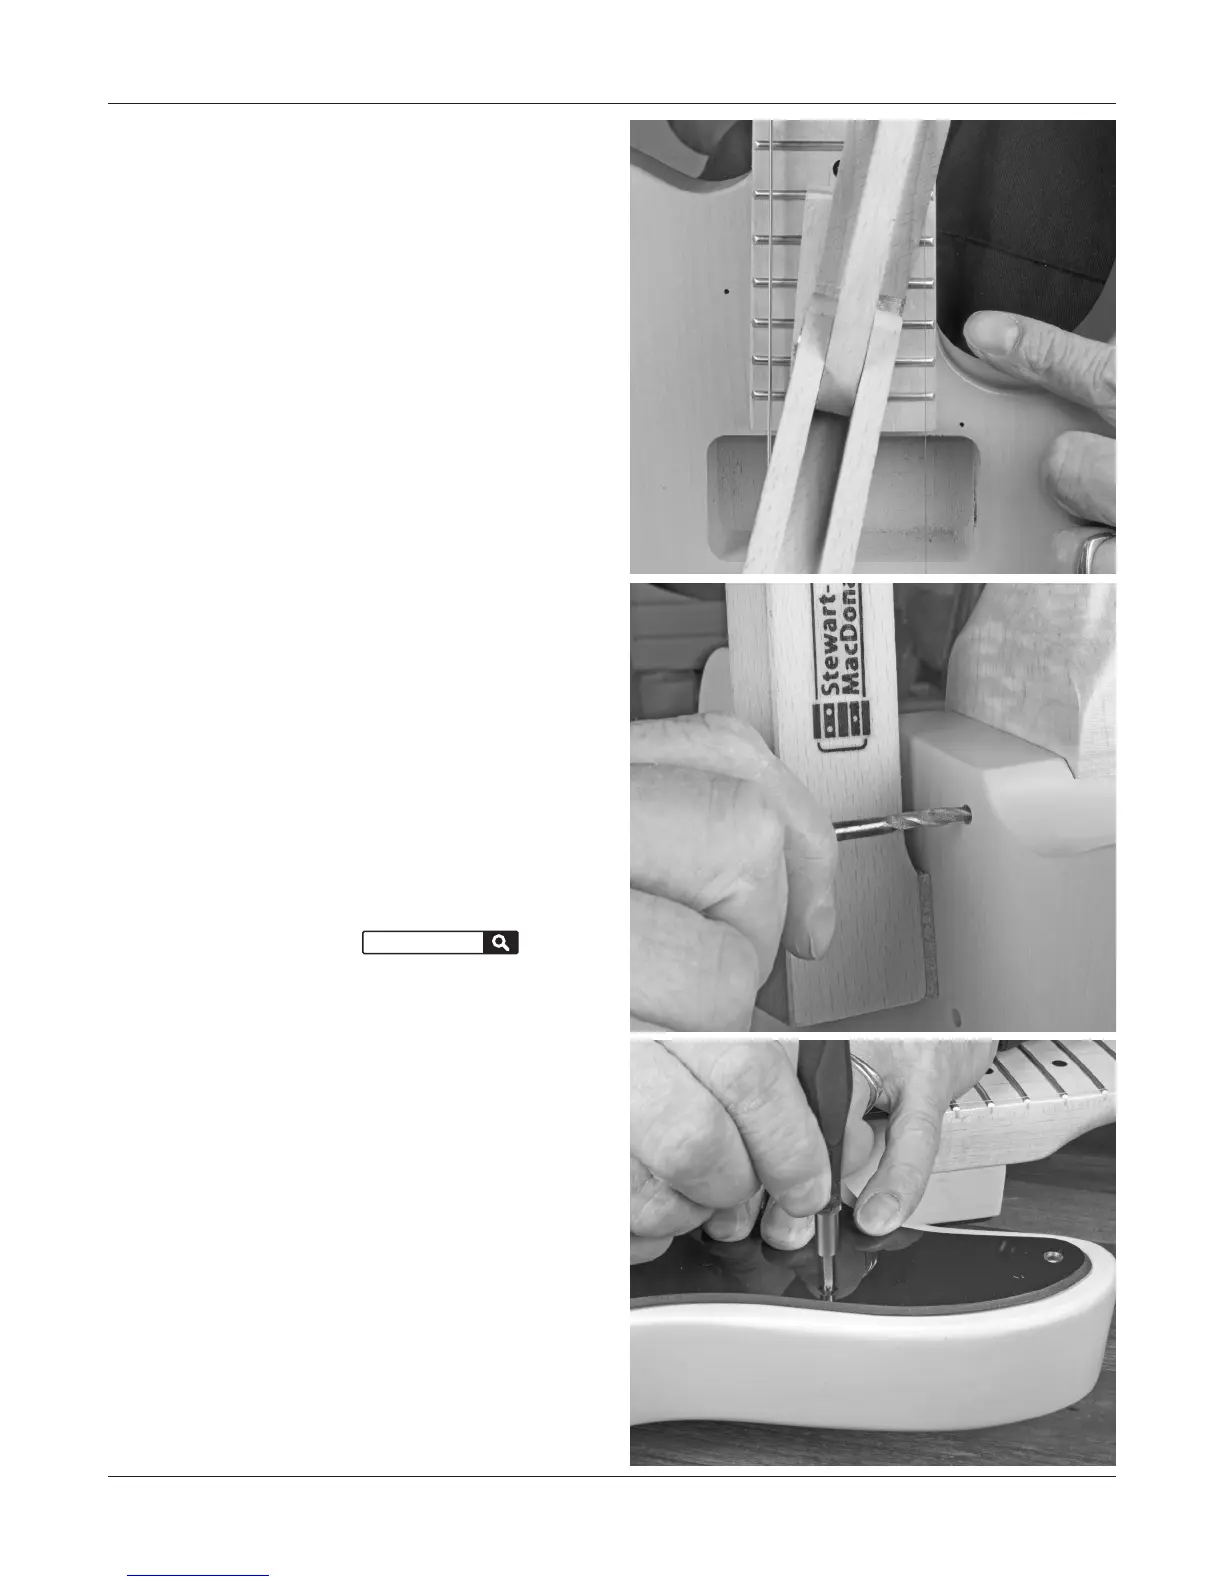
Drill the neck mounting holes
It’s important that these holes are drilled square to the neck,
so a drill press works best for this job. Use a 1/8" bit and drill
the holes 11/16" deep.
If you don’t have access to a drill press, use a drill guide to
keep your hand drill squared up.
Use a #2 Phillips screwdriver to install the neck mounting
screws through the neck mounting plate. The mounting
plate sits on a plastic backer.
For more information, see our Trade Secrets video #245 “How
to install a bolt-on neck” at stewmac.com.
Install the neck
Use a clamp to lightly hold the neck in place. Place a scrap
of wood over the frets so the clamp doesn’t mar them.
The kit comes with two sets of strings; the generic set is for
checking the alignment of the neck and positioning the
string trees. The higher quality strings are for the final setup.
Install the high and low E strings from the generic set to
check alignment and make side-to-side adjustments as
needed to make sure the strings ride even along both edges
of the fretboard.
Use the holes in the body to mark the neck. A scribe, nail, or
transfer punch will make clean marks in the neck to show
you where to drill. A 4mm brad point drill bit turned by hand
also works well for making these marks.
stewmac.com search:
ts245