stewmac.com
4
You can trace a favorite peghead or come up with a look
all your own. You’ll be cutting your design from the blank
peghead on the kit’s neck.
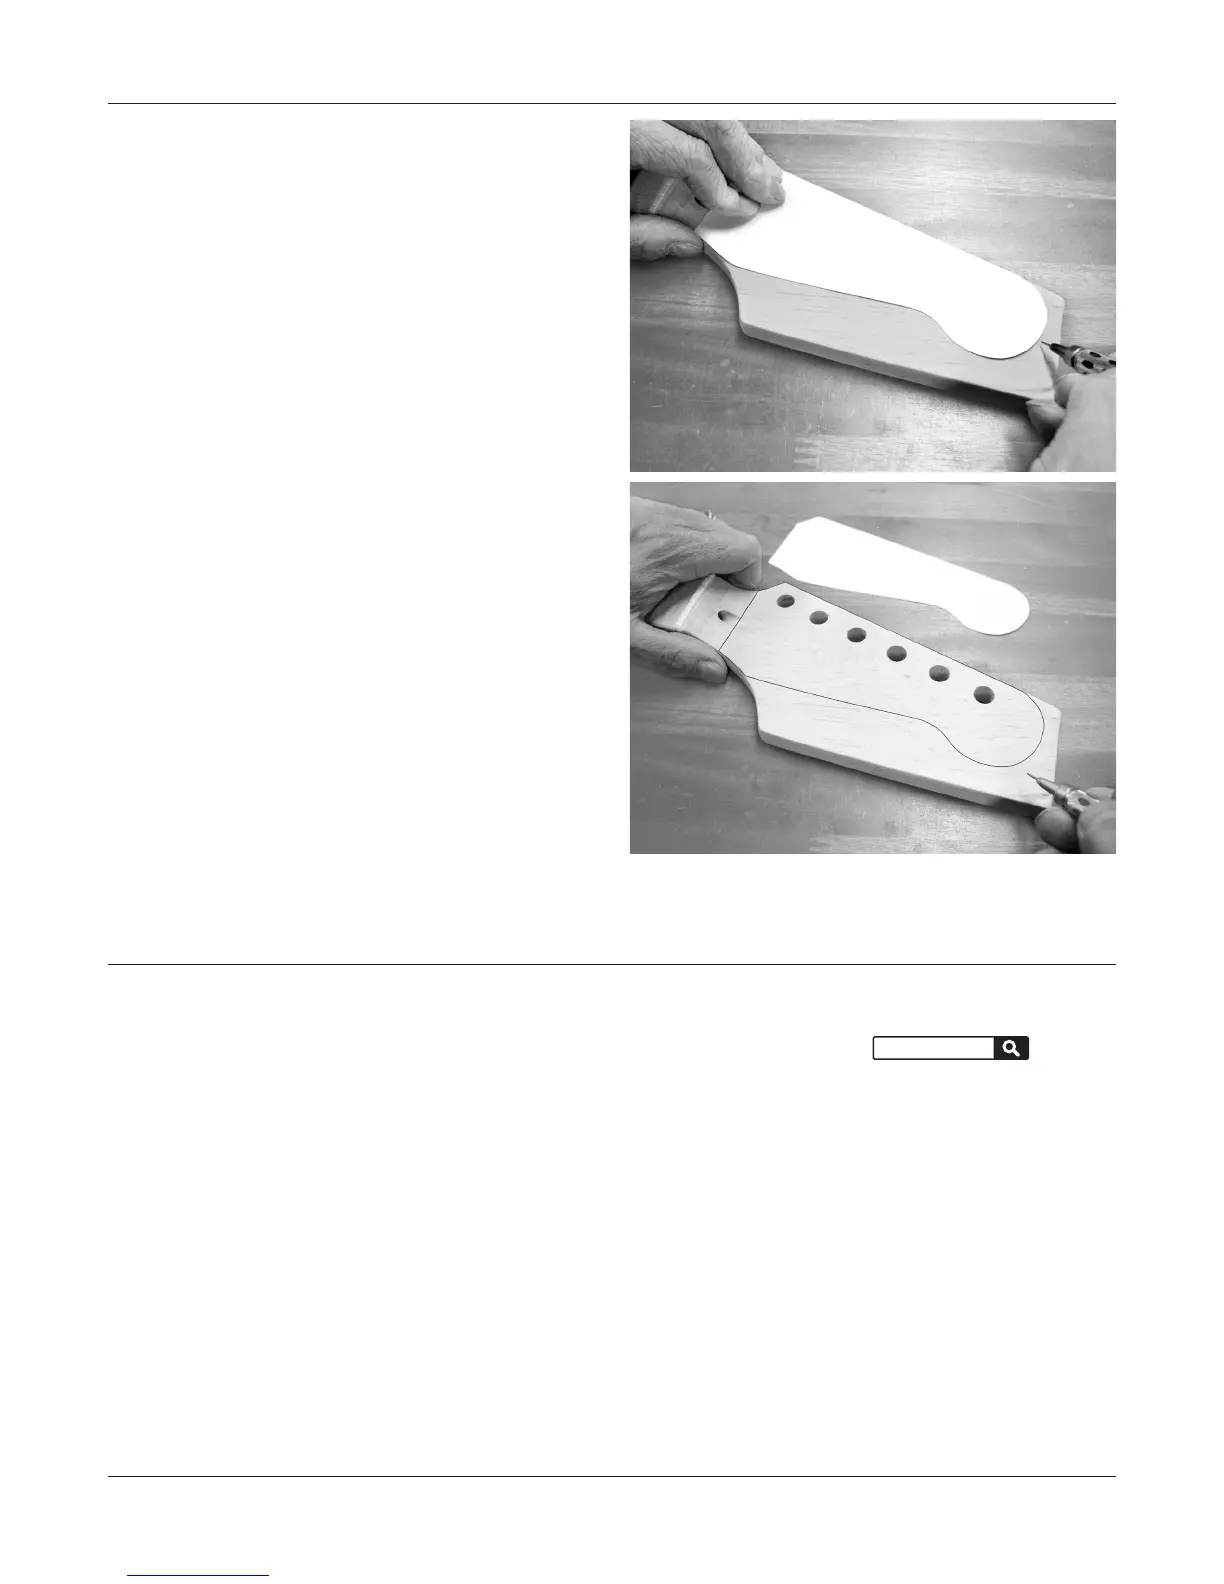
Make a paper template
Sketch out your peghead design on a piece of heavy paper
and cut it to shape with scissors. Using a pencil, trace the
shape onto the peghead. Use a light touch that doesn’t
dent or compress the wood which could make sanding
out any unwanted lines difficult. Don’t use ink, because it
leaves permanent stains that can even bleed up through
an opaque guitar finish.
Cut the peghead to shape
It’s important that your saw stays square to the face of the
peghead while you cut. If it tilts to an angle, you’ll get a
sloppy result that takes a lot of sanding to correct. Use a
bandsaw if you have one; a jigsaw is also good. A hand-held
coping saw can also be used, but it’s tough to hand-saw
smooth clean curves.
Never cut on the line
Always cut just outside the line, so you can sand to the line
afterward.
Smooth your saw cuts to create your peghead shape using
rasps, files and sandpaper. Don’t rush: rough patches will
disappear into a good final shape if you take your time.
When you’re happy with your peghead shape, sand it
smooth using 150-grit sandpaper followed by 220-grit,
then 320-grit.
Create your peghead shape
Prep for nishing
Preparing the the neck and body for finish is just as import-
ant if not more important than the final spray. The key to a
great looking finish is patience and lots of it. Be thorough
with your sanding and follow the finishing schedule on page
6 for best results.
Inspect the body and neck for any dents, chips, or other
imperfections and repair them. Small dents can be steamed
out by placing a damp cloth over the dent and applying
heat with a soldering iron. Chips and knotholes will need
to be filled.
Fill the grain
The body of your guitar kit is made of mahogany, which is an
open grained wood. The grain will need to be filled before
finishing in order to achieve a flat surface. We suggest using
our Neutral ColorTone grain filler following the instructions
on the label. Three applications are recommended to get a
nice flat surface to build finish coats over.
For more information on grain filling, see our article #i-5035
“Using ColorTone Grain Filler” at stewmac.com.
Sand the body
Using 150-grit sandpaper on a flat sanding block, sand the
entire body working only in the direction of the grain.
After a complete sanding, wipe the body with a damp cloth
to raise the grain, to reveal fibers that need more sanding.
Let the dampness dry, then sand the raised grain with 220-
grit sandpaper. After sanding, raise the grain again and sand
a third time, using 320-grit sandpaper.
stewmac.com search:
i-5035