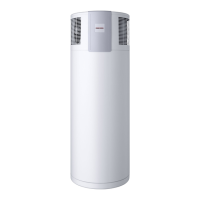
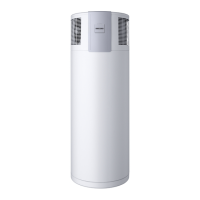
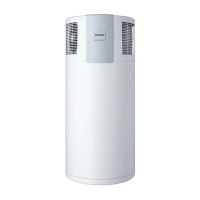
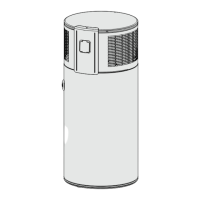
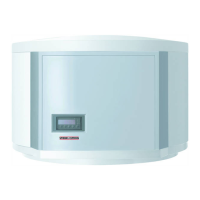
Note: Ensure that the casing
panel in the lower area of
the device is not damaged during
positioning.
Remove packing straps and —
polystyrene mouldings.
Level the device by adjusting the —
equipment feet.
After leveling the device fix the nut of —
the rubber feet to provide a maximum
of structural safety.
External installation
The location where the WWK is to be
installed must meet the following
conditions:
Load-bearing floor (wet weight of the —
WWK approx. 430 kg).
Never operate the WWK in rooms at a —
risk from explosion due to dust, gases
or vapours.
It is prefferred that the location of —
the unit is not near a bedroom or
a neighbour´s bedroom. Ideally a
unit may mounted near a kitchen or
laundry. Opposite a neighbours gara-
ge is always prefferred.
The water heater should be located —
as close as possible to the most fre-
quently used hot water tap connec-
tion.
Ensure that the data plate is clearly —
visible.
Internal installation
The room where the WWK is to be
installed must meet the following
conditions:
Load-bearing floor (wet weight of the —
WWK approx. 430 kg).
Never operate the WWK in rooms at a —
risk from explosion due to dust, gases
or vapours.
Include in your considerations the —
utilisation of waste heat, for example
from a boiler, tumble drier or refrige-
rator/freezer.
The available floor area in the instal- —
lation room must be at least 6 m².
Never install this equipment in rooms
with a volume of less than 13 m³.
Never restrict the clearances of the —
WWK through walls and ceilings fur-
ther than illustrated in Fig. 2.
The room temperature must never fall —
below 0 °C, as the ambient tempera-
ture will be reduced by approx. 1-3 °C
through the heat pump operation. The
initial temperature is reached again
approx. ½ h after the heat pump has
been switched OFF.
When installing the heat pump in a boiler
room, ensure that the boiler operation
will not be impaired.
2.3 Water connection
Remove the protective caps from the —
connectors.
With a sharp knife, cut a hole into the —
protective caps and invert over the
pipe to be connected.
Connect the pipe and refit the —
protective caps.
Please note: To protect against
the risk of corrosion, make
the connection as flat packing seal.
The use of hemp on connections is
not acceptable.
Insulate the DHW line in accordance with
local regulations.
Accurately maintain the order of fittings
on the cold water side (see Fig. 1).
Air Air
Dimensions in mm
Flush the line prior to installation.
Install a drain valve at the lowest point of
the cold water supply line.
Install a pressure reduction valve when
the water pressure is higher than 500 kPa
(5 bar).
Special measures are required at a water
pressure in excess of 10 bar (see DIN
1988).
Expansion control valve (Fig. 1, pos. 7)
Observe the local requirements for an ECV
(optional)
The diameter of the connecting pipe —
must not be larger than the safety
valve diameter.
Size the drain so that water can drain —
off, even if the safety valve has been
fully opened.
The drain outlet must not be able to be —
closed and must always remain open to
atmosphere.
The safety valve must open at 475 kPa — .
P&T relief valve (Fig. 1, pos. 4)
Atsite: Install the provided P&T relief
valve.
The P&T relief valve must open at 600 kPa.
Condensate drain
The device is designed so that, if it is
installed externally, the condensate
can freely drain away. However, the
condensate can also (in case of internal
installation) be routed into a drain in
the floor or into a wall drain connection
located at a higher point.
Fig. 2
Positioning
C26_03_01_0739
 Loading...

