EN
ENGLISH
(Translation of the original instructions)
we live in. Avoid being a disturbance to the
neighbourhood.
• Adhere strictly to the local regulations
governing the disposal of packaging, oil, fuel,
lters, damaged parts or any other element
which may have an impact on the environment;
this waste should not be disposed of along
with standard household waste, but must be
disposed of separately and sent to special
waste disposal facilities for handling and
recycling.
• Scrupulously comply with local regulations for
the disposal of waste materials after mowing.
• When the machine is withdrawn from service,
do not dispose of it in the environment,
but take it to a waste disposal facility in
accordance with the local regulations in force.
4 INSURE THE LAWNMOWER
Check the insurance of the ride-on mower.
Contact your insurance company.
You must take out a policy that includes trac,
re, damage and theft.
5 ASSEMBLY
Before rst use, fully charge the bat-
tery.
Do not use the machine until all the in-
dications provided in the “ASSEMBLY”
section have been carried out.
Unpacking and completing the assem-
bly should be done on a at and stable
surface, with enough space for moving
the machine and its packaging, always
making use of suitable equipment.
5.1 ASSEMBLY COMPONENTS (3)
The machine is delivered with the seat, the arm-
rests, the steering wheel, the tow bar, the quick
release supports removed and the battery placed
in its seat but disconnected.
The packaging includes the assembly compo-
nents (3) listed in the table below:
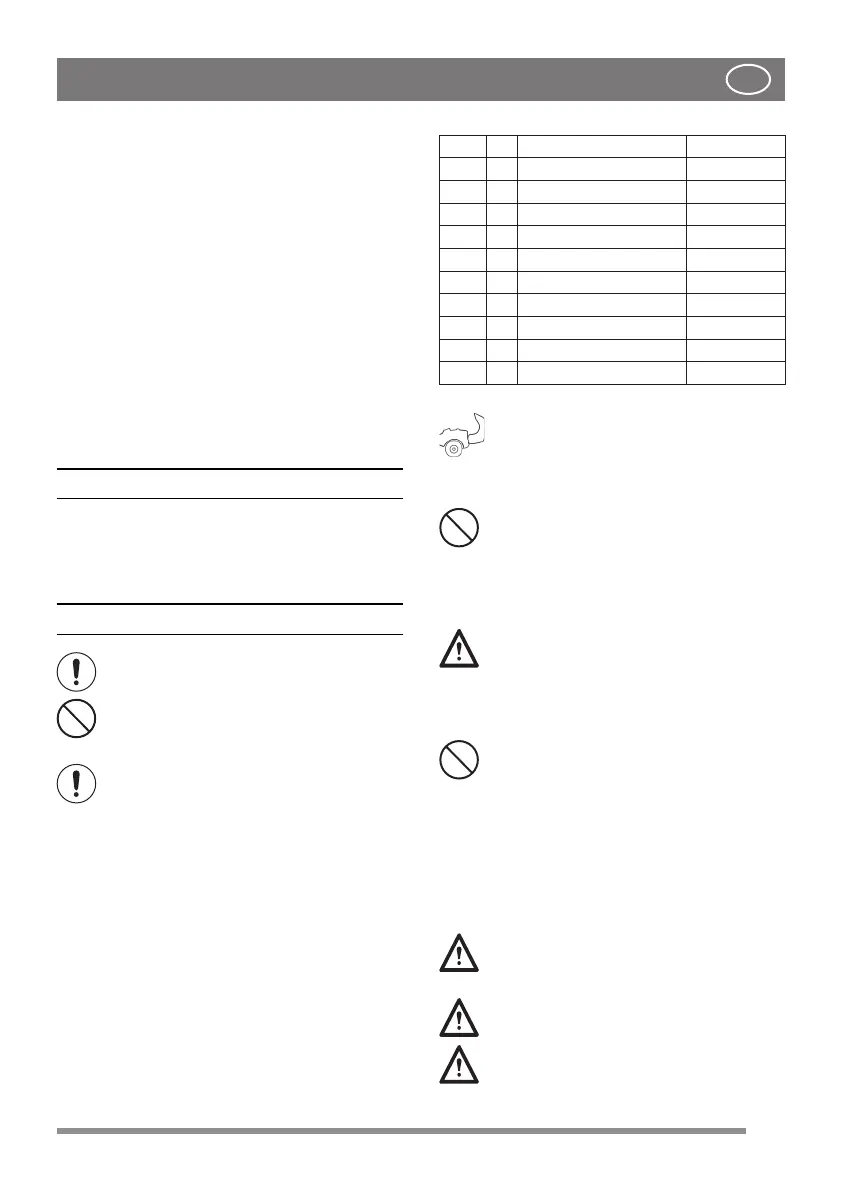
Pos. N. Description Dimensions
A 2 Pin 6 x 36
B 1 Shim washer 6x38x0.5
C 1 Shim washer 16x38x1.0
D 2 Ignition key /
E 2 Battery nut /
F 2 Battery screws /
G 2 Nut M8
H 1 Tow bar /
J 2 Screw 8x20
R 4 Grower washer 14 x 8.2 x 2
5.2 ENGINE BONNET (5:A)
To access the fuel cock, battery and
engine, open the engine bonnet.
The engine bonnet opens as follows:
1. Grasp and lift the engine bonnet (5:A).
It is forbidden to start the engine when
the bonnet is open.
5.3 BATTERY
For the type of battery used on the machine see
"0 TECHNICAL SPECIFICATIONS TABLE"
WARNING! The acid contained inside
the battery is corrosive and its contact
is harmful.
Handle the battery carefully taking care not to
let it leak out.
Do not check and/or top up the battery
uid
5.3.1 Battery connection (6)
Connect the battery to the machine electrical sys-
tem using the screws and nuts (6:F; 6:E)
1. Connect the red cable to the positive battery
terminal (+).
2. Connect the black cable to the negative bat-
tery terminal (-).
The battery may short or be damaged
if the cables are disconnected/con-
nected in the reverse order.
The alternator and battery will be dam-
aged if the cables are interchanged.
Securely tighten the cables. Loose ca-
bles can cause re.
11



 To Next Page