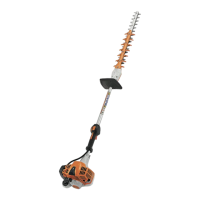
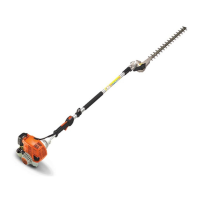
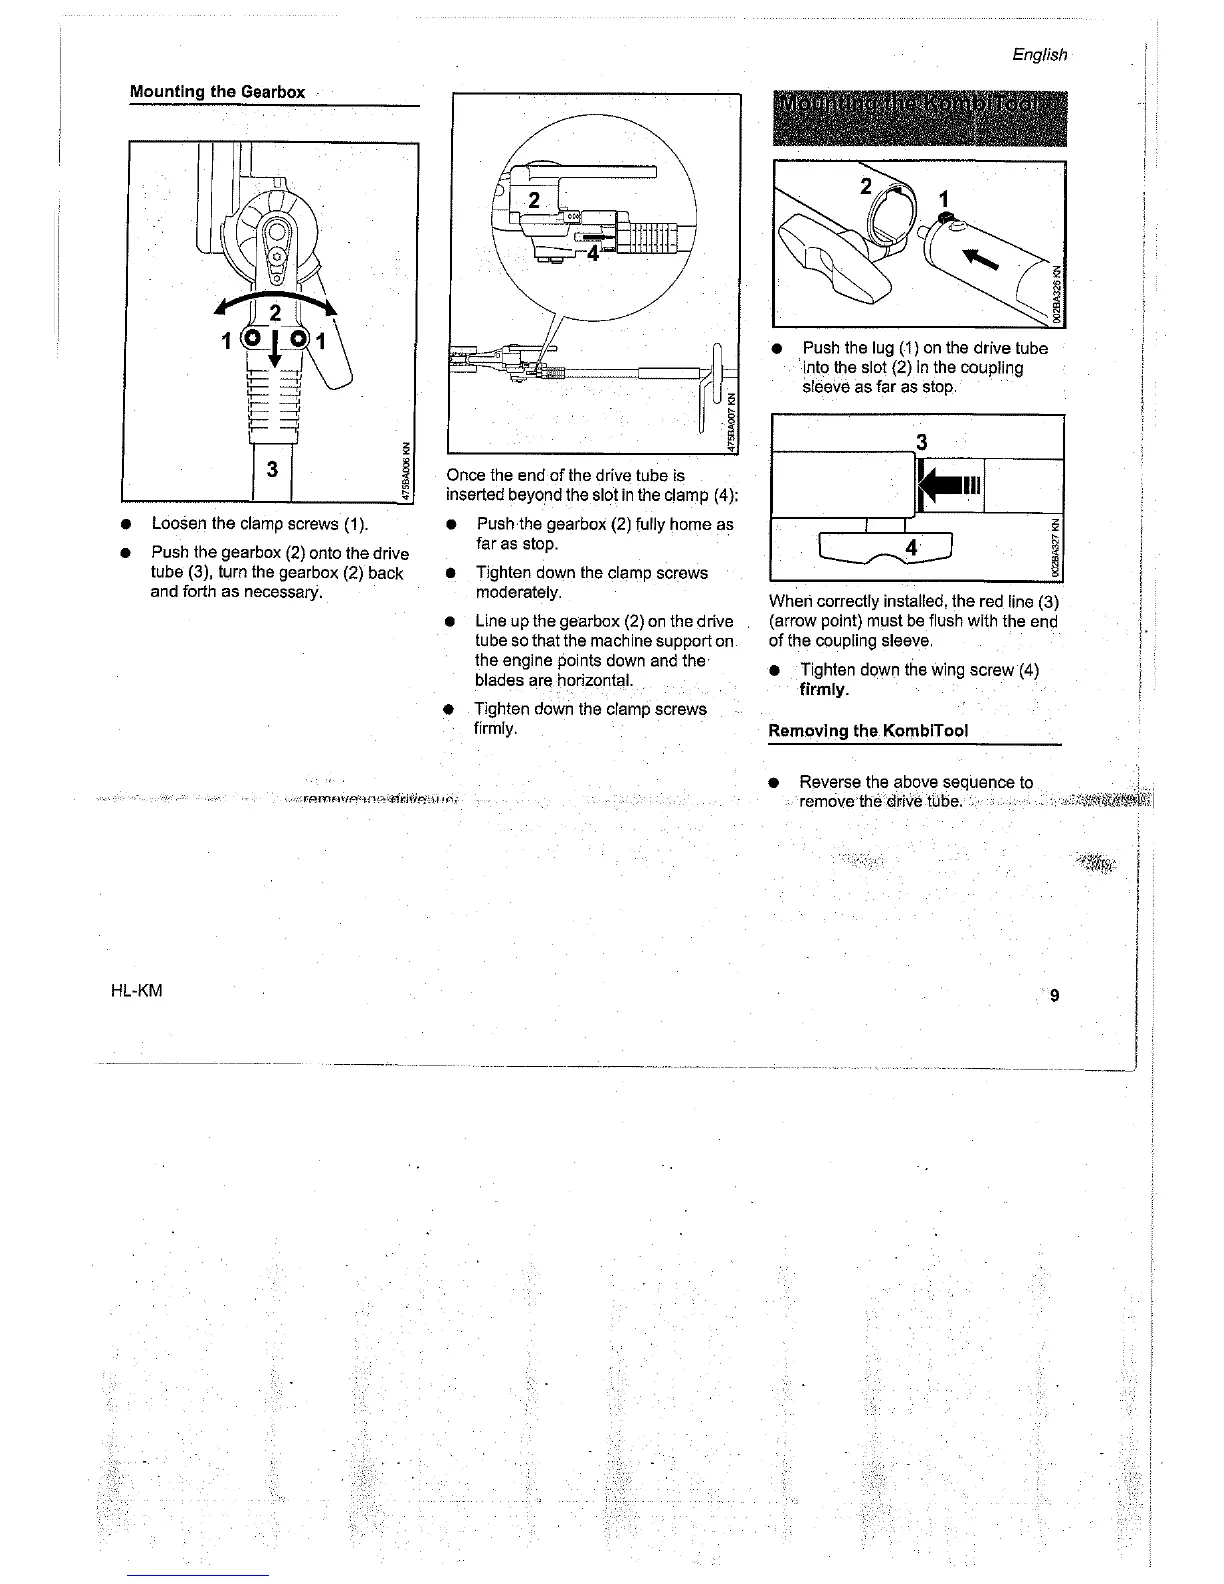
Mounting the Gearbox
•
•
3
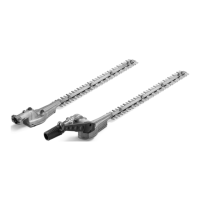
Loosen the clamp screws (1) .
Push the gearbox (2) onto the drive
tube (3), turn
the
gearbox (2) back
and forth as necessary.
HL-KM
4
Once the end
of
the drive tube is
inserted beyond the
slot
in
the clamp (4):
• Push
the
gearbox (2) fully home as
far as stop.
• Tighten down the clamp screws
moderately.
•
Line up the gearbox (2)
on
the drive
tube so that the machine support on
the engine paints down and the
blades are horizontal.
•
Tighten down the clamp screws
firmly.
English
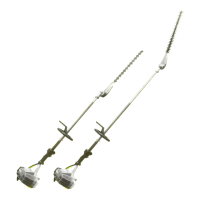
• Push the lug (1)
on
the drive tube
into the
slot (2)
in
the coupling
sleeve
as far as stop.
4
When correctly installed, the red line (3)
(arrow point) must be
flush with the end
of
the coupling sleeve.
•
Tighten down the wing screw (4)
firmly.
Removing the KombiTool
•
Reverse the above sequence to
removelhe<lrivetube.,
.
9

 Loading...