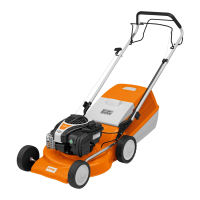
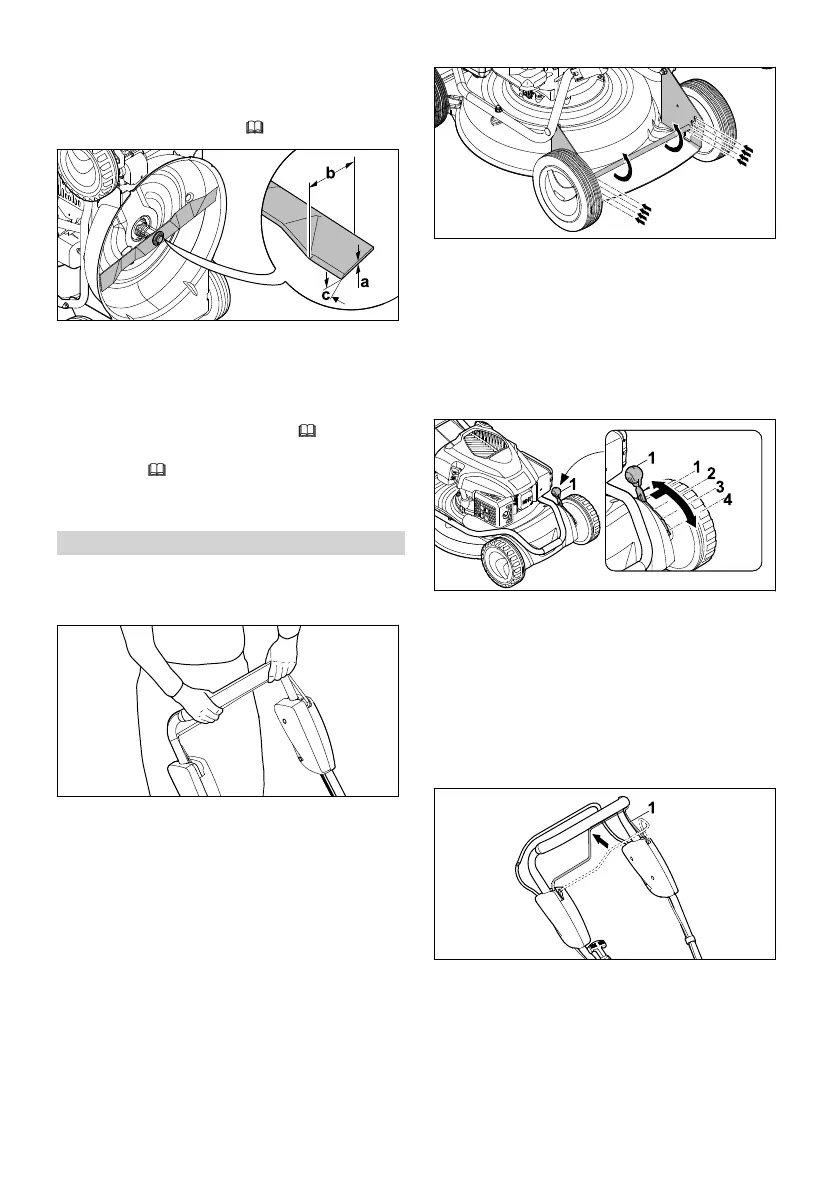
10.2 Checking the Blade
► Stop the engine.
► Detach the spark plug socket.
►
Upend the lawn mower, 15.1.
► Measure the following:
–
Thickness a
–
Width b
–
Sharpening angle c
► If the minimum thickness or minimum width is
fallen below: replace the blade,
19.2.
► If the sharpening angle is not correct: sharpen
the blade, 19.2.
► If anything is unclear: consult a STIHL special‐
ist dealer.
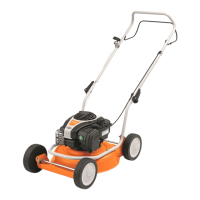
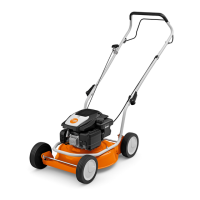
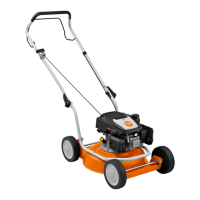
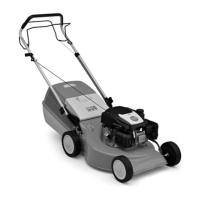
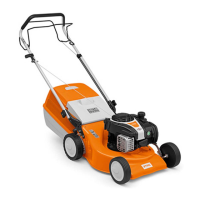
11 Operating the Lawn Mower
11.1 Holding and Guiding the Lawn
Mower
► Hold the handlebar with both hands so the
thumbs enclose the handlebar.
11.2 Setting the Cutting Height
Four cutting heights can be set:
–
30 mm = position 1
–
50 mm = position 2
–
70 mm = position 3
–
85 mm = position 4
The cutting height is set separately at the front
and rear. The cutting height setting must be iden‐
tical at the front and rear.
Setting the rear cutting height
► Stop the engine.
The blade must not be turning.
► Place the lawn mower on a level surface.
► Press the rear axle downwards.
The rear axle is released and can be adjusted.
► Move the rear axle into the desired position on
the left and right.
Setting the front cutting height
► Stop the engine.
The blade must not be turning.
► Place the lawn mower on a level surface.
► Press cutting height adjustment lever (1) out‐
wards.
► Move cutting height adjustment lever (1) to the
desired position and allow it to engage.
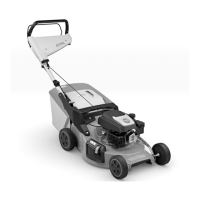
11.3 Switching the Drive On and Off
11.3.1 Engaging Self-propulsion
► Place the lawn mower on a level surface.
► Start the engine.
► Pull control bar for self-propulsion (1) fully in
the direction of the handlebar and hold so the
thumb encloses the handlebar.
The lawn mower starts moving.
11.3.2 Disengaging Self-propulsion
► Release the control bar for self-propulsion.
► Wait until the lawn mower comes to a stand‐
still.
English 11 Operating the Lawn Mower
26 0478-111-9945-A
 Loading...