SG 51, SG 71
English
8
Maintenance, Repair and Storing
WARNING
Use only identical STIHL replacement
parts for maintenance and repair. Use of
non-STIHL parts may result in personal
injury or property damage.
Strictly follow the maintenance and
repair instructions in the appropriate
section of your instruction manual.
Please refer to the maintenance chart in
this manual.
WARNING
Always first release pressure in the
pump and the pressure chamber prior to
cleaning or servicing the sprayer.
Do not attempt any maintenance or
repair work not described in your
instruction manual. Have such work
performed by your STIHL servicing
dealer only.
The small hardware required for
assembly is in the tank.
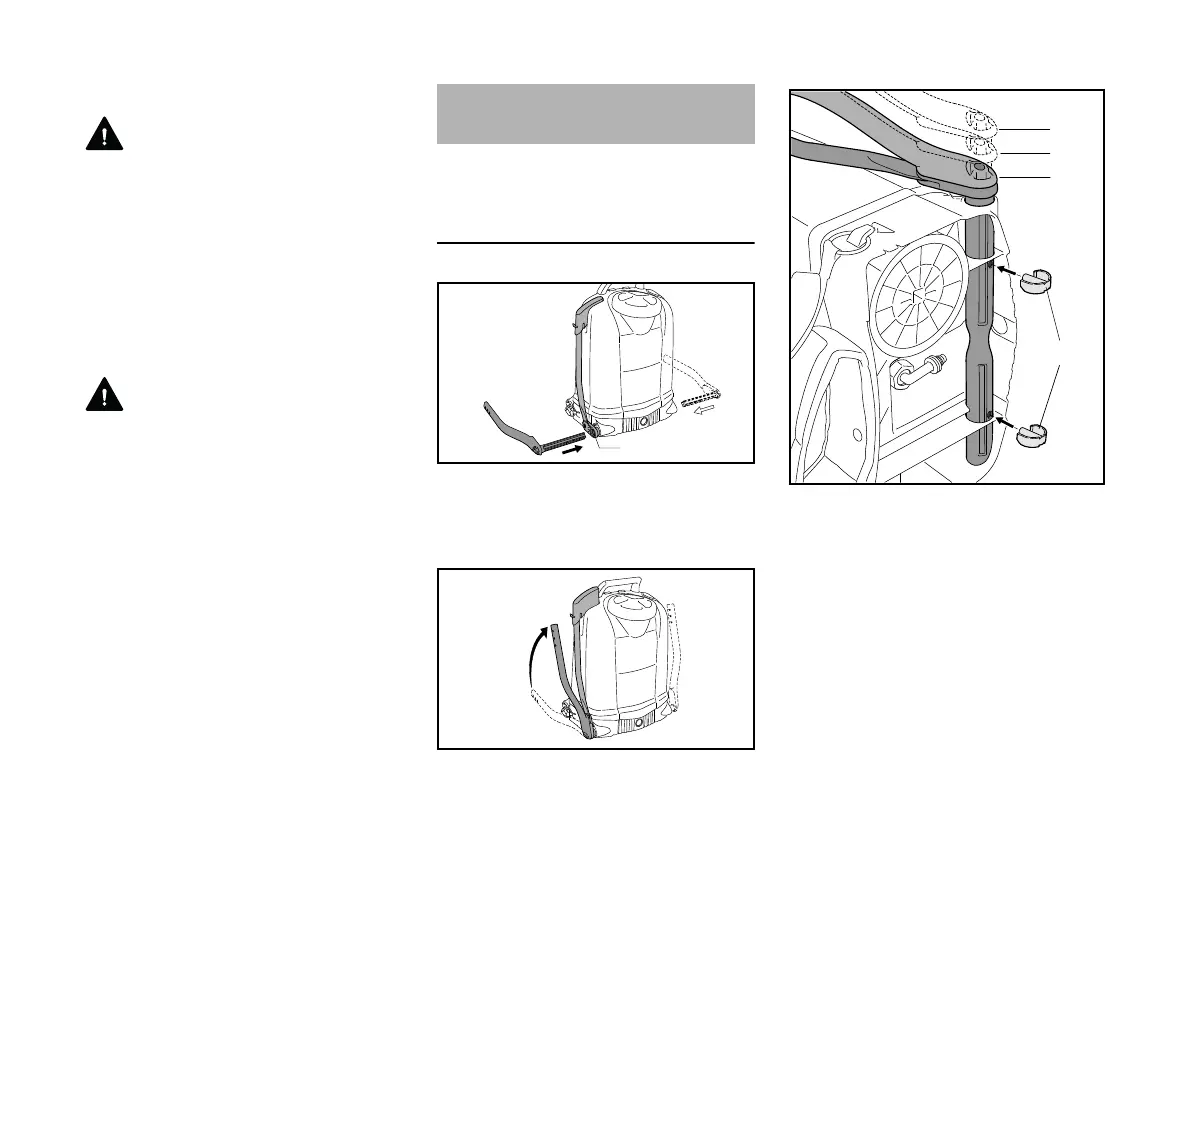
Mounting the Lever
The lever can be mounted on the left or
right of the unit.
N Push the lever (1) into the shaft (2).
N Swing the lever (1) upwards.
N Lay the unit on its side.
The position of the lever can varied to
suit the operator’s size.
N Set the distance (A, B or C) as
required.
N Secure the lever by fitting the two
retaining pins (3) in the holes in the
shaft.
Assembling the Unit

 Loading...