4
5
M4 X 6 M4 X 10 M4 X 12 M4 X 14 M4 X 18
#10 X 3/8 M5 X 10
NOTE: Depending on the
installation, not all screws
will be used.
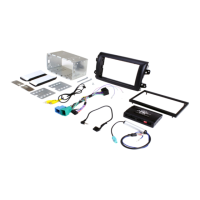
Parts List
Hardware Guide
Optional Accessories (SOLD SEPARATELY)
QTY DESCRIPTION PART NO
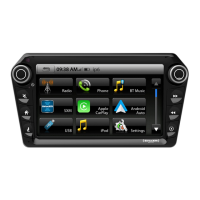
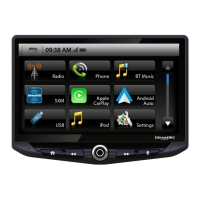
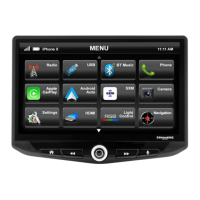
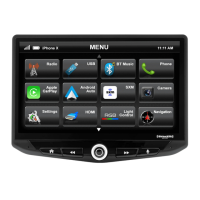
1 Touch Panel Display UN1880-D
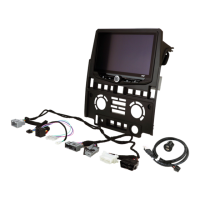
1 Radio Module UN1880-M
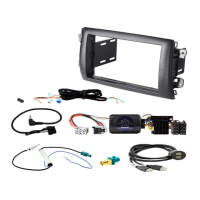
Mounting Brackets / Hardware
1 Plastic Dash Mounting Bracket
SE-1000
1 Display Mounting Clamp
1 Metal Mounting Bracket
1 Horizontal Display Angle Plate
1 Rubber Boot SE-1001
4 M4 X 6 Screw
SE-1002
4 M4 X 10 Screw
4 M4 X 12 Screw
2 M4 X 14 Screw
2 M4 x 18 Screw
6 M5 x 10 Screw
6 #10 x 3/8 Screw
2 Backstrap SE-1003
Cables / Harnesses
1 8 Pin Display Power Harness SE-1100
1 LVDS Display Video Cable SE-1101
1 16 Pin Power / Speaker Harness SE-1102
1 24 Pin AV / Rear Camera Harness SE-1103
1 10 Pin Multi Camera Harness SE-1104
1 6 Pin SWI / IR Harness SE-1105
1 4 Pin Mic / Camera Audio Harness SE-1106
1 SiriusXM Cable SE-1107
1 External Microphone SE-1108
1 GPS Antenna & Mounting Plate SE-1109
DESCRIPTION PART NO
IR Remote Control SE-1500
8 Pin Display Power Harness - 5FT SE-1501
LVDS Display Video Harness - 5FT SE-1502
PAC Dash Mount HDMI & USB Extension - 3FT HDMI-USB-CBL
PAC Dash Mount USB Adaptor - 3FT/6FT USDMA3 / USBDMA6
iGO North American Map (Micro SD Card) SE-P14
Note: The 2 Backstrap (SE-1003) can be used in some applications to
add additional support or used in custom installations. The backstrap
may mount to the sides of the radio chassis using the provided screws
in the existing mounting locations or can be mounted directly to the
Plastic Dash Mounting Bracket.
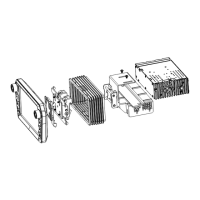
Remove the clamp assembly from the plastic
mounting bracket by pushing up from
compression spring side (1) and swing out to
unhook top (2).
1
1
2
Compression Spring