Theme Plus Issue 2.1 28/06/01 Page 5 of 12
Assembly sequence
Masonry chimney
With chairbrick (Fig. 2a)
1. Attach the spacer frame to the back of the convection box flange using the four
countersunk screws and nuts provided.
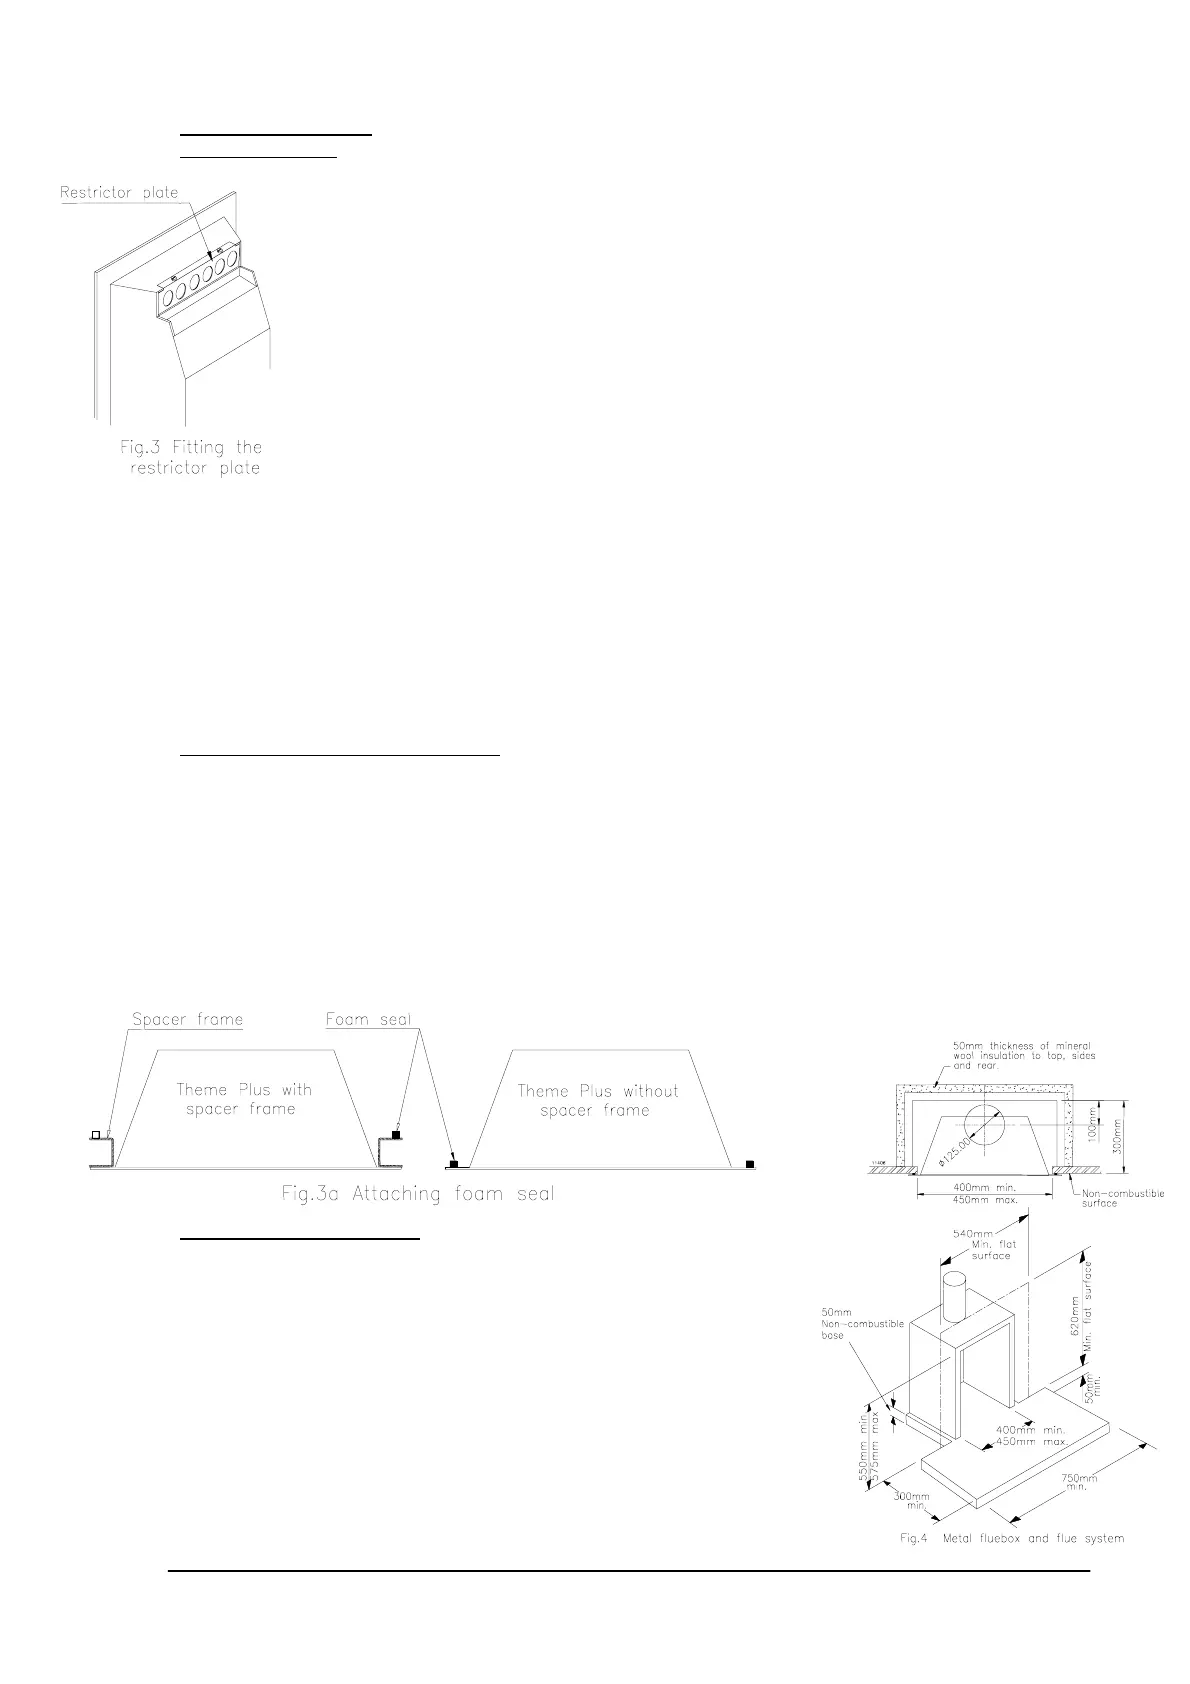
2. Fit the restrictor plate with its bottom edge inside the flue outlet, using 2 screws
provided, as shown in Fig. 3.
3. Secure the self-adhesive foam sealing strip to the back of the spacer frame (Fig. 3a).
4. Slide the firebox into position, making sure that the sealing strip is compressed and
forms an effective seal around the complete frame.
5. Drill the front face of the opening to match the 4 holes in the spacer frame and insert
the plugs provided.
6. Secure the convection box using the screws provided or alternatively use optional
wire fixing kit.
Without chairbrick (Fig. 2b)
1. Secure the self-adhesive foam sealing strip to the back of the convection box flange
(Fig. 3a)
2. Fit the restrictor plate with its bottom edge inside the flue outlet, using 2 screws
provided, as shown in Fig. 3.
3. Slide the convection box into position, making sure that the sealing strip is
compressed and forms an effective seal around the complete frame.
4. Drill the front face of the opening to match the four holes in the flange of the
appliance and insert the plugs provided.
5. Secure the convection box using the screws provided or alternatively use optional
wire fixing kit.
Pre-cast block flue (Figs. 2c and 2d)
Note: The outlet restrictor plate must not be used with this installation.
1. If the spacer frame is being used, attach it to the back of the convection box flange
using the four countersunk screws and nuts provided.
2. Secure the self-adhesive foam sealing strip to the back of the spacing frame or
convection box flange as appropriate (Fig. 3a).
3. Slide the convection box into position, making sure that the sealing strip is
compressed and forms an effective seal around the complete frame.
4. Drill the front face of the opening to match the four holes in the flange of the
appliance and insert the plugs provided.
5. Secure the convection box using the screws provided or alternatively use optional
wire fixing kit.
Wire Fixing Kit (Optional)
The kit supplied enables the convection box to be secured to
the opening without drilling any holes in the surround.
Items supplied:
1. 2 wire ropes with fixed nipple
2. 2 Sleeve bolts and backnuts
3. 2 Adjustable nipples with clamp screws
4. 4 Screweyes and wall plugs
1. Mark out and drill 4 holes in the back of the opening to
suit wall plugs supplied. See the drawing for
dimensions. Insert the screweyes and align to allow the
wires to pass through vertically.