8 Setting up Streambox Chroma for the First Time
Initial Connections
Connect to LAN (Internet) connection
Chroma is equipped with 2 Gigabit Ethernet ports. Net1 (left port, when facing the back) is set to use DHCP;
Net2 (right port) is pre-configured as a static IP: 10.0.4.10/24. A Decoder-only Chroma model is configured as
10.0.4.11/24
Power
Plug into the AC outlet; Chroma supports VAC 110-240, and draws up to 160W.
Video Monitor Connections
For a Chroma in Encoder mode: connect video source to center SDI connector (#2, or #3 for 4K model)
Decoder mode: connect output monitor to right SDI connector (#3, or #5 for 4K model)
Consult Appendix for the full pinout of your Chroma model.
Terminal Access
You may optionally connect a USB Keyboard, Mouse, and an HDMI Monitor to access and control the Chroma
directly. Most operation of the Chroma can be done from a web browser, but this minimal access may be
useful for setup.
If prompted for a login, enter username: sb and password: streambox
Once logged in, open a web browser (Chromium Browser is available) and open http://localhost
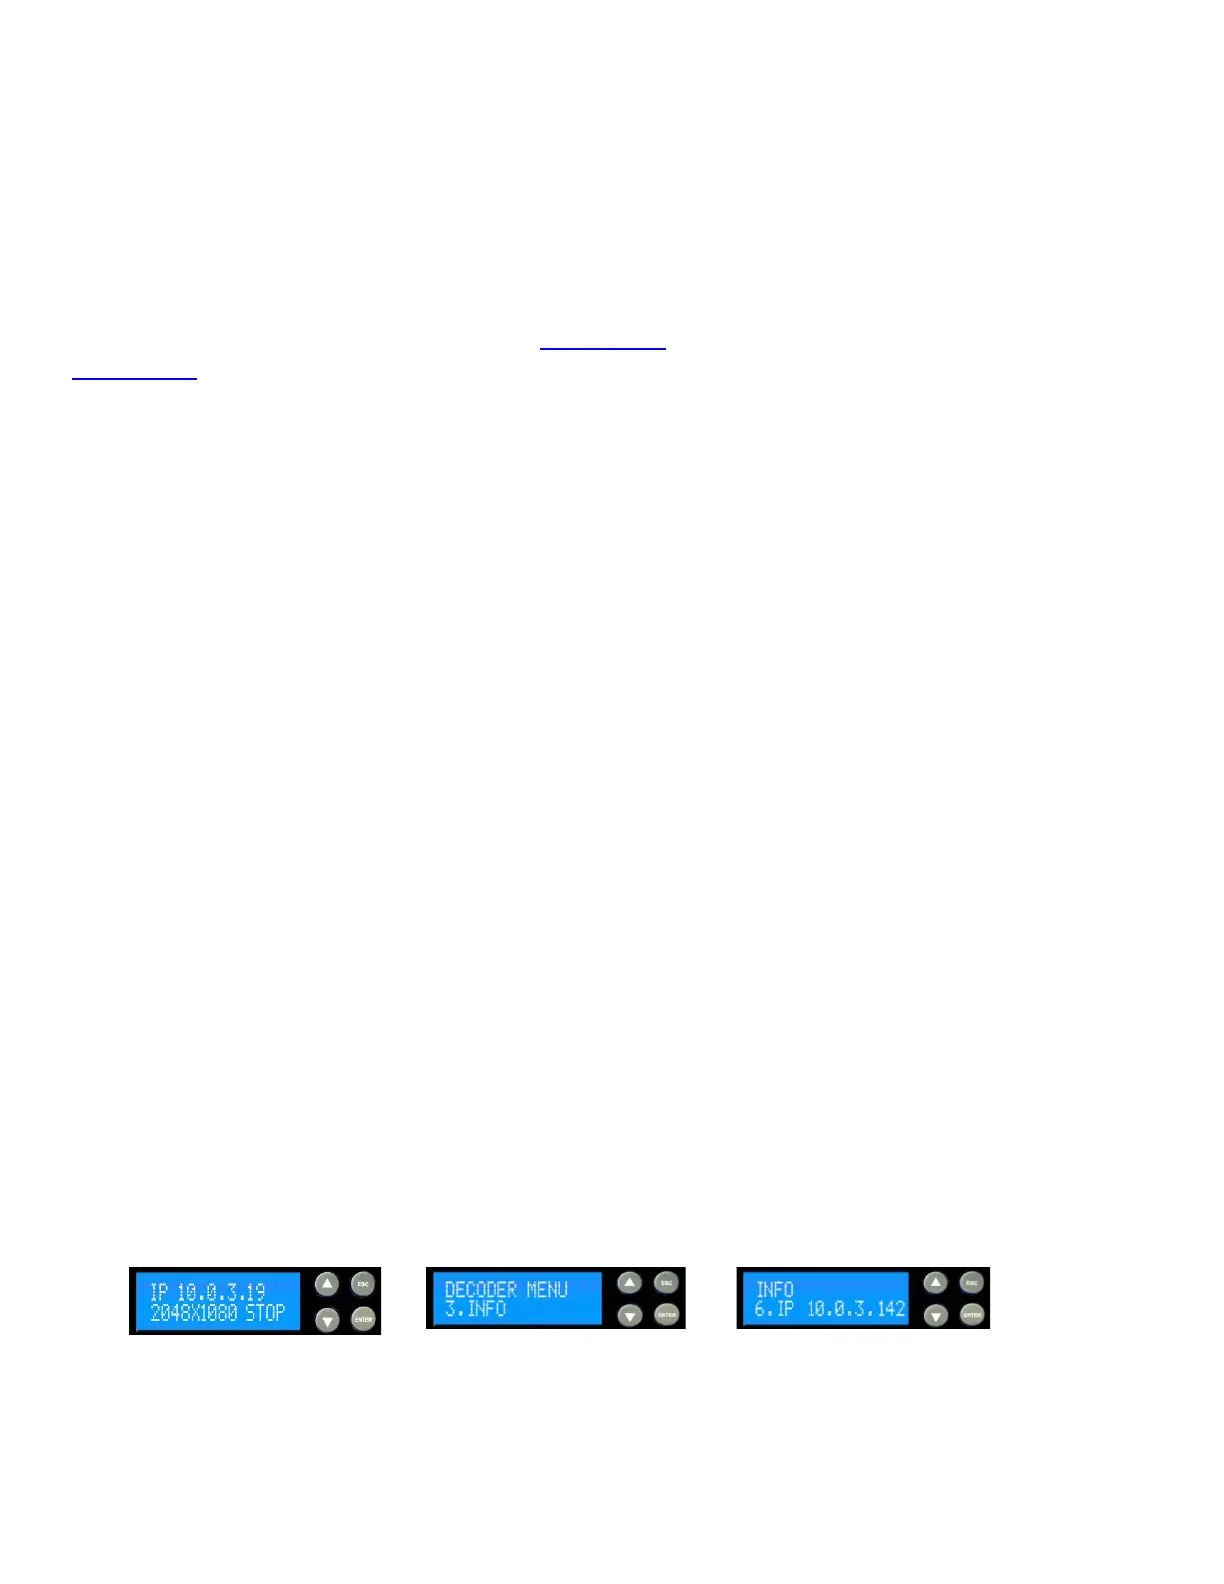
Determine the assigned IP Address
It is important to confirm the IP address assigned to this machine for both remote Web access and the
destination IP when used as a Decoder. In most cases, the default screen will display the unit’s IP
address. If it is not displayed, then from the Default screen, arrow down to ‘3. INFO’, press Enter, then
arrow down to ‘6. IP’ for assigned IP address (see figure below).