30 MA_VEB100-2-4-5_A5-3_230123_en.doc
3.4 Looper
Removing and installing the looper (Fig. 12)
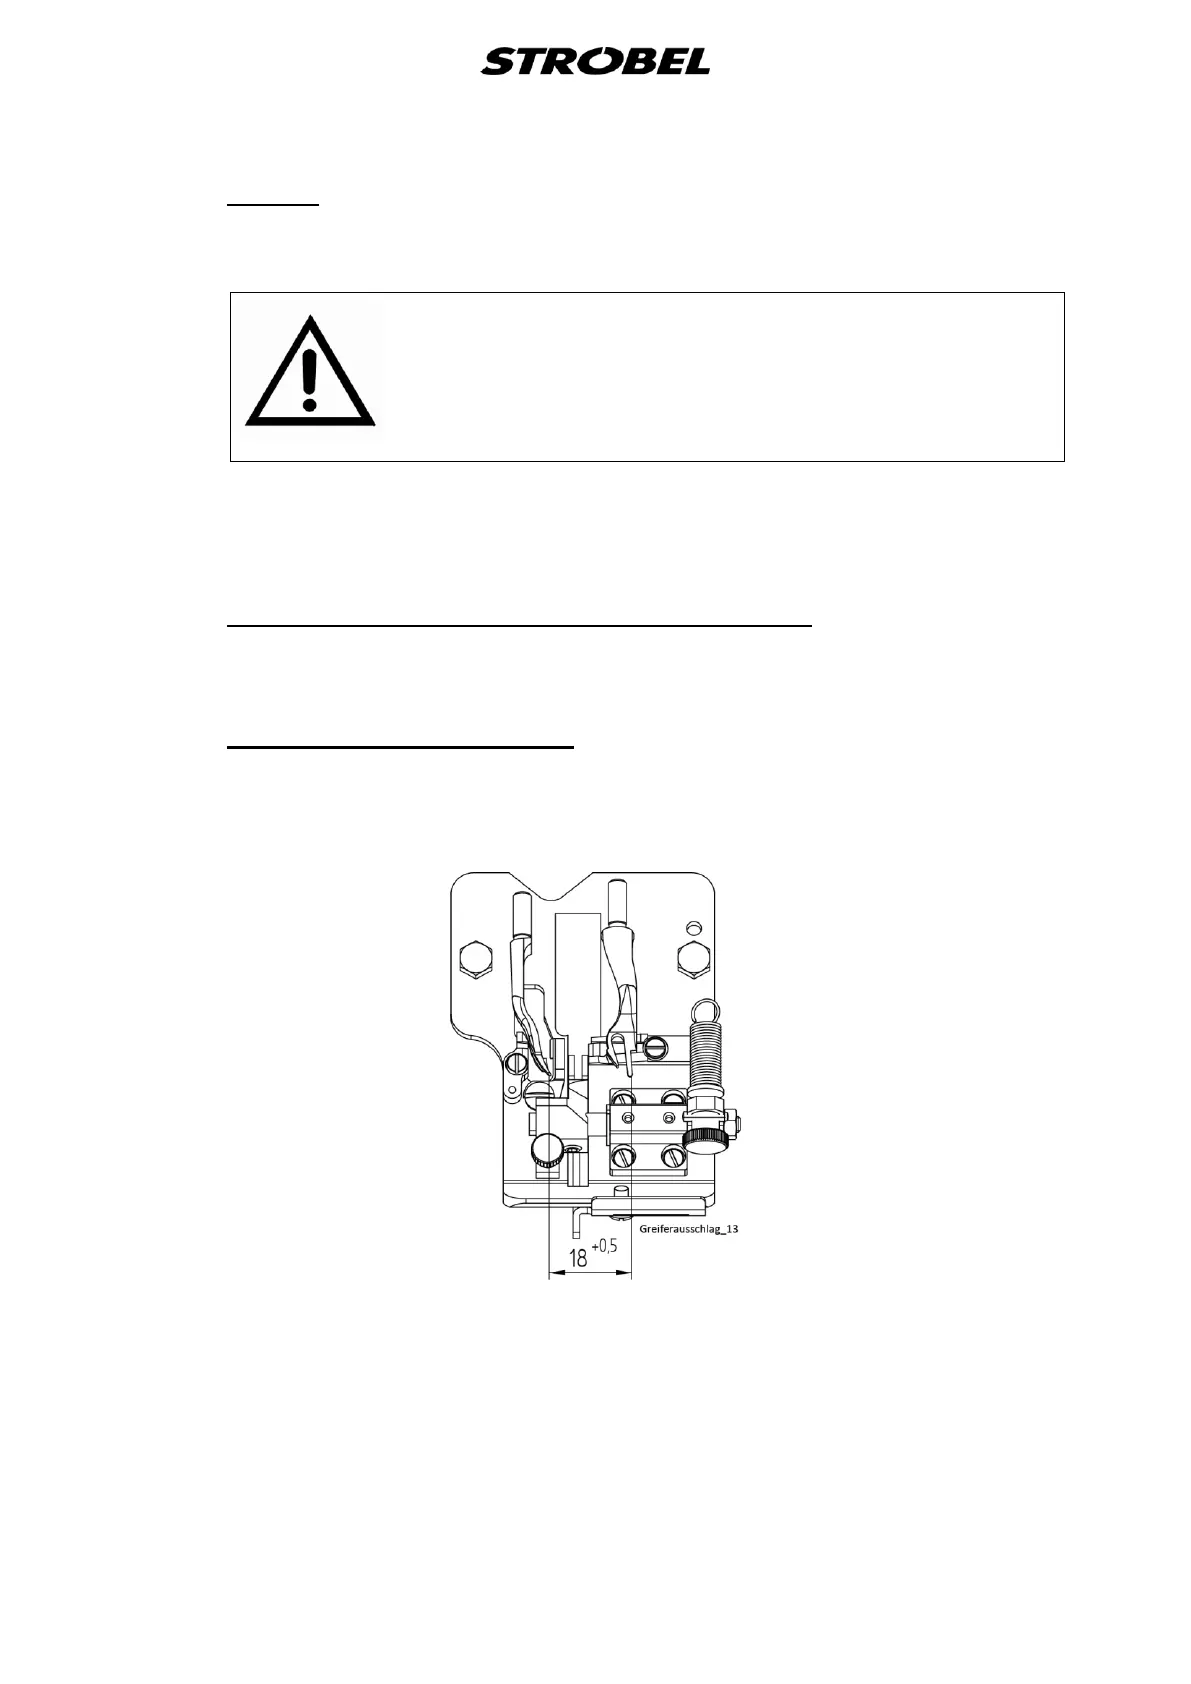
A T T E N T I O N !
Switch off the machine electrically!
After removing the fillister head screw (9), the looper can be removed from the front.
When installing, ensure that the fastening surface of the looper lies within the chuck
and is fully inserted. Tighten the fillister screw (9).
3.4.1 Removal and installation of the looper shaft
After removing the looper and loosening the adjusting rings (8) Fig. 12 and (3) Fig. 13,
the looper shaft can be removed together with the ball joint lever (7) Fig. 12.
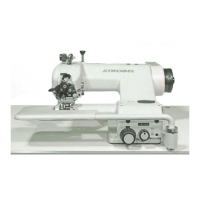
3.4.2 Looper deflection (Fig. 14)
The looper deflection is 18 +0.5 (specification).
Fig. 14