EasyManua.ls Logo

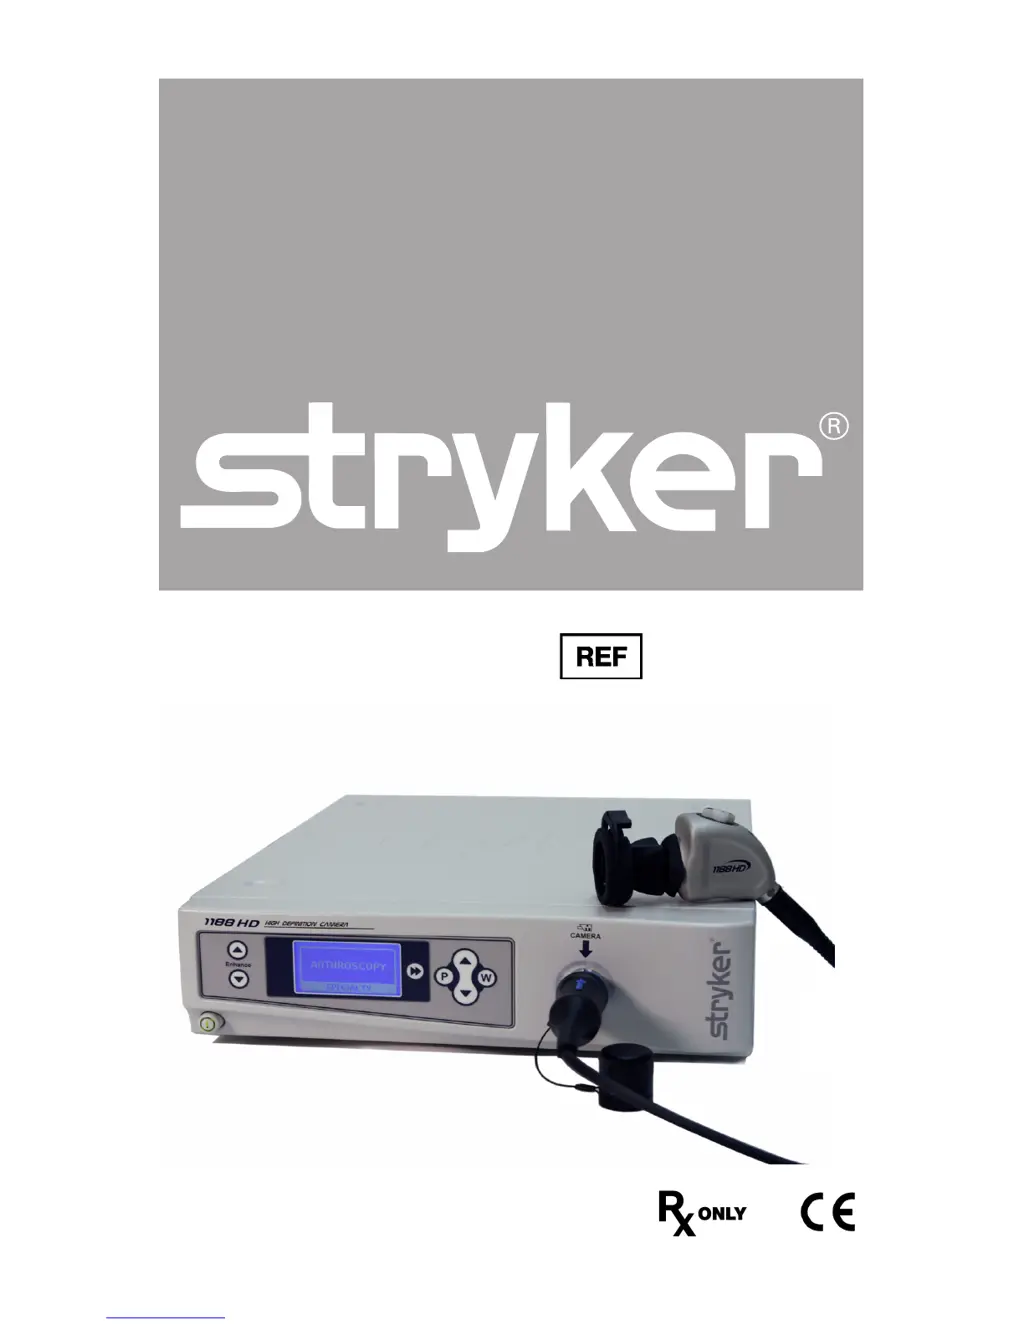
Stryker 1188HD - User Manual

Stryker 1188HD
48 pages
Print Icon
To Next Page IconTo Next Page
Loading...
1188-010-000
1188-210-105
1188-410-105
1188-710-105
User Guide
1188HD
Video Camera

Questions and Answers

  • O
    Olivia PerezSep 9, 2025
    What to do if Stryker Medical Equipment image is not well centered?
    • W
      Wendy MartinSep 9, 2025
      If the image is not well centered, release the scope from the coupler and then reconnect it, making sure the scope is seated correctly in the coupler.
  • U
    uboydSep 12, 2025
    How to troubleshoot 'White balance (WB) quality not good' error on Stryker Medical Equipment?
    • L
      Leslie Davis PhDSep 12, 2025
      To troubleshoot a 'White balance (WB) quality not good' error, refer to the solutions for 'Picture is too dark' and 'Picture is too bright.' Additionally, perform the white-balance procedure with the light source connected to the scope, using metal-halide or xenon lighting (avoid fluorescent lighting).
  • B
    Brian BrownSep 12, 2025
    How to fix noise or snow on picture when not using electrocautery probes with Stryker Medical Equipment?
    • R
      Ronald BanksSep 12, 2025
      If you're experiencing noise or snow on the picture and you're not using electrocautery probes, try reducing the Enhancement setting. Also, check for and replace any faulty video cables.
  • C
    Caitlin CainSep 14, 2025
    What to do if there is no color bar on my Stryker Medical Equipment?
    • J
      Julia CarneySep 14, 2025
      If there is no color bar, ensure the video-out from the console is connected to the video-in on the monitor. Also, make sure all video systems are powered on, and ensure that the camera head is not connected to the console. Finally, try turning off the console, waiting 3 seconds, and then turning it back on.
  • B
    Blake WestSep 16, 2025
    How to clean dirty optics on Stryker Medical Equipment?
    • G
      grahamcodySep 17, 2025
      To clean dirty optics: * Rotate the scope. If dust particles in the picture rotate, the dust is located on the scope itself. Follow the manufacturer’s instructions for cleaning the eyepiece and negative lens. * If particles in the picture do not move when you rotate the scope, the particles are located on the coupler or camera. Remove the scope and clean the window on the front of the coupler with a dry or alcohol-tipped cotton swab. * If dust particles lie between the coupler and camera, remove the coupler and clean the coupler and camera windows. * Ensure all components are completely dry before reassembling them, or fogging may result.

Summary

Warnings and Cautions

General Safety Precautions

Lists essential user precautions to prevent injury or damage to the device.

Symbol Definitions

Explains various symbols used in the manual and on the product.

Product Description and Intended Use

Camera Console Components

Details the front and rear panels of the camera control unit.

Camera Head Components

Describes the features and models of the camera head.

C-Mount Coupler

Explains the function and types of the C-mount coupler.

Setup and Interconnection

Setting Up the Console

Guides on connecting the camera console to power and video outputs.

Wiring Diagrams

Illustrates typical system configurations for connecting components.

Setting Up the Camera Head

Instructions for connecting the camera head to the console.

Setting Up the Coupler

Steps for attaching the C-mount coupler to the camera head.

Operation Instructions

Powering the Camera On;Off

Procedure for turning the camera system on and off.

Using the Camera Buttons

Explains the function of the P, W, Up, and Down buttons.

Selecting the Display Language

Guide to changing the language displayed on the console's LCD.

Using the Configuration Menu

Details on accessing and adjusting camera settings via the menu.

Controlling Remote Video Accessories

How to operate connected video accessories using the camera's P button.

Using the DVI Fiber Outputs

Instructions for transmitting DVI output over fiber optic cables.

Operating the Camera with a Light Source

Safety and operational guidance when using an external light source.

Troubleshooting

Common Problems and Solutions

Table listing common issues and their remedies.

Foggy Picture Resolution

Specific steps to resolve a foggy or unclear image.

Cleaning and Sterilization

Cleaning the Camera Console

Procedures for cleaning the non-patient-contacting console unit.

Reprocessing the Camera Head

Detailed instructions for cleaning and sterilizing the camera head.

Manual Cleaning Procedure

Step-by-step guide for manual cleaning of the device.

Automated Cleaning Procedure

Guidelines for using an automated washer/disinfector.

Sterilization Methods

Parameters and procedures for Steam and Ethylene Oxide sterilization.

Technical Specifications

Imaging System Details

Information on the camera's imaging sensor and resolution.

Video Outputs

Lists available video output types, connectors, and formats.

Input Electrical Ratings

Power requirements for the camera console.

Classification and Standards

Details equipment classification and compliance with product standards.

Electromagnetic Compatibility

Electromagnetic Emissions Guidance

Information on RF emissions and compliance levels.

Electromagnetic Immunity Guidance

Details on immunity tests and compliance levels for various disturbances.

Recommended Separation Distances

Guidance on maintaining safe distances from RF transmitters.

Warranty

Warranty Terms and Conditions

Outlines the terms, limitations, and duration of the product warranty.

Service and Claims

Service Procedures

Instructions for obtaining service or making claims for the product.

Stryker 1188HD Specifications

General IconGeneral
Model1188HD
CategoryMedical Equipment
ManufacturerStryker
Video OutputDVI
CompatibilityEndoscopes
Light Source CompatibilityStryker light sources
Power SourceAC Power

Related product manuals