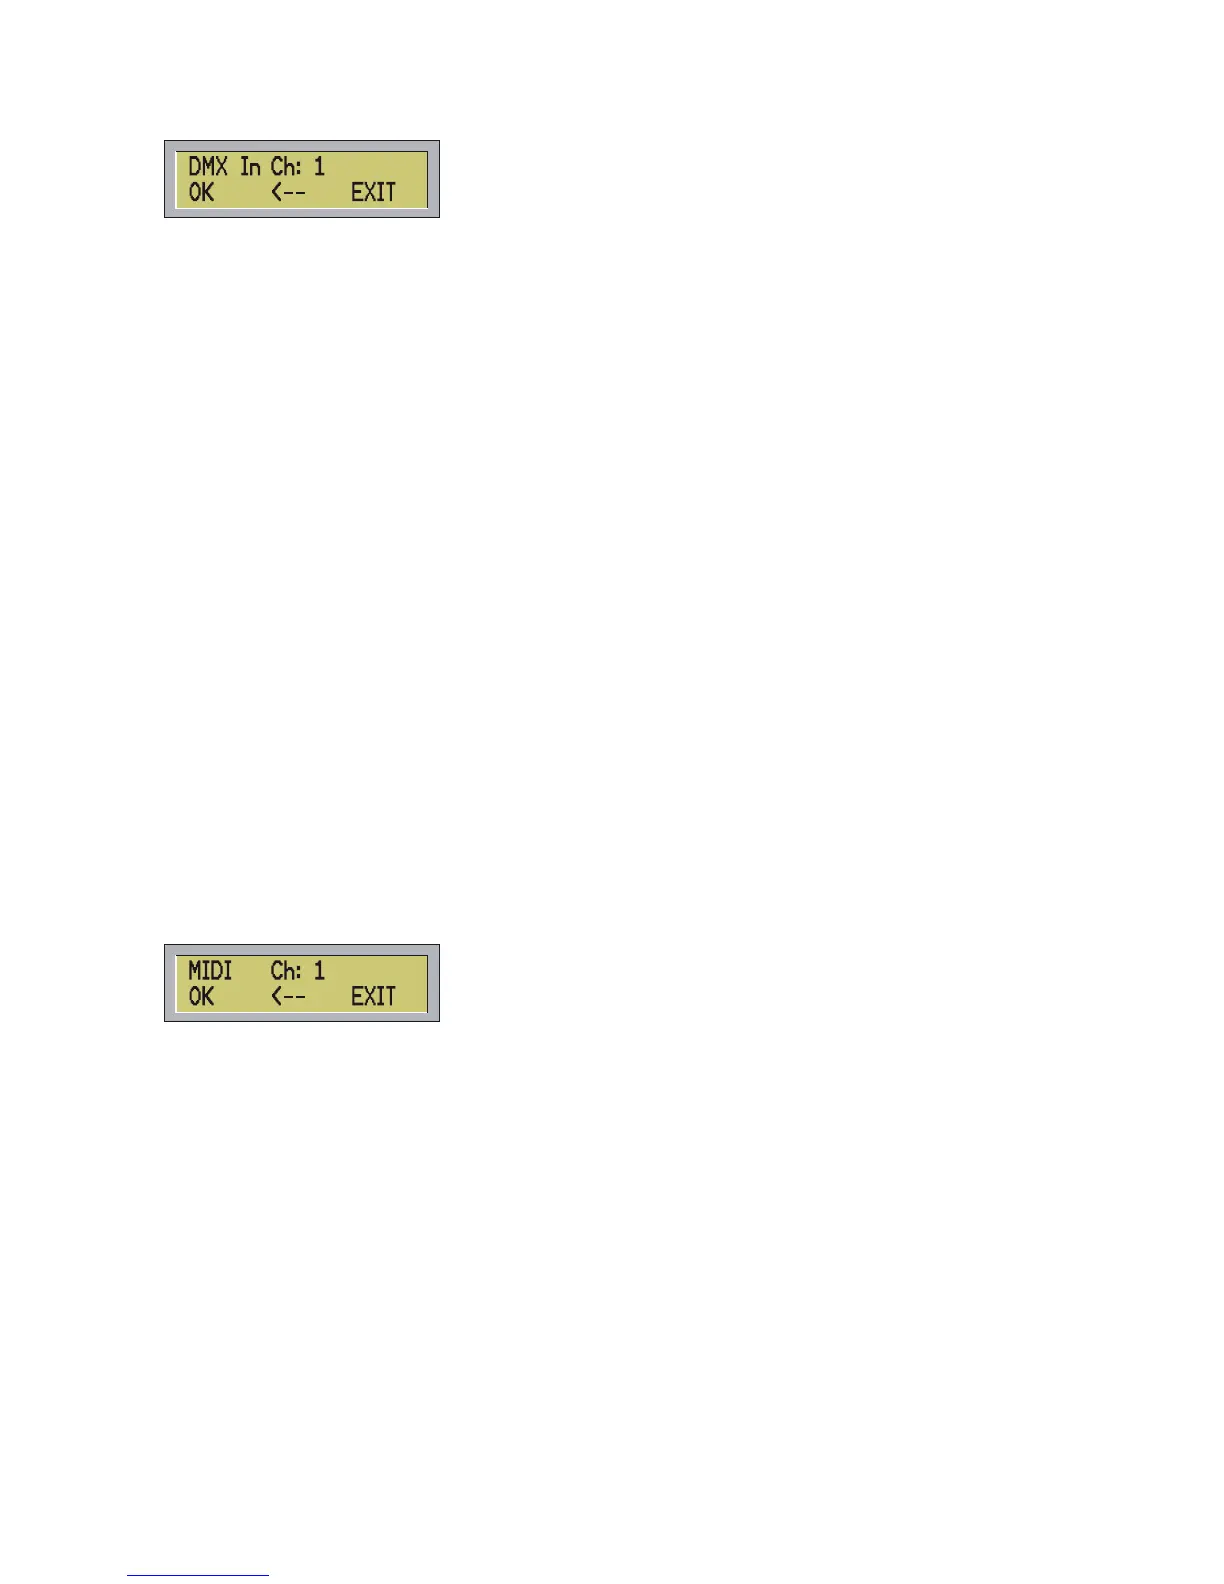
Digit the number of the channel you desire and press OK (F1) or ENTER.
The controller can be driven through four DMX channels:
1 – mode
2 – program
3 – scene (high part)
4 – scene (low part)
- Channel 1 (MODE), from 0 to 127 set the controller in manual mode, as per MAN button. From 128 to 255
set the controller in automatic mode, as per AUTO button.
- Channel 2 to change the program, as per PROG button.
- Channel 3 and 4 to change the scene, as per STEP/.. button.
Example 1:
1 – mode =0
2 – program =10
3 – scene (high part) =1
4 – scene ( low part) =12
The user intends to call the scene 268 (1*256+12) for program 10.
Example 2:
1 – mode =255
2 – program =1
3 – scene (high part) =0
4 – scene ( low part) =0
The user intend to call the program 1 in automatic mode.
b) Press MIDI button (F2) to enter the channel midi to be used to drive the Control 5 from any midi device,
the display will show:
Digit the number of the Midi channel and press OK (F1) or ENTER. To cancel the last digit number press Å
(F2). To increase the value press + to decrease press -. To leave function press EXIT (F3) or ESC.
In case you digit 0 or a number bigger than 16 the error message ‘WARNING! Out of Range! Will appear.
Pressing OK (F1) or ENTER without input the number of the channel the message ‘WARNING! Missing
Value’ will appear.
This function allows to synchronize two or more controllers so to increase the number of the DMX channels,
and also it allows to control the controller by a sequencer midi or a PC program:
How to select a program on the Midi device
<PROGRAM CHANGE>
<program number>: program (0..99)
To select a scene:
<NOTE ON>
<key> : scene (high part)
<velocity> : scene (low part)
18