13
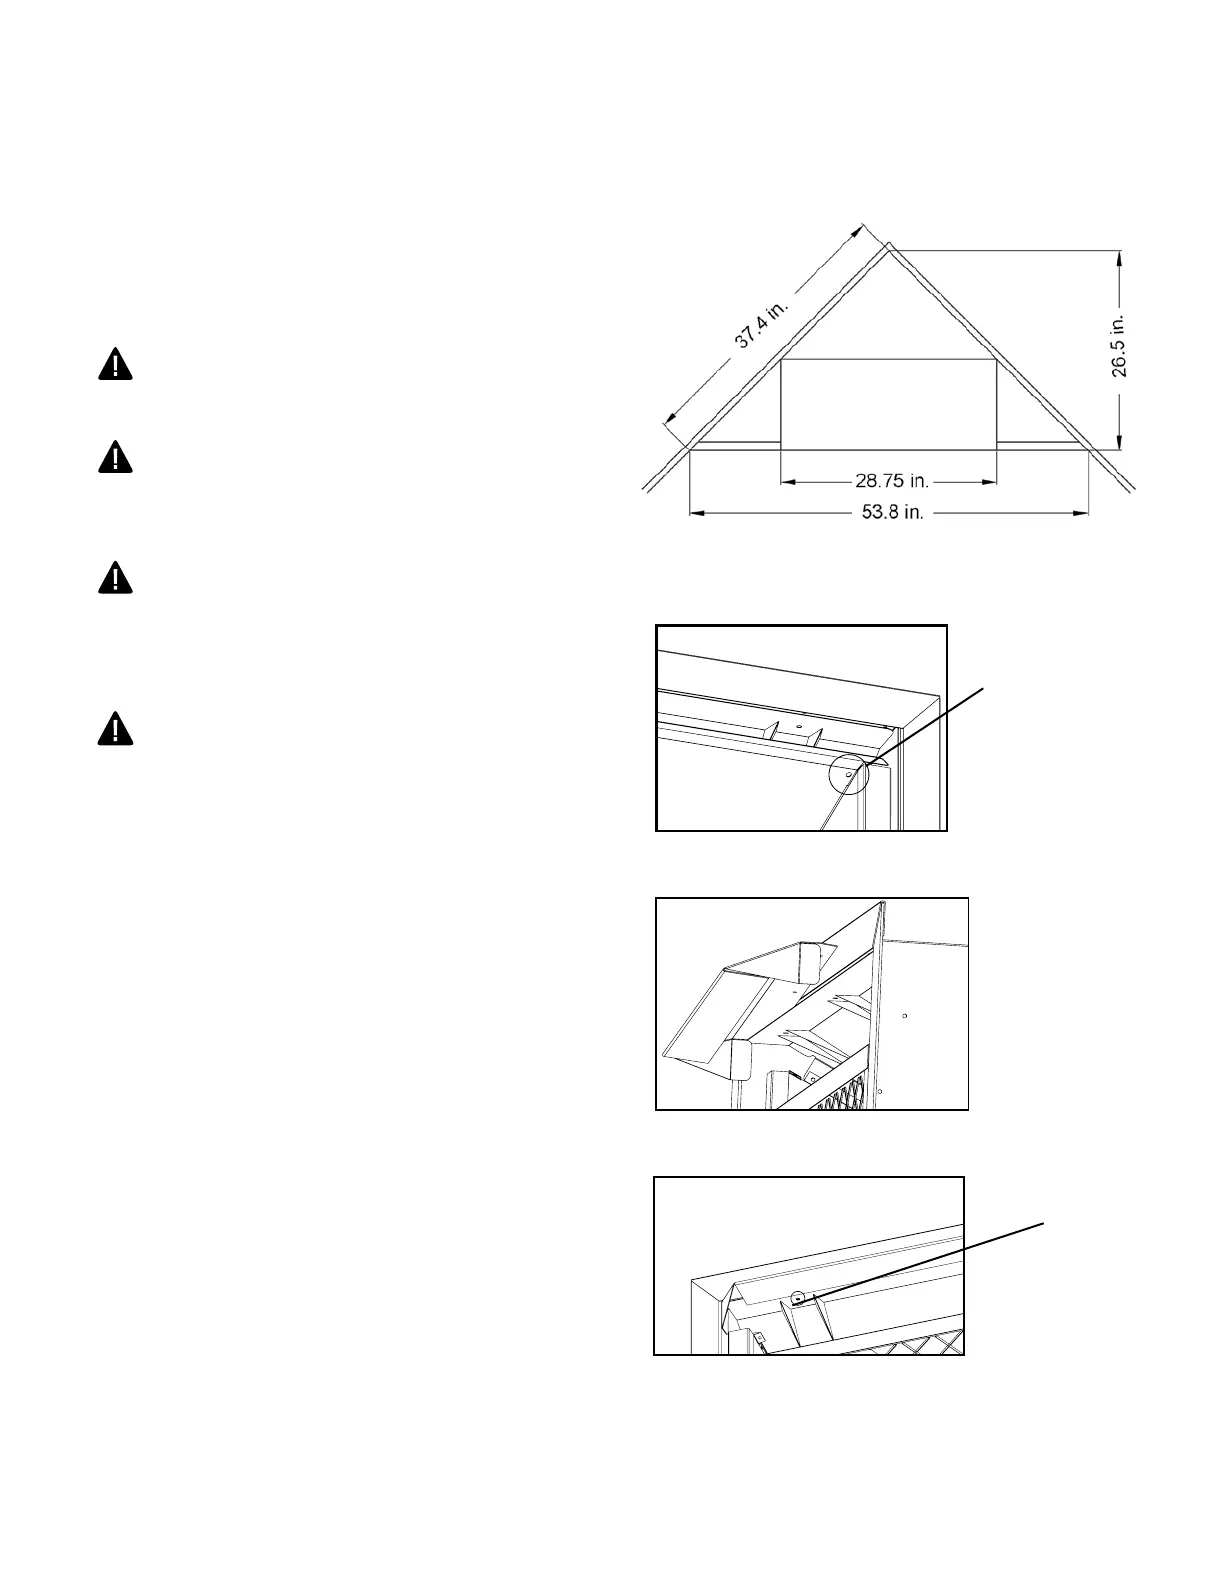
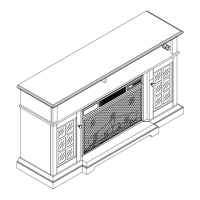
Fig. 8 - Rough Opening for
Installing in Corner
IMPORTANT: When nishing your rebox,
combustible materials such as wall board,
gypsum board, sheet rock, drywall, plywood,
etc, must have ½ -in. clearance to the sides
and top of the rebox. Combustible materials
should never overlap the rebox front.
WARNING: Do not allow any combustible
materials to overlap the rebox front.
WARNING: Do not allow combustible or
noncombustible materials to cover any
necessary openings like louvered slots.
WARNING: Never modify or cover the
louvered slots on the front of the rebox.
Step 1
Step 3
Step 2
Fig. 9
Remove two
screws on top
rebox panel
Insert
three
screws on
hood
Assembling Hood
CAUTION: Do not operate replace
without hood in place.
1. Fireplace hood is positioned on top of
shipping inner pack.
2. Remove top of rebox by unscrewing two
screws located on each end. Insert the hood
along the upper side of the heat insulation
board (see Fig. 9). Attach the hood with
3 screws. Re-attach the rebox top by re-
inserting the two screws.