Site Preparation 11
subzero .com/specs
Anti- Tip Bracket Installation
INSTALL CONCRETE WEDGE ANCHORS:
1) Drill a
3
/8" (10) diameter hole any depth e xceeding the
minimum embedment. Clean the hole or continue
drilling additional depth to accommodate dri ll fines.
Use a carbide drill bit manufactured within ANSI
B94.12-77.
2) Assemble the washer and nut flush with the end of
anchor to protect th reads . Drive the anchor through the
material to be fastened until the washer is flush wi th
the surface material.
3) Expand the anchor by tightening the nut 3–5 turns past
hand-tight position or to 25 foot-pounds of torque.
Always wear safety glasses and use other necessary
protective devices or apparel when installing or
working with anchors.
Anchors are not recommended for use in lightweight
masonry material such as block or brick, or for use in
new concrete which has not had sufficient time to cure.
The use of core drills is not recommended to drill holes
for the anchors.
Uncrate the integrated unit and inspect for any da mage.
Remove the wood base and discard the shipping bolts
that hold the wood base to the bottom of the unit. Remove
all packing materials and tape.
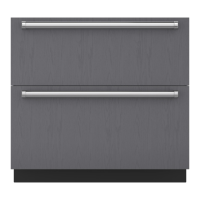
The drawers should be removed and placed aside until
you are ready for installation o f the panels. Remove the
decorative top and side moldings and the kickplate/grille.
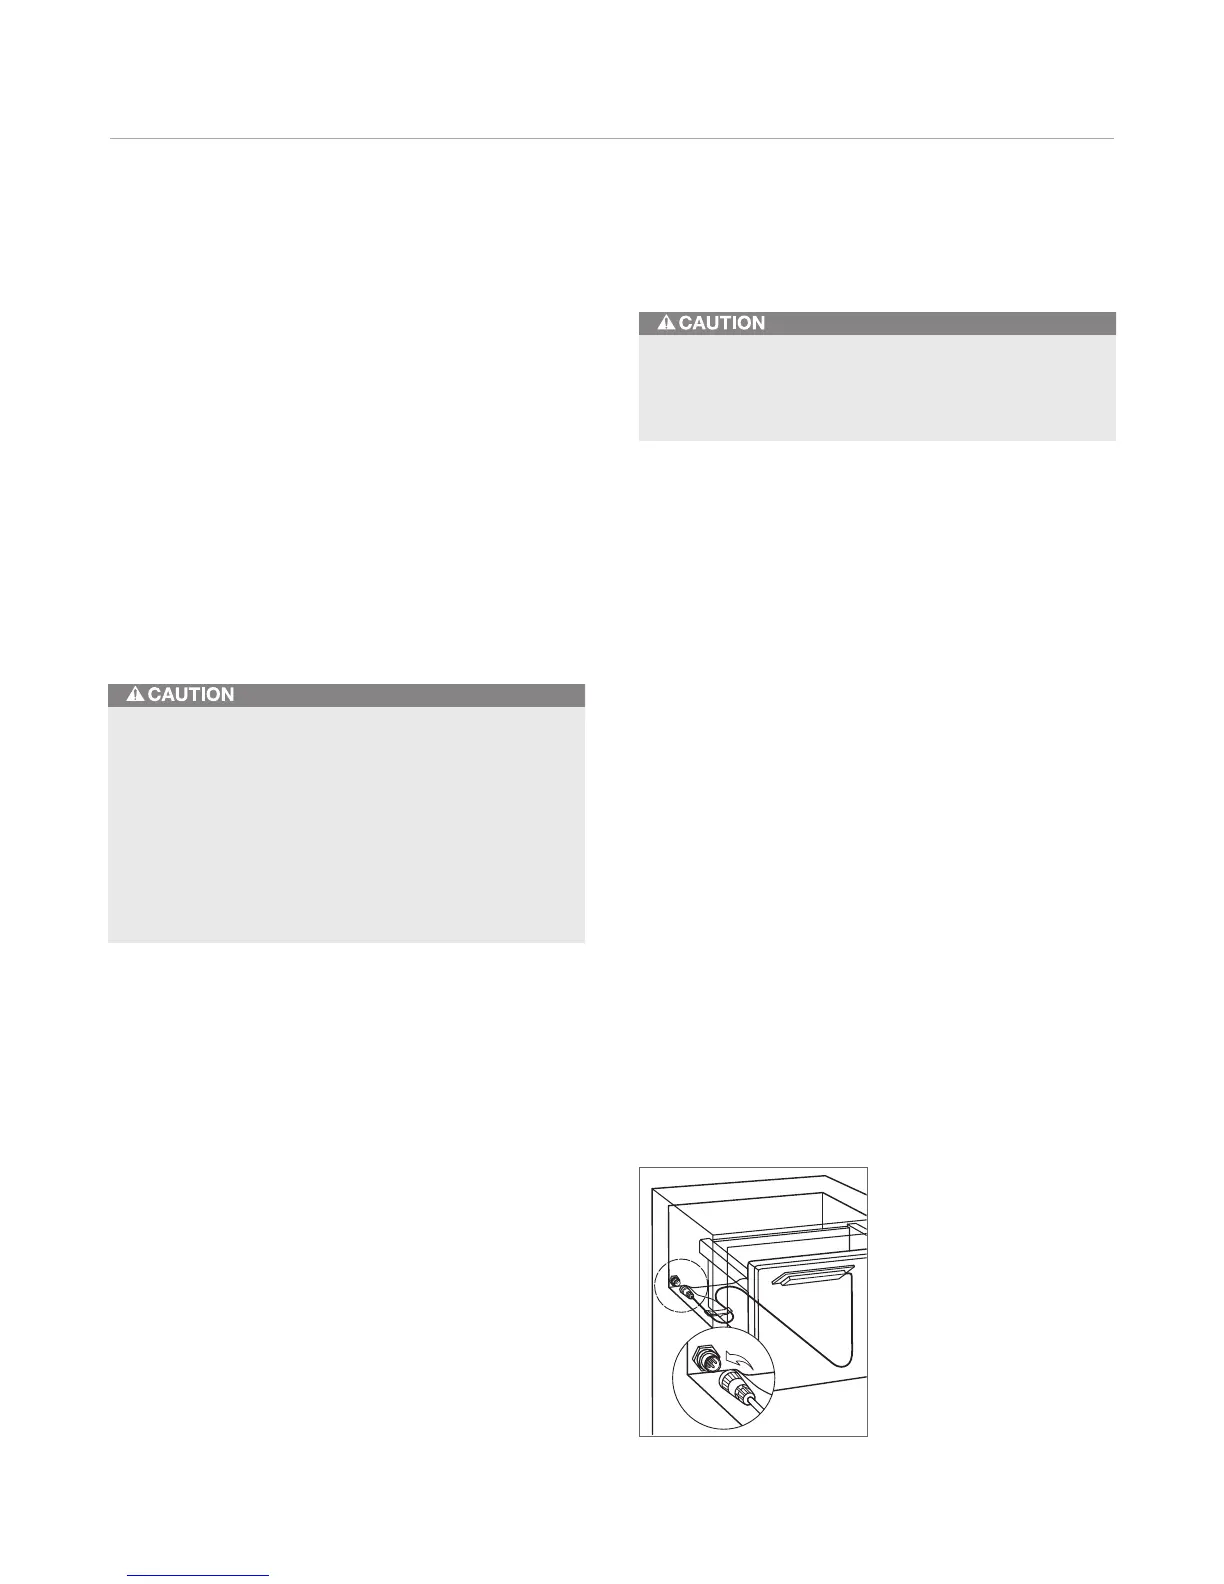
IMPORTANT NOTE: For drawer models, the top dra wer
has a control cable th at needs to be disconnected before
removing this draw er. Refer to the illu stration below for
placement and how to disconnect this fitting.
Retract the front le veling legs all the way up to allow the
unit to be moved into position more easily. You will exten d
the leveling legs when the unit is in its final positi on to
reduce the possibi lity of the unit tipping forward.
Use an appliance dolly to move the integrated unit n ear
the rough opening. P osition the dolly at the side of the unit
to prevent damage to f inished surfaces.
IMPORTANT NOTE: If for any reason the integrated unit
has been laid on its back or side, you must allow the unit
to stand upright for a minimum of 24 hours before con-
necting power.
Before moving the integrated unit into position, secure
the door closed, remove drawers and protect any
finished flooring.
Posit ion the Unit
Control cable .