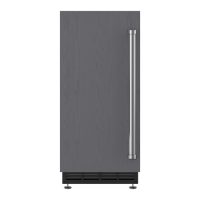
Model UC-15I (Undercounter Ice Machine)
Installation Information
2-7
#7012423 - Revision B - May, 2011
1. Prepare the site by following the instructions under
Electrical Requirements and Plumbing
Requirements found earlier in this section.
2. Remove ice machine from carton
3. Inspect ice machine for damage.
4. Remove literature/warranty packet and drain hose
from inside the ice machine.
5. Adjust leveler legs. Refer to Leveling found later in
this section.
6. Reverse door if desired. Refer to Reverse the Door
Swing found later in this section.
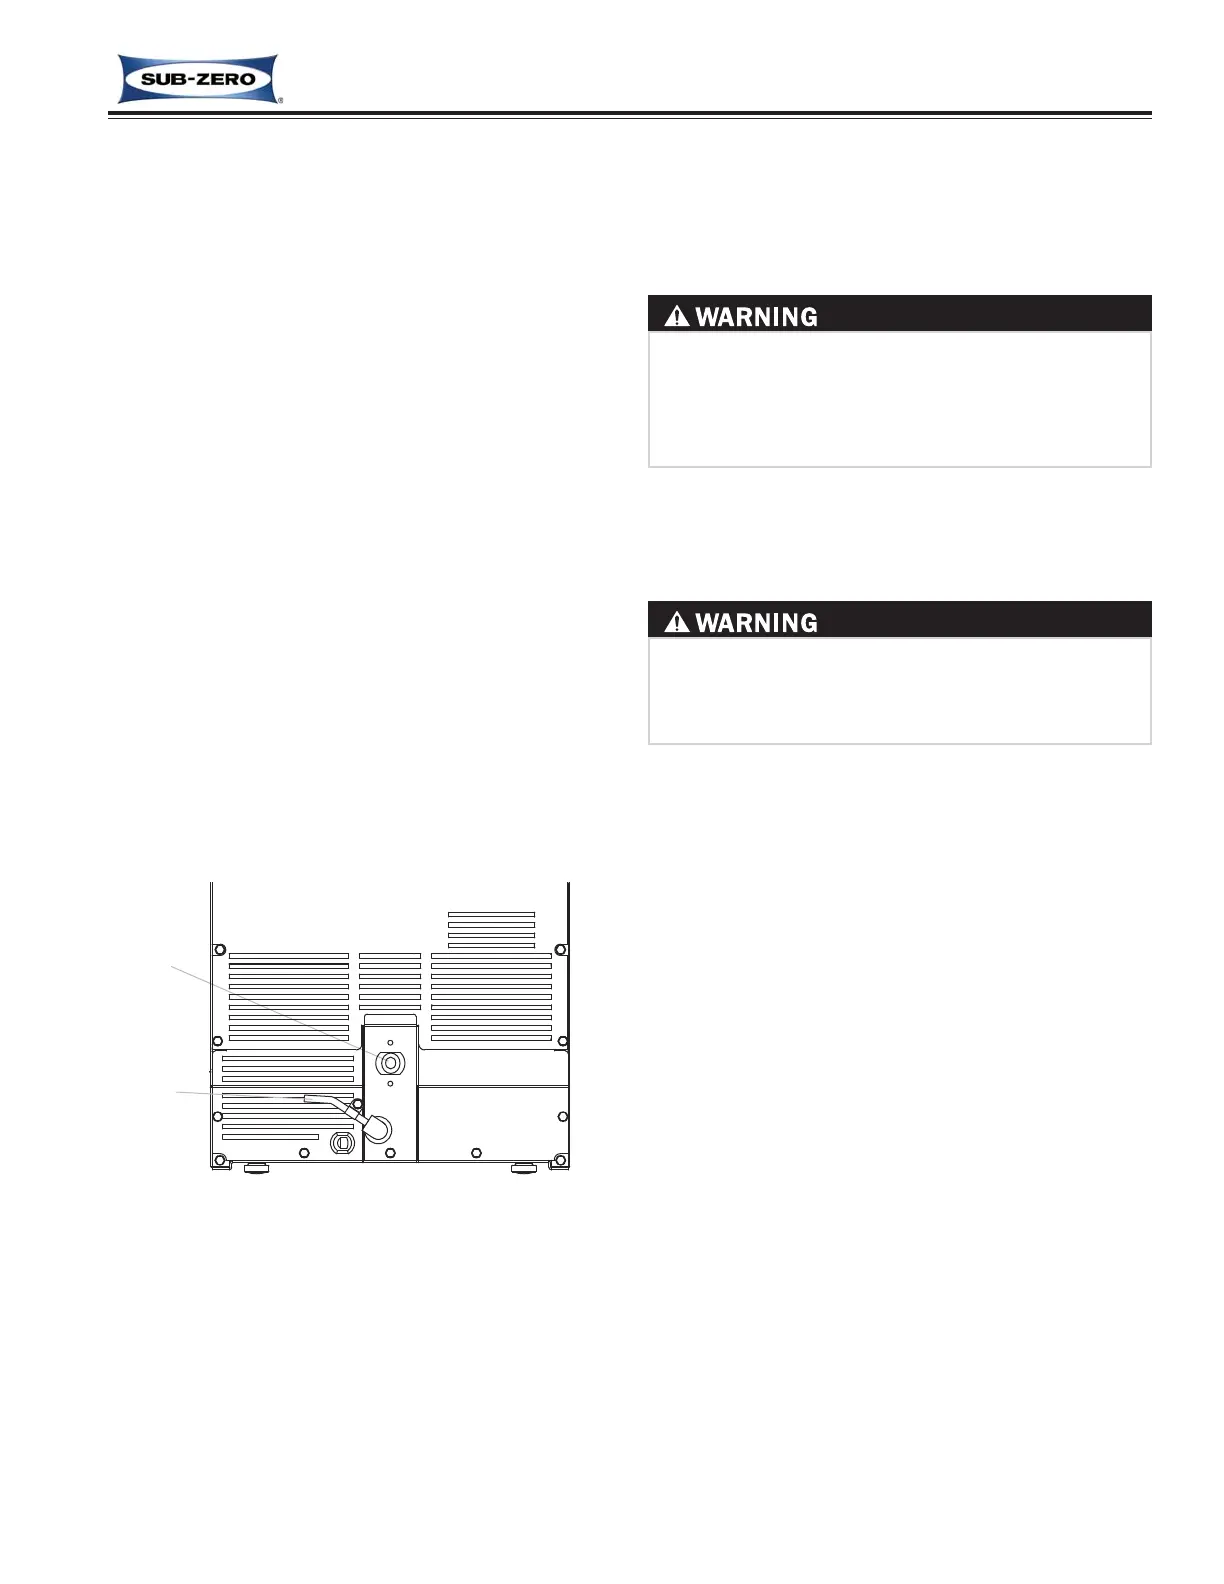
7. Gravity drain model: Install drain hose to drain on
back of ice machine and route to open site drain.
Refer to Plumbing Requirements found earlier in
this section.
Pump model: Route drain tubing through drain fit-
ting on the back of the ice machine and install drain
hose on drain pump. Route other end of drain tub-
ing to drain site. Refer to Plumbing Requirements
found earlier in this section.
8. Use compression fitting to connect the Water Inlet
on back of ice machine to the prepared 1/4” ID cold
water line. Refer to Plumbing Requirements found
earlier in this section.
THE ICE MACHINE MUST BE GROUNDED IN
ACCORDANCE WITH NATIONAL AND LOCAL
ELECTRICAL CODES. DO NOT USE AN EXTEN-
SION CORD OR ADAPTER.
IMPROPER WATER SUPPLY AND DRAIN CONNEC-
TIONS CAN RESULT IN PERSONAL INJURY AND
SUBSTANTIAL PROPERTY DAMAGE. THESE
CONNECTIONS ARE THE RESPONSIBILITY OF
THE OWNER/OPERATOR.
9. Open the shut-off valve on the water line.
10. Check all visible connections for water leakage.
Failure to do so could cause flooding.
11. Connect electrical plug to grounded (three prong),
polarized outlet. See Electrical Requirements found
earlier in this section.
12. Place ice machine back in position and check level-
ing again. Make any necessary adjustments.
(CONTINUED ON NEXT PAGE)
INSTALLATION PROCEDURE
Water Line and Drain fitting at Rear of Unit