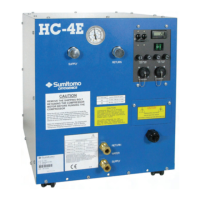
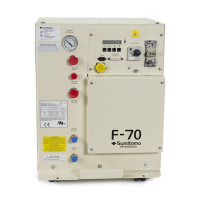
Maintenance
2. Locate two adapter fittings. Be sure their valves are closed. Attach them to the supply and
return Aeroquip couplings on the compressor.
If the adsorber has been disconnected, connect a P/N 266395C adapter
fitting to the supply line from the oil separator, instead of connecting to
the supply gas coupling, for venting during this procedure.
3. Connect a charge line to the pressure regulator of a helium gas cylinder containing 99.995%
pure helium gas with a dew point less than -50° C (-58° F) at 2070 kPa (300 psig). Adjust
the gas cylinder pressure regulator to 35 kPa (5 psig).
4. While connecting the charge line to the adapter fitting on the compressor’s return gas
coupling, thoroughly purge the charge line from the regulator. It is important to remove all
air contaminants to prevent them from entering the system.
5. Adjust the pressure regulator to 1520 kPa (220 psig). Open the valve on the adapter fitting
and charge the compressor to 1520 kPa (220 psig). If the adsorber is connected, increase
the charge pressure to 1650 - 1690 kPa (240 - 245 psig).
6. Close the valve on the adapter fitting used for charging.
7. Run the compressor for at least 30 minutes to heat the oil to operating temperature. Stop
the compressor.
8. Adjust the pressure regulator to 690 kPa (100 psig).
9. Open the vent valve on the supply coupling of the compressor. Watch the compressor’s
pressure gauge. When the pressure falls to 35 to 70 kPa (5 to 10 psig), close the vent valve.
Open the charge valve to increase the pressure to 690 kPa (100 psig). Close the charge
valve.
10. Repeat Step 9 five-(5) times.
11. Adjust the pressure regulator to the equalization pressure of the system. See
Specifications.
12. Open the valve on the adapter fitting and charge the compressor to the equalization
pressure. Close the charge valve on the adapter fitting. Start the compressor.
13. After running 30 to 45 seconds, stop the compressor. Open the vent valve and vent the
compressor to 35 to 70 kPa (5 to 10 psig). Close the vent valve.
14. Repeat Steps 12 and 13 five-(5) times, then go to Step 15.
15. Open the charge valve on the adapter fitting. Charge the compressor to the equalization
pressure. Close the charge valve.
16. Allow the compressor to cool. Read the pressure gauge with the compressor at 20° C
(68° F). Adjust the equalization pressure by charging or venting to conform to the
Specifications.
17. Close the gas cylinder valve and adjust the pressure regulator to zero psig.
 Loading...