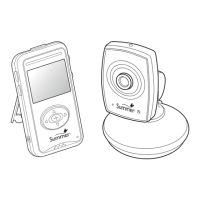
remote
pan/tilt
talk-back
to baby
2-color
nightlight
zoom
digital
privacy
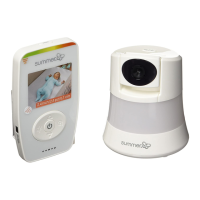
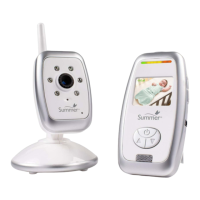
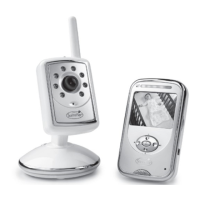
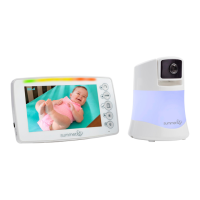
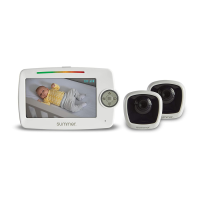
2-camera split-screen video monitor set
SIDE BY SIDE 2.0
QUICK START GUIDE
QUICK START GUIDE
SET-UP
1
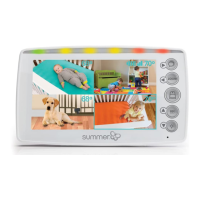
Screen Icons
Image Zoom (1x/2x/3x)
Nightlight On (Red/Blue)
Temperature
Reception
Current Viewing Camera (1-4)
Battery Life/Plugged In
Pan/Tilt Mode
Utility Mode
SCREEN ICONS & FUNCTION BUTTONS 2
29620
Thank you for purchasing the Side By Side 2.0™ 2-Camera
Split-screen Video Monitor Set by Summer Infant. This quick
start guide will illustrate the few simple steps to get your
device up and running.
/ MENU
Charge the Handheld
Charge for 7 hours
prior to first use.
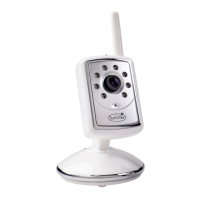
Install the Camera
Plug in camera. Place camera on a flat surface, such as
a bureau or shelf or mount the camera on a wall using
the screw and wall anchor provided.
wall mount
or
tabletop
Secure the Camera Cord
NEVER place the camera or cords within 3-feet of the crib. Secure the
cord to your wall using the 6 security clips included to keep the cord away
from baby’s reach.
3ft.
STRANGULATION HAZARD:
Children have strangled in
cords. Keep this cord out of
the reach of children (more
than 3 ft. (0.9m) away).
WARNING
Read all warnings prior to using this product.
7hr.
3 sec.
Power on the Camera
and Handheld
Press the ON/OFF/Nightlight
button on both cameras and
hold for 3 seconds. A green light
will appear near the lens.
Press and hold the power button
on the handheld unit for 3
seconds. The handheld will
automatically sync with both of
the cameras. (The handheld unit and the camera are
paired at the factory for privacy reasons. If the handheld
and camera are not paired with each other for any reason,
see pairing section in the user guide.)
Congratulation You are now ready to use your
Side By Side™ 2.0 2-Camera Split-screen Video
Monitor Set!
Function Buttons
Power/Split-Quad Screen
Video
Volume Control
Navigate Right/Talkback
Navigate Left/Zoom
Mode Select/Enter
Navigate Up/Menu
Navigate Down/Nightlight
Flip out the
kick-stand and
place the
monitor on a
stable, level
surface.
3USING THE HANDHELD
Your handheld can be in one of the following modes:
1. PAN/TILT Mode
2. UTILITY Mode
3. SPLIT-SCREEN Mode
Pan/Tilt Cameras
Use the arrow buttons to
pan left/right and tilt
up/down.
1. PAN/TILT Mode