Inspection
We recommend an inspection of the CENTREX 1000 prior to installation and to make
sure you have received all of the parts required as listed below.
- 4 –
Inspecting the
unit for
Damage
What’s in the
Box
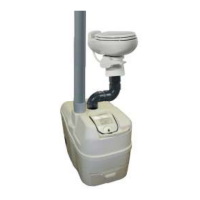
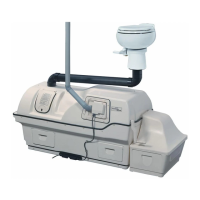
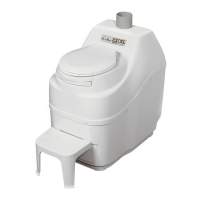
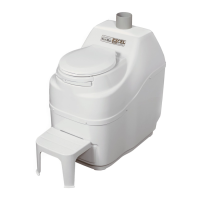
Familiarize
Yourself with
the
CENTREX
1000 Toilet
Placement of
Unit
1. If there is any visible damage to the carton-
The contents of the carton should be inspected before signing the
bill of lading. Damaged units should be refused. Call Sun-Mar
immediately.
2. If the shipper has left-
Report the damage immediately to the transport company and call
Sun-Mar.
3. Soon after delivery, remove the CENTREX 1000 Toilet carefully
from the carton- If there is hidden damage, or for any service
questions, contact Sun-Mar to determine the best course of action.
1- Owners Manual 1 - Warranty Card
1- 6” Diffusor (NE) 5- 4”x31” Vent Pipes (NE)
1- Hardware Kit 1- Rake
1- 1” x 8’4” Drain Hose 1- 4” Diffusor (Electric)
1- Compost Sure Blue 6 - 2”x31” Vent pipe (electric)
1. Turn the drum handle clockwise to rotate the patented Bio-Drum for
mixing and aeration. (The drum rotates counter-clockwise and the
drum door closes). This is how you will rotate the drum during
regular operation.
2. Lift and remove the access door, rotate the handle until the drum
opening is visible through the access door opening for adding
“Compost Sure Blue”. This is how you will add “Compost Sure Blue”
bulking mixture to the drum during regular operation.
3. Plug the unit’s electrical cord (Electric) into a standard three-prong
electrical outlet, and feel the air movement from the vent outlet at
the front of the unit to ensure the vent system is working properly.
4. Pull out the compost finishing drawer at the front bottom of the
unit. After the unit has been plugged in for ten minutes, place a
hand on the floor of the evaporating chamber (the area under the
finishing drawer) to check it is warm to the touch, and that the
heater is working properly.
The unit should be installed so that the base is protected from
weather. The rubber “u” channel at the bottom of the unit is well-
sealed, but if the unit is sitting in water, has snow melting against it, or
rain pouring on it, this may eventually wear through and short out the
heating element. Install your unit with a protective cover of some kind
to protect it from precipitation reaching it. The composting unit should
be
placed on a level surface or sloping slightly toward the safety
drains assembly to ensure drainage of effluent. Do not install the unit
in a pit where water can accumulate around the composter.