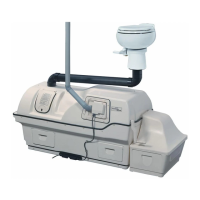
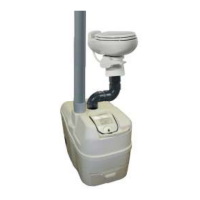
Vent Pipe Installation – EXCEL and COMPACT
If running a vent through a wall, it should only be done at a 45° angle to prevent condensation
from accumulating in the pipe, causing a constriction. Venting should only be installed vertically.
Limit bends in the vent stack to no more than four that have a combined total of 180°. Use
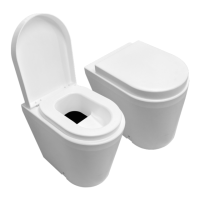
silicone caulking to seal the connection between the vent and the toilet, all other connections may
be sealed with PVC cement. DO NOT INSTALL WITH HORIZONTAL, FLAT OR DOWNWARD
SECTIONS OF VENT, NO MATTER HOW SMALL.
A 4” diffuser is included with the EXCEL and COMPACT. This is meant to be installed at the top
of the vent stack to encourage updraft. (See page 8 for installation instructions)
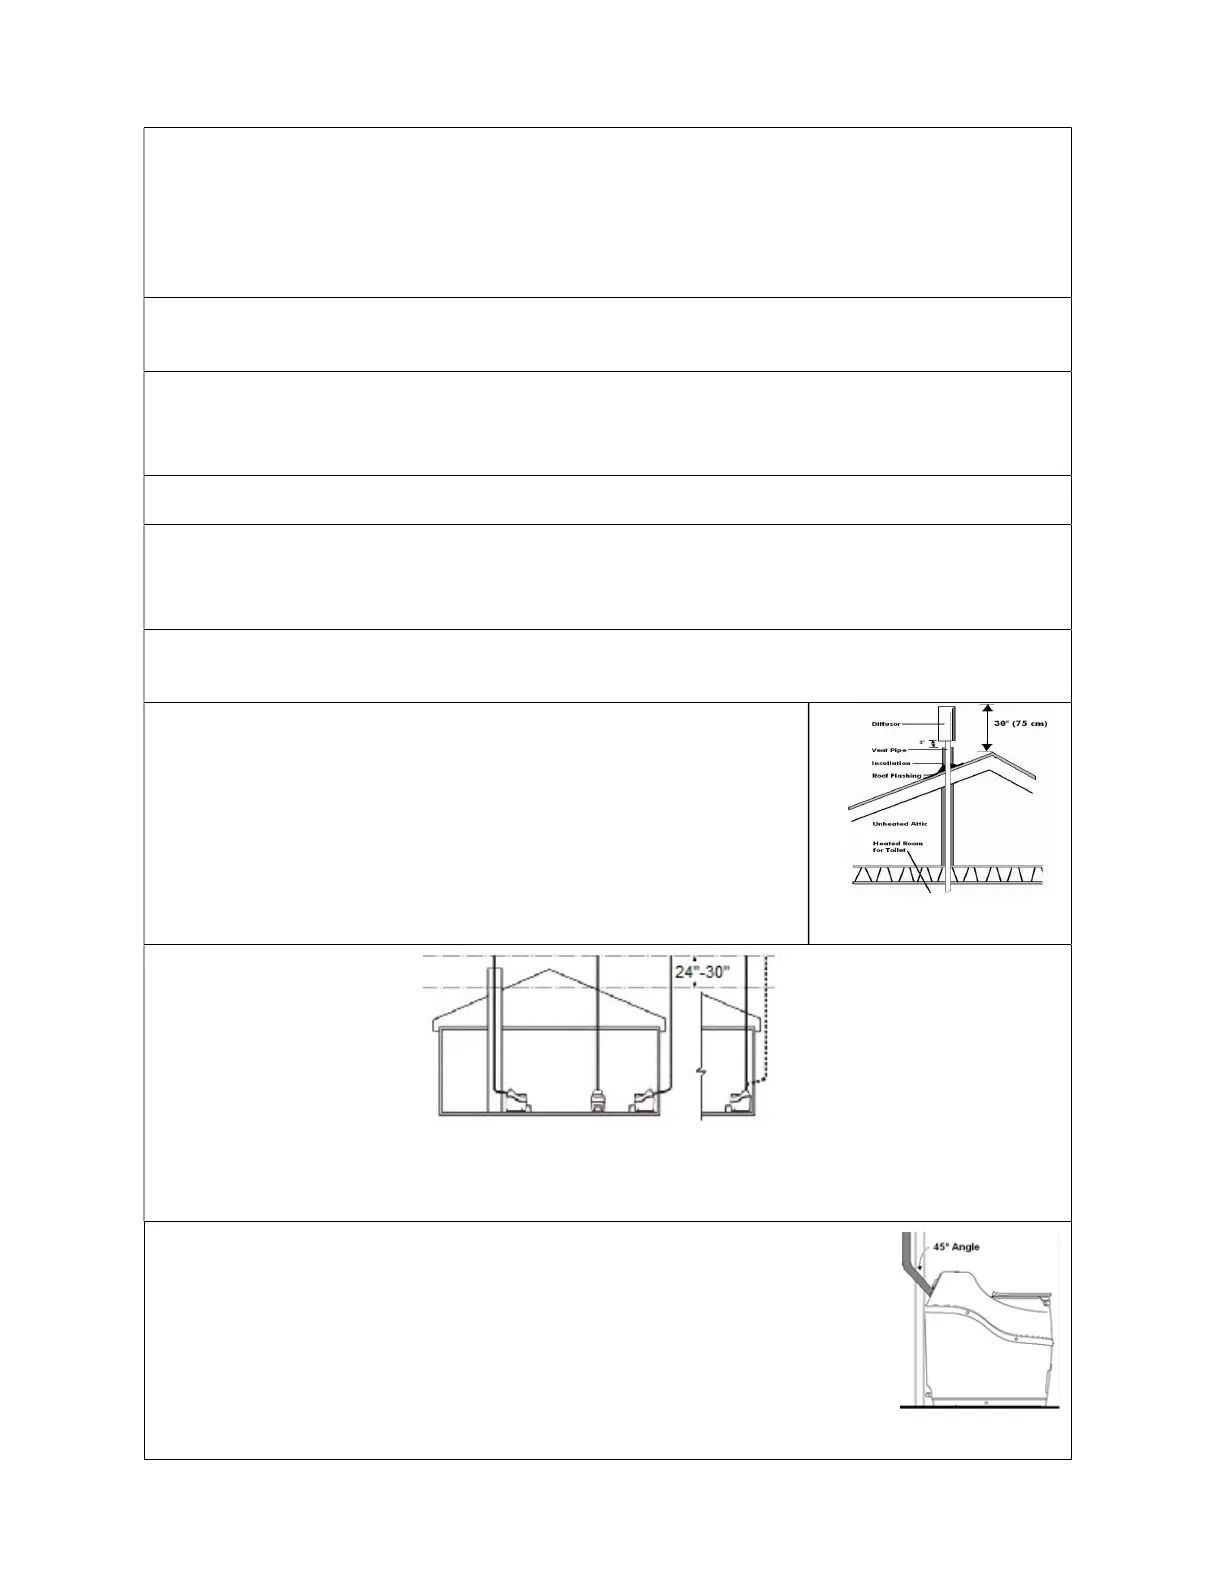
INSTALL VENT SO THAT IT TERMINATES 24” - 30” ABOVE HIGHEST PEAK OF THE
ROOF. If there is more than 30” of vent, including diffusor, needed above the roof line, use guy
wires to secure the vent above the roof.
All vent pipe that is exposed to the outside or in a non-heated space should be insulated if using
The vent must be installed separately from ALL other household vents. Venting cannot be
merged with other, pre-existing venting. Doing so will prevent the toilet from operating
odorlessly.
All connections in the vent pipe should be sealed. Use silicone caulking to seal the connection
between the vent and the toilet. A sealant such as PVC cement may be used for all other vent
The vent stack should end approximately 24” - 30” above the peak of
the roof to allow for proper ventilation of odor, and to encourage
updraft. Where the pipe is taken through the roof, a roof flashing may
be required. If you have a steeply pitched roof, or are in an area
where snow shear is a danger, you may wish to install a heavier pipe
around the vent pipe where it exits from the roof. If you do choose to
install in such a manner, ensure that the area between the pipes is
sealed with a waterproof substance to prevent leaks.
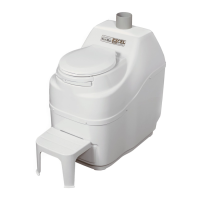
Possible venting configurations for the 2” electric vent pipe.
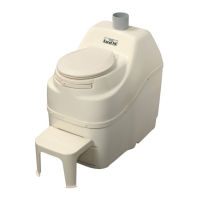
When it is necessary to lead the vent through a wall, connect one 45° elbow
on the vent outlet on the unit. Using a 2” hole saw or other appropriate tool,
cut a hole through the wall board behind the unit so that the vent pipe can be
inserted into the 45° elbow. Cut a similar hole on the other side of the wall that
is slightly higher than the inner hole so that the vent pipe will be angled
upward at 45°. If installing through an exterior wall, waterproof sealant will be
required around the vent pipe where it emerges from the building.
7