Inspection
We recommend an inspection of the MOBILE/SPACESAVER toilet prior to installation and to make sure you have
received all of the parts required as listed below.
- 4 –
Inspecting the
unit for
Damage
What’s in the
Box
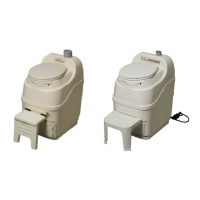
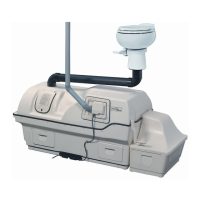
Familiarize
Yourself with
the
MOBILE/
SPACESAVER
Toilet
Attaching
and
Detaching
the
footrest
1. If there is any visible damage to the carton-
The contents of the carton should be inspected before signing the bill of
lading. Damaged units should be refused. Call Sun-Mar immediately.
2. If the shipper has left-
Report the damage immediately to the transport company and call Sun-Mar.
3. Soon after delivery, remove the MOBILE/SPACESAVER Toilet carefully
from the carton- If there is hidden damage, or for any service questions,
contact Sun-Mar to determine the best course of action.
1- Owners Manual 1 - Filter Box (MOBILE)
1- Warranty Card 1- Bowl Liner 1 - Rake
1- Hardware Kit 1- 2” Pipe Insulation (SPACESAVER)
1- Footrest 2 - 3”x 31” Vent pipe (MOBILE)
1- 1” x 8’4” Drain Hose 1- 4” Diffusor (SPACESAVER)
1- Compost Sure Green 4- 2”x31” Vent pipe (SPACESAVER)
1. Turn the drum handle clockwise to rotate the patented Bio-Drum for mixing
and aeration. (The drum rotates counter-clockwise and the drum door
closes). This is how you will rotate the drum during regular operation.
2. Pull the drum locker button, (located under the footrest) and turn the handle
counter-clockwise to simulate removal of compost. This is how you will
remove compost during regular operation.
3. (110 volt AC units) Plug the unit’s electrical cord into a standard three-prong
electrical outlet, and feel the air movement from the vent outlet at the top of
the unit to ensure the vent system is working properly.
4. Pull out the compost finishing drawer at the bottom front of the unit. After the
unit has been plugged in for ten minutes, place a hand on the floor of the
evaporating chamber (the area under the finishing drawer) to check it is
warm to the touch, and that the heater is working properly.
MOBILE: The fold up footrest attaches to the unit with hinges. To attach
the footrest, align the pin on the footrest hinge with the bracket above
the finishing drawer opening. Slide the pin into the bracket. Once the
footrest is attached it is easily folded against the unit and clipped into
place.
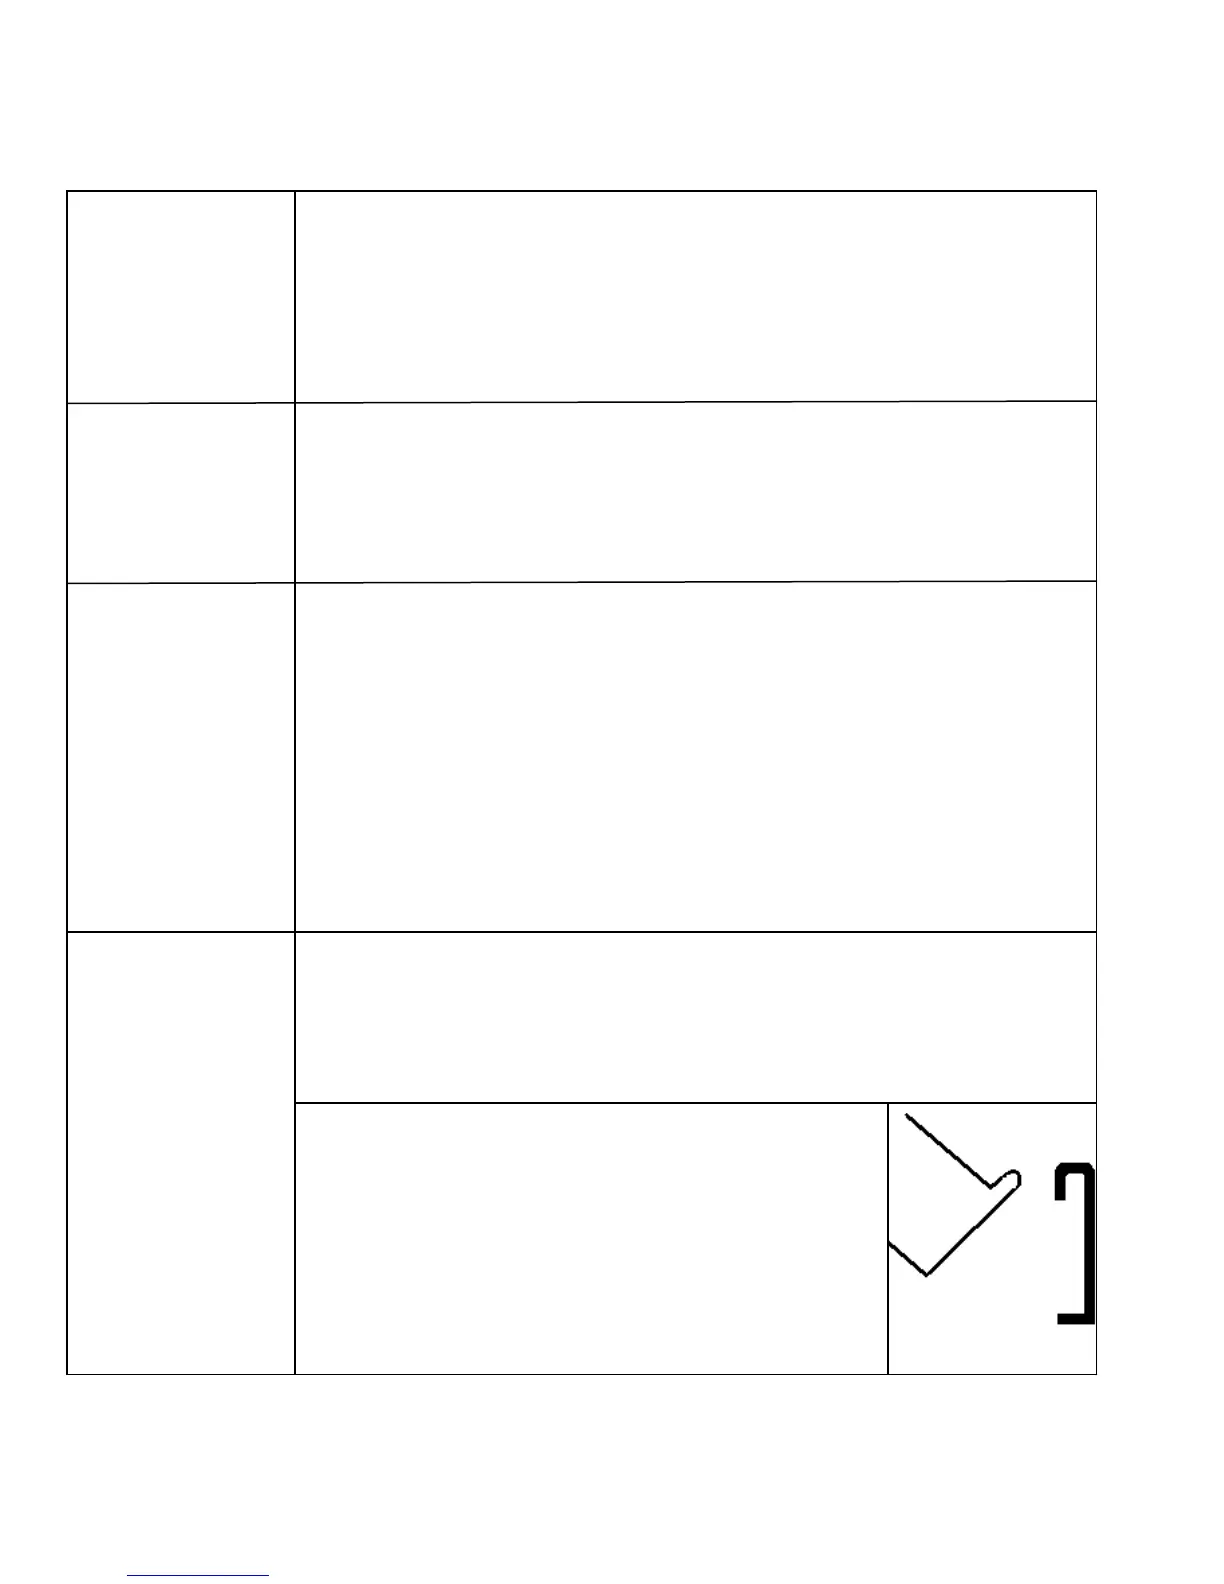
SPACESAVER: The footrest attaches to the unit
with the metal track above the finishing drawer
opening. To attach the footrest, incline the footrest at
a 45 degree angle to the floor as shown. Insert the
round top edge of the track on the footrest into the
round top edge of the metal track on the unit and
then lower the footrest to the floor. Note: Footrest
must be correctly attached before stepping on it.