7
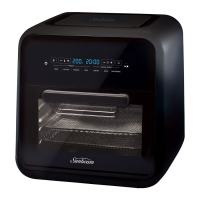
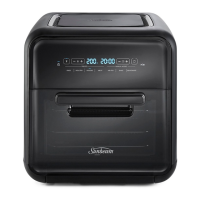
Usage Instructions
Program – one side or large compartment only
1. Add food to your chosen accessory and
place inside the cooking compartment,
then close the door.
2. Press the power button ( ).
3. Press the compartment button ‘1’ or
‘2’ according to where you’ve placed
the food (not required when the Middle
Partition is removed).
4. Choose the desired Function or Preset,
or Manual.
5. If necessary, adjust the time ( ) or
temperature ( ) using the (+) and (-)
buttons.
6. Press Start ( ).
Program – both sides with the same settings
(MATCH available)
1. Add food to your chosen accessories and
place inside the cooking compartments,
then close the doors.
2. Press the power button ( ).
3. Press the Match button (1=2). The
digital displays over both sides will be
on during programming because these
settings will apply to both sides (so
you don’t have to program each side
separately).
4. Choose the desired Function or Preset,
or Manual.
5. If necessary, adjust the time ( ) or
temperature ( ) using the (+) and (-)
buttons.
6. Press Start ( ).
Program – both sides with different settings
(SYNC available)
1. Add food to your chosen accessories and
place inside the cooking compartments,
then close the doors.
2. Press the power button ( ).
3. Press the Button ‘1’ to program that
compartment.
4. Choose the desired Function or Preset,
or Manual.
5. If necessary, adjust the time ( ) or
temperature ( ) using the (+) and (-)
buttons.
6. Press the Button ‘2’ to program that
compartment and repeat steps 4 and 5.
You can even choose the same function
or preset but with a different time or
temperature if you wish.
7. If each side has different cooking times
butyouwishbothtonishtogether,
press the SYNC button ( ).
NOTE: to ensure optimum cooking there
is a maximum holding time difference
allowed between each side. If you
require a greater time difference than
the unit will allow then delay adding
your food to that side by that extra
amount of time.
8. Press Start ( ).