SunFounder GalaxyRVR Kit for Arduino, Release 1.0
void setup() {
// Initialize software-based PWM on all pins
SoftPWMBegin();
}
void loop() {
// Set the color to red by turning the red LED on and the others off
SoftPWMSet(redPin, 255); // 255 is the maximum brightness
SoftPWMSet(greenPin, 0); // 0 is off
SoftPWMSet(bluePin, 0); // 0 is off
delay(1000); // Wait for 1 second
}
In the above code, we’ve only demonstrated how to display a single color.
If we were to showcase a variety of colors using this method, the code could become quite cumbersome. Therefore, to
make our code more concise and maintainable, we can create a function to assign PWM values to the three pins. Then,
within the loop(), we can easily set a multitude of colors.
After uploading the code to your R3 board, you may find that the orange and yellow colors seem a bit off. This is
because the red LED on the strip is relatively dim compared to the other two LEDs. Thus, you’ll need to introduce
offset values in your code to correct this color discrepancy.
Now, the RGB LED strip should be able to display the correct colors. If you still notice discrepancies, you can manually
adjust the values of R_OFFSET, G_OFFSET, and B_OFFSET.
Feel free to experiment and display any color of your choosing on the LED strip. All you need to do is fill in the RGB
values for the color you want.
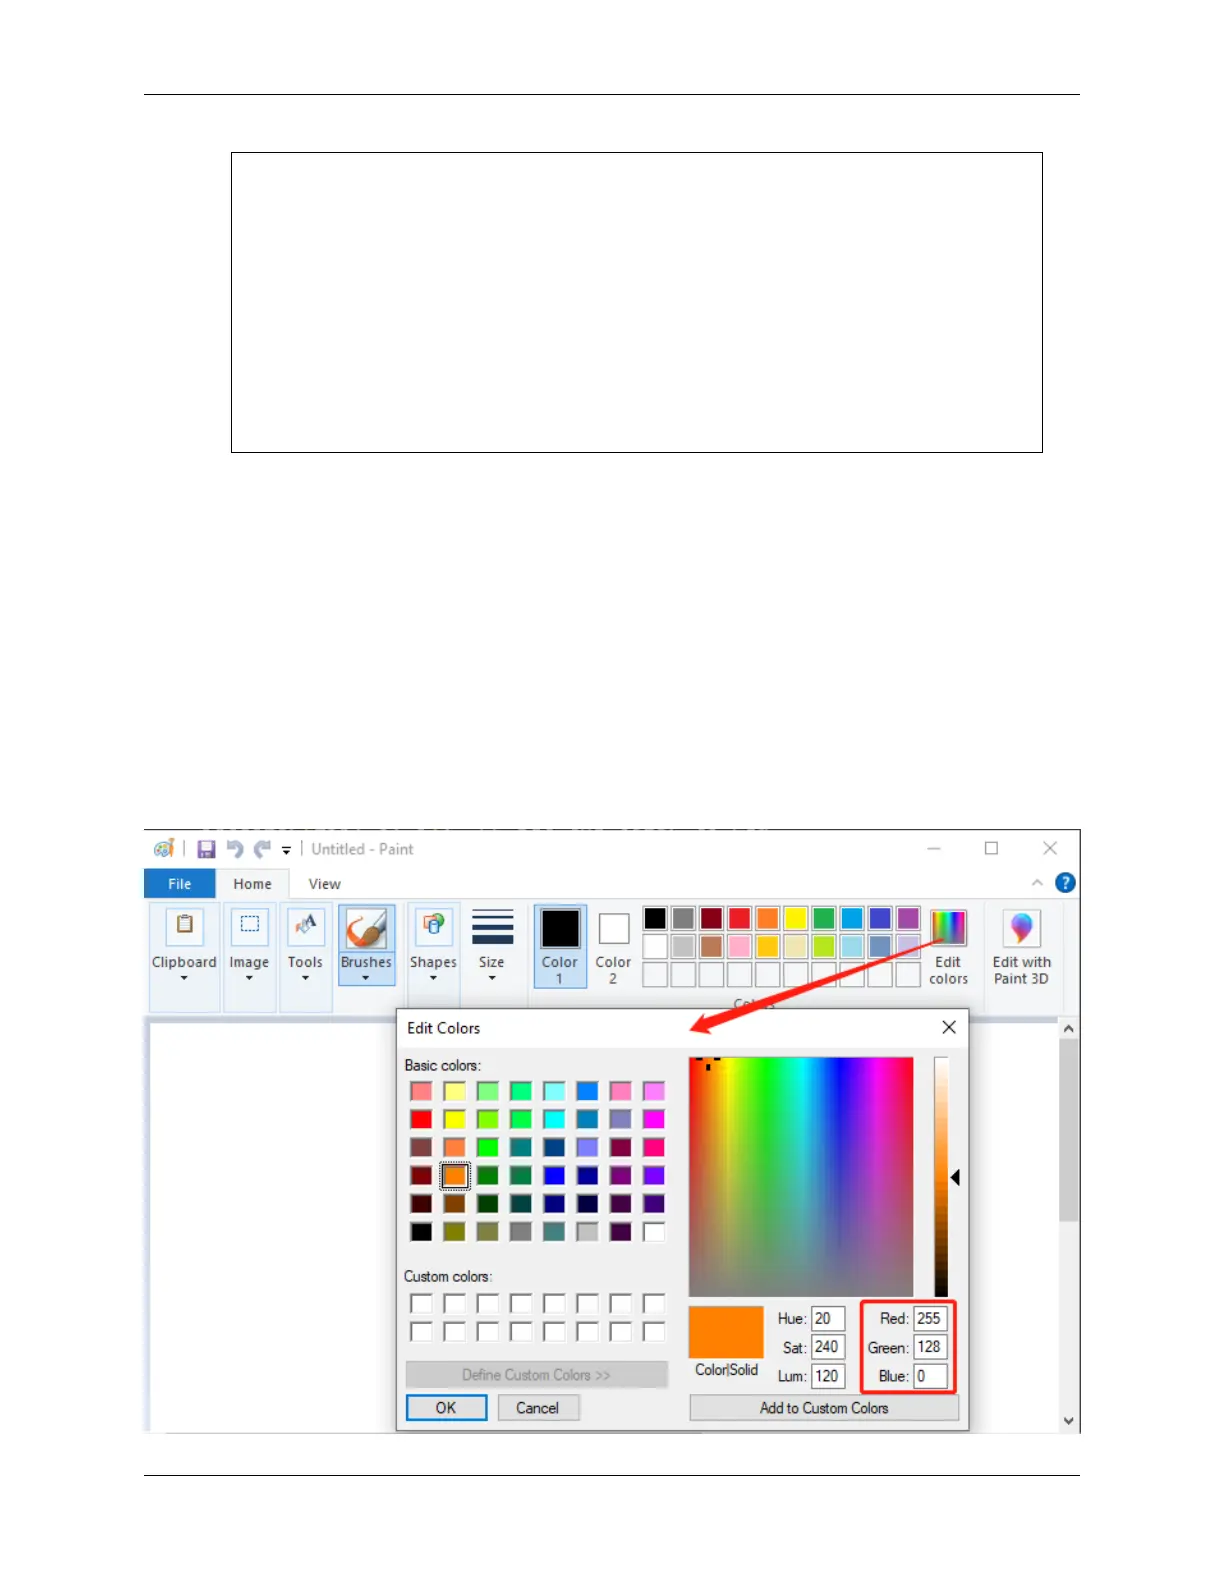
Here’s a tip: You can use the Paint tool on your computer to determine the RGB values of your desired color.
74 Chapter 3. Course Mode