Installation & Connection
Heater Condition
Upon receiving the heater, inspect its packaging thoroughly for any apparent signs of damage and
IMMEDIATELY notify your supplier if there are any signs of rough handling.
NOTE: All accessories (drain barbs, rubber feet and barrel unions) and the installation manual is
contained in a plastic bag inside the packaging of your heat pump.
Plumbing
The unit’s exclusive titanium heat exchanger requires no special plumbing arrangements except a
bypass.
Ensure the water pump and plumbing is capable of meeting or exceeding the
required flow rate in accordance with the specifications on Page 5 of this
manual.
Connect the unit in the pool pump discharge (return) line downstream of all filter
and pool pumps, and upstream of any chlorinators, ozonators or chemical
pumps.
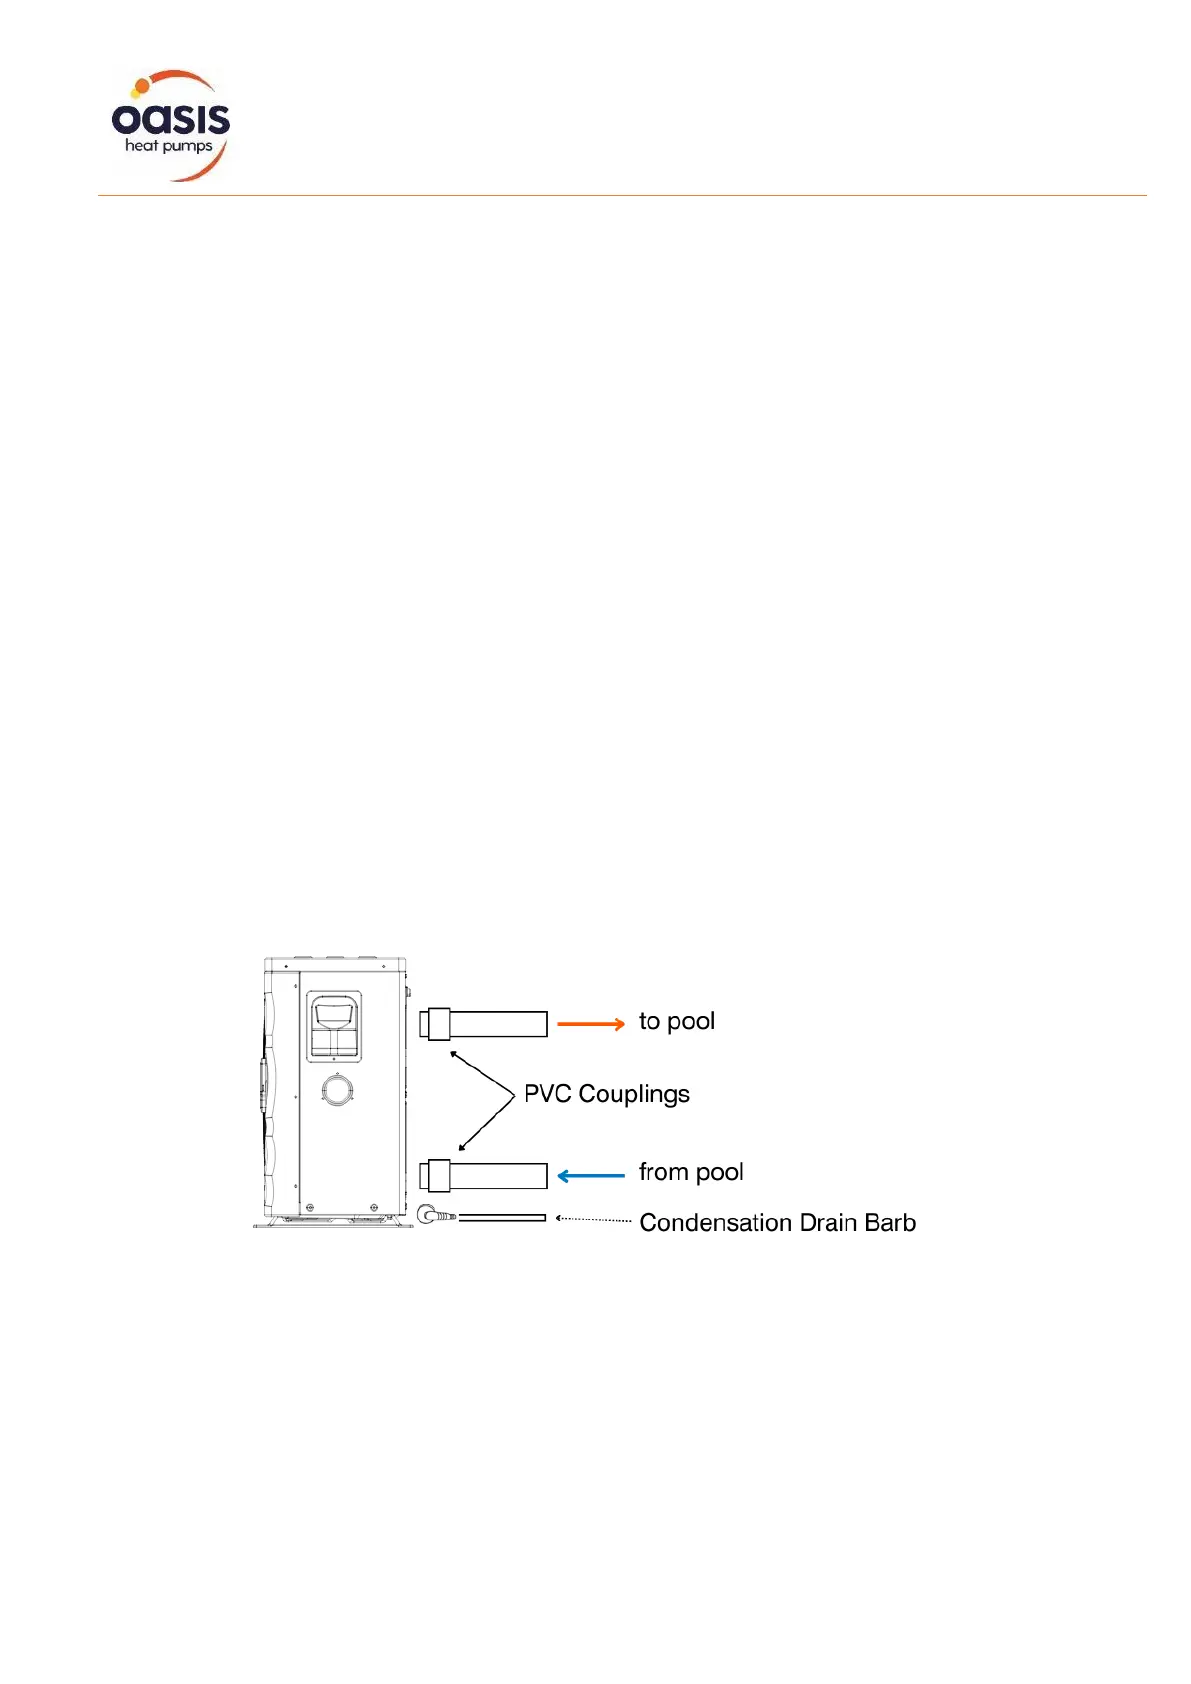
Oasis heat pump models have quick coupler fittings which accept 40mm PVC pressure pipe for
connection to the pool or spa filtration piping.
Ensure pipework connecting to the inlet/outlet unions is appropriately supported as any lateral strain
may cause the rubber O-rings to pinch and leak.
Lubricate all O-rings with silicon grease prior to fitment and apply plumbing tape to the threads for
additional security.


 To Next Page