8. Transfer the extra Acorn Nut Stop from the old Inner Arm to the new
Inner Arm and tighten with a 7/16” wrench. See Figure 5.
9. Latch the bottom of the replacement Arm into the Wall Bracket on
the house. See Figure 4.
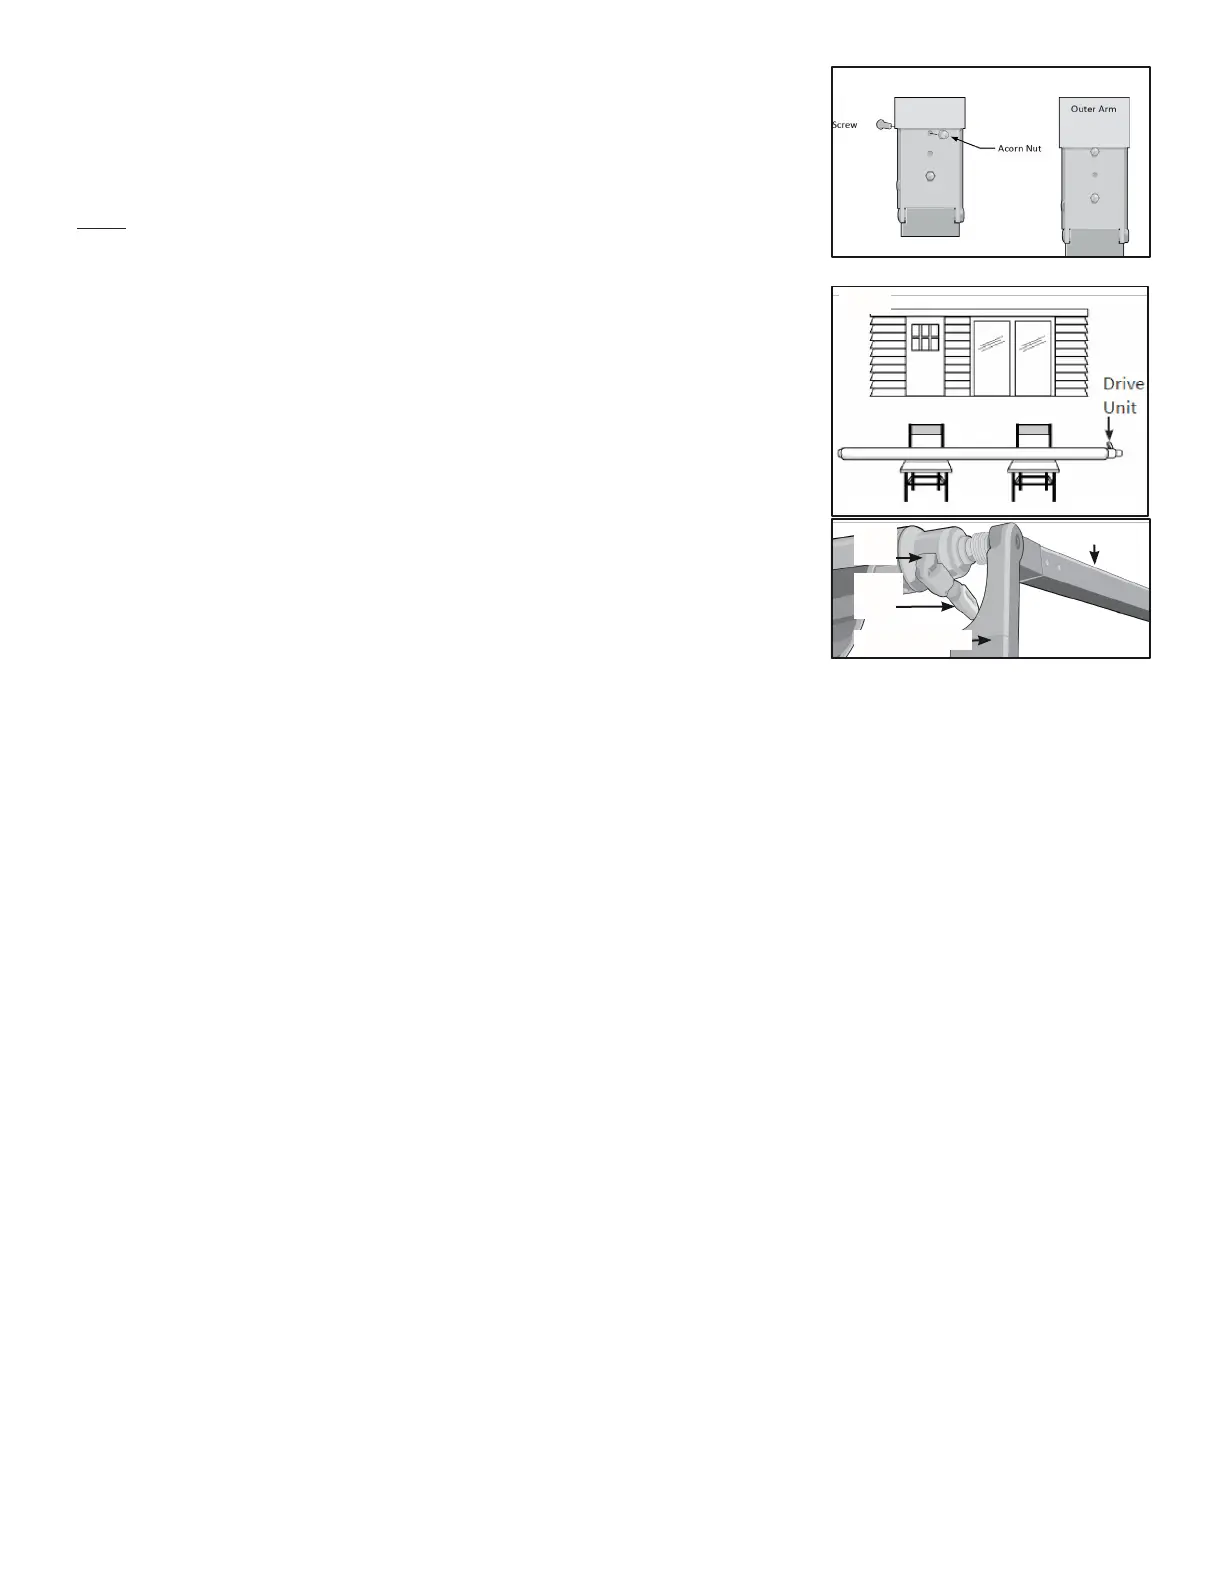
Note: If you are replacing the right hardware, make sure to orient the
Drive Unit so that the Crank Loop is pointing towards the HOUSE. See
Figures 6 and 6a.
10. Assemble the ends of the Rafter and Arm to the Roller and secure
with the Flat-head Cap Bolt. Tighten with a 7/32” Allen wrench. See
Figure 3.
11. Secure the Rafter End to the Upper Bracket with the 1/4" bolt and
nut, and tighten with a 7/16" wrench and 7/16" socket. See Figure 2.
12. Test the Awning for proper operation.
December 2, 2021
©SunSetter Products, a Massachusetts Limited Partnership, 184 Charles Street, Malden, MA 02148
INS053-InnerOut
erArmWithRafter_Replacement
Figure 6 a
Crank
Loop
Drive
Gear
Rafter
Arm Assembly
Figure 6