2
13.
14.
15.
16.
17.
Appendix A
18.
19.
Appendix A
Page 4
Note: If the old Motor needs to be returned to
the replacement Motor.
Note: The threaded holes on the replacement
Motor Plate are marked to indicate the holes to
use during reassembly. Align these holes with
the holes noted or marked on the Roller Bracket,
in Step 5.
9.
Note: Ensure the Gray Bushing is on the Round
Pin of the End Cap before sliding it into the
Roller Bracket (on the end opposite the Motor).
Ensure the End Cap
of the Roller Bar is in
contact with the Roller
Bracket on the end
opposite the Motor.
See Figure 5.
10.Step 7
11.
Figure 3
Note: Be very careful not to cross-thread the
Roller Bracket.
12.
Figure 6
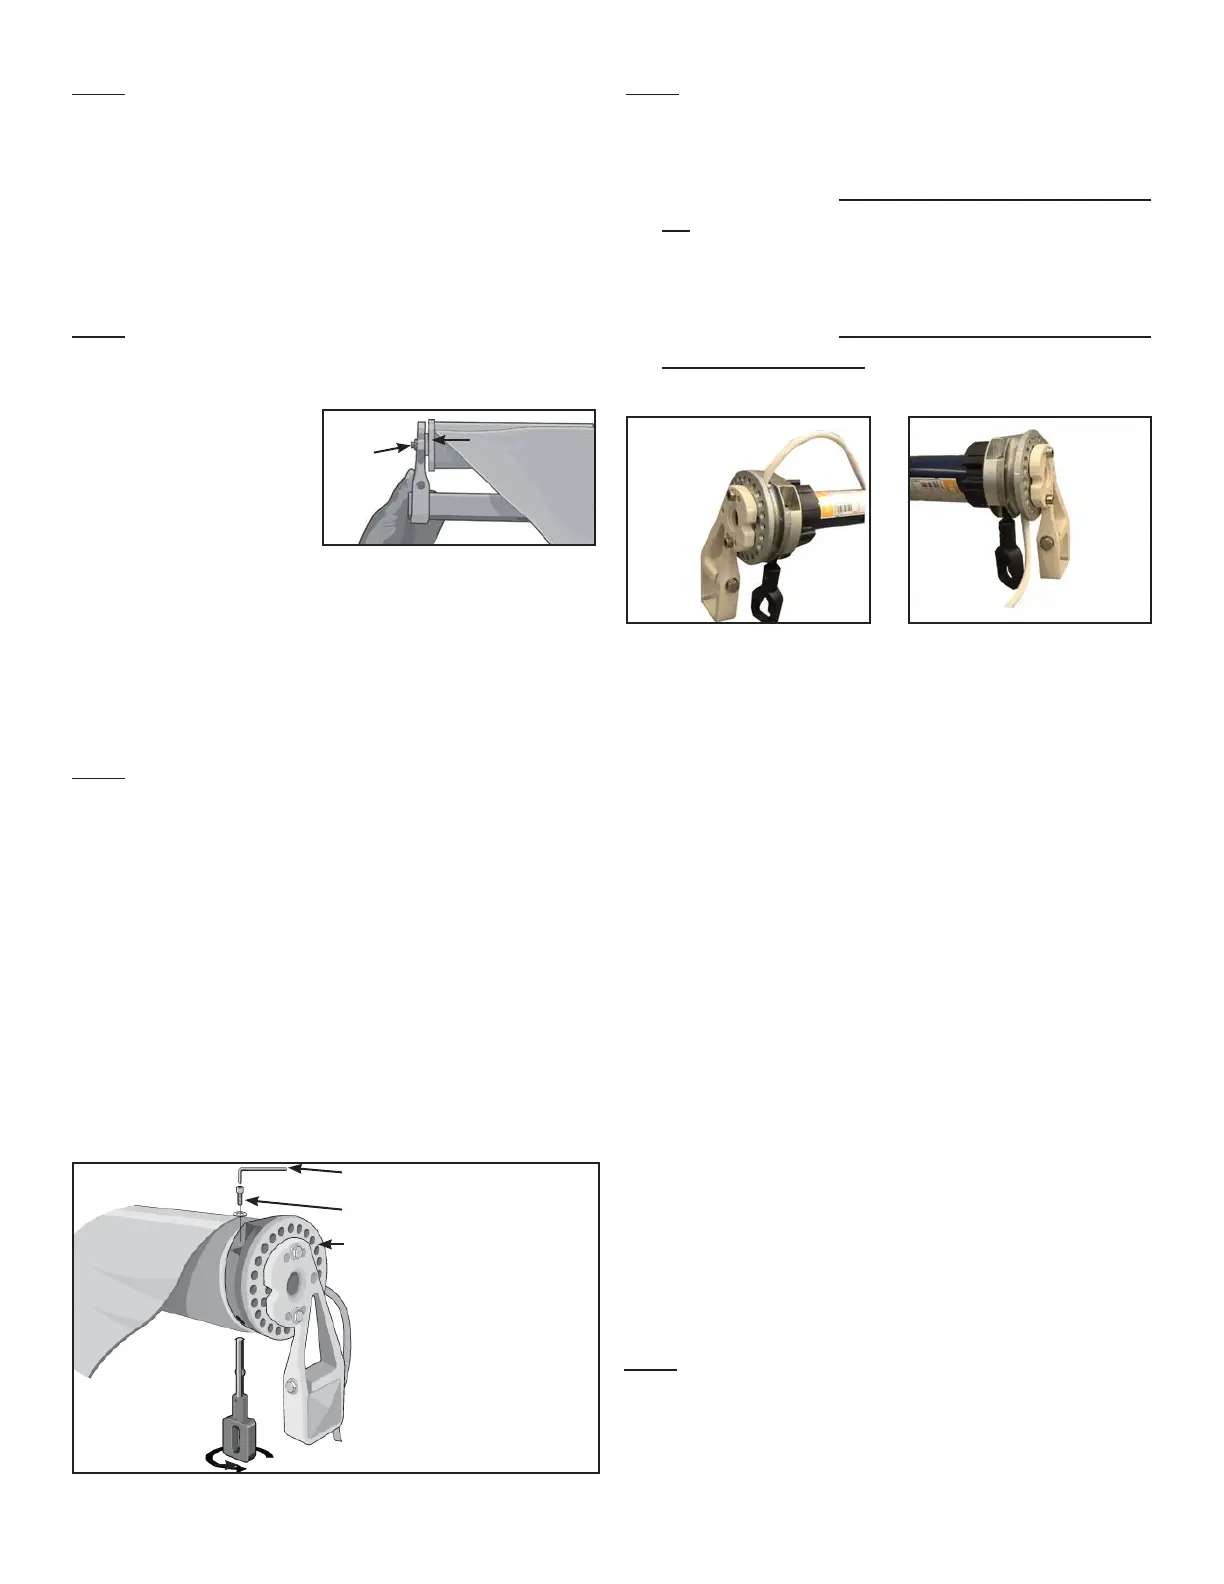
Note:
For LEFT side Motor, the Override Crank
should be facing toward the Front of the
Awning and the Motor Cord should be facing
up. See Figure 7.
For RIGHT side Motor, the Override Crank
should be facing toward the Front of the
Awning and the Motor Cord should be facing
toward the ground. See Figure 8.
Figure 5
Round
Pin on
End Cap
End Cap on
Roller Bar