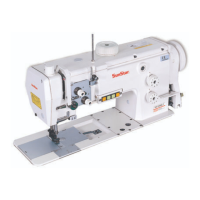
7.ATTACHING THE NEEDLE(FIG.9)
9.THREADING THE MACHINE HEAD(FIG.11)
8.SETING THE BOBBIN INTO THE BOBBIN CASC(FIG.10)
Fig.9
Fig.10
*Turn the motor power OFF before starting to attach the needle.
Select a proper needle size according to the count of thread and
the type of material used.
1) Turn the handwheel until the needle bar reaches the highest
point of its stroke.
2) Loosen screw ② , and hold needle ① with its indented part A
facing exactly to the right in direction B.
3) Insert the needle in the direction of the arrow until will go no
further.
4) Securely tighten screw ② .
5) Check that long groove C of the needle is facing exactly to
the left in direction D.
1) Hold the bobbin in a way that the thread open end is directed
to the right as observed from you, and set the bobbin into the
bobbin case.
2) Pass the thread through thread slit, and pull the thread in
direction. By so doing, the thread will pass under the tension
spring and come out from notch.
3) Check that the bobbin rotates in the direction of the arrow
when thread is pulled.
Fig.11
A
B
C
D
①
②
A
B
C
6
25

 Loading...