3
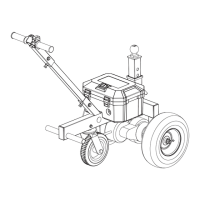
Figure 4
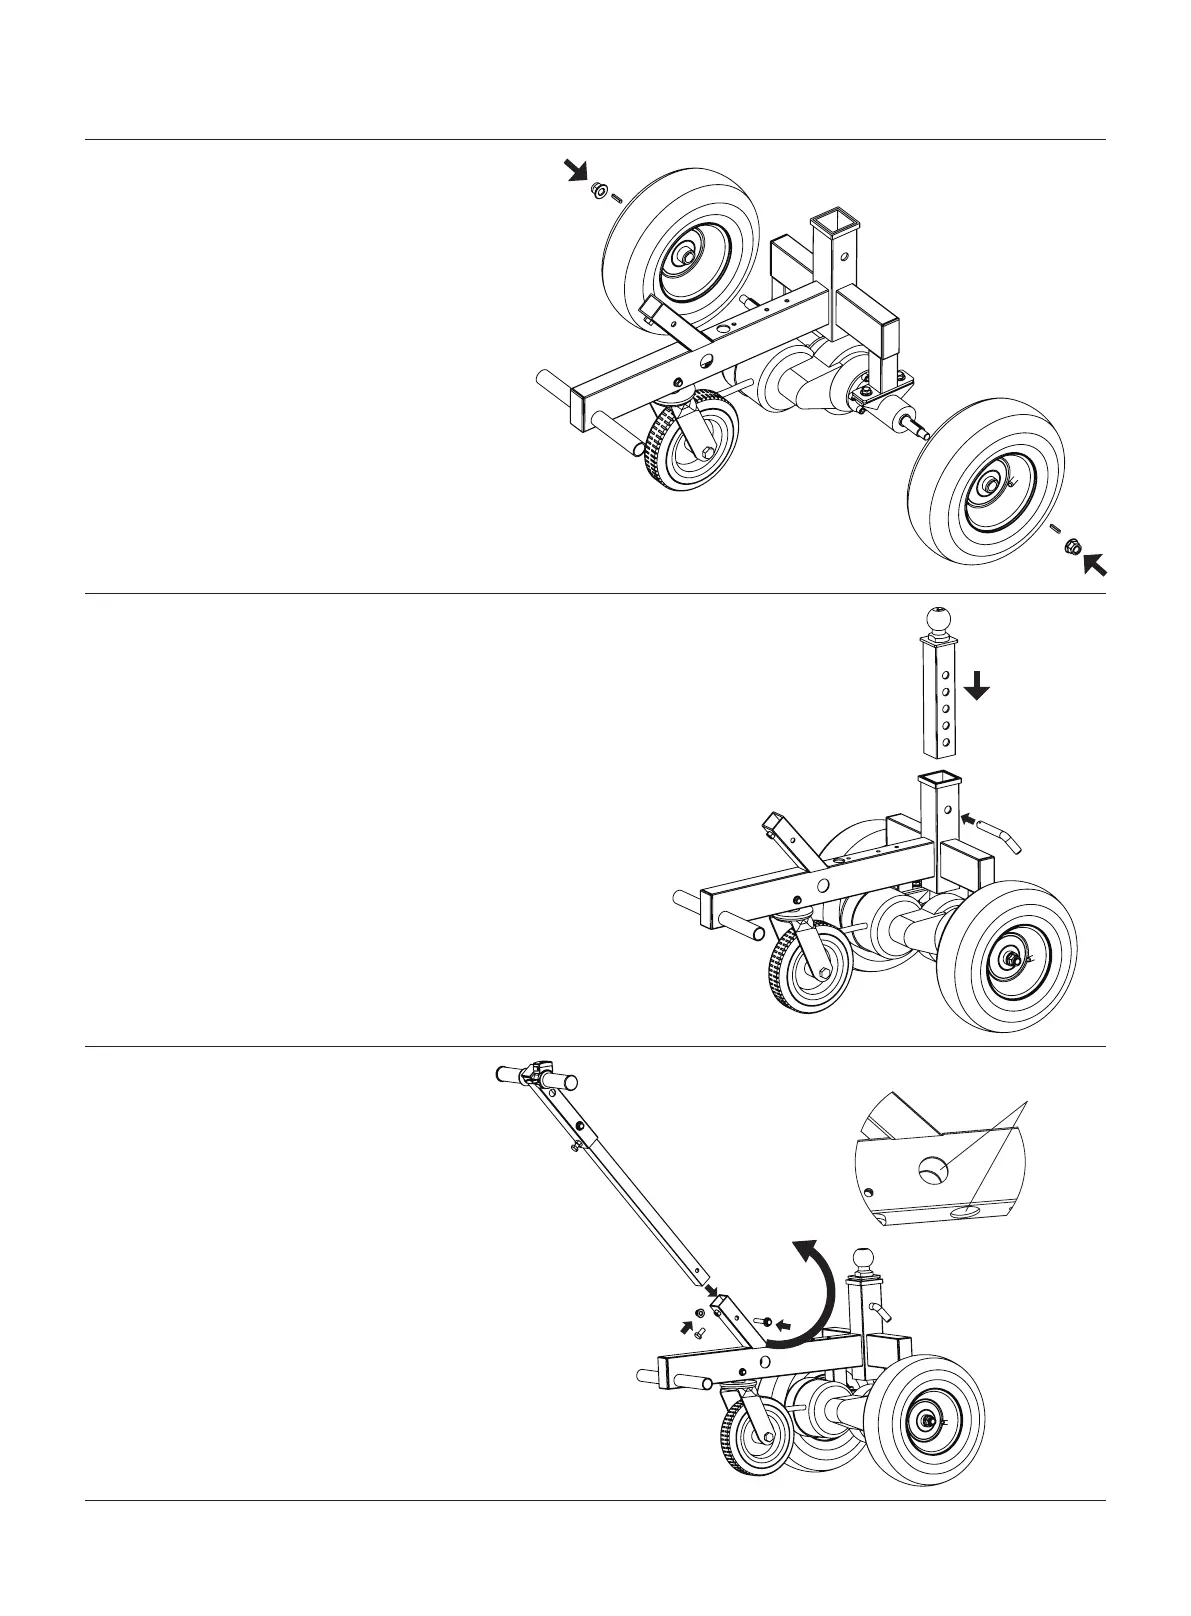
Figure 5
Figure 6
ASSEMBLY
4. Rear wheel assembly
Install the rear wheel on the axle, insert the
flat key and fixed by bolts. We suggest to
install the rear wheels with the inflating inlet
at the outside so for easy inflating.
(See Figure 4)
5. Assemble the adjustable hitch ball mount:
Adjust the ball mount with the required
height, fix by the latch and locked with pin.
(See Figure 5)
6. Connecting rod assembly
Connect the battery cable from the top tube
of the force frame, and put out from the
round hole in the middle of the connecting
rod (gentle reminding: there are 2 holes in
two side of the force frame and hole
bottom, which are assistant for your
observation during the cable connection.)
(See Figure 6)
Assistant Holes
Cable