13
ABRASIVES
Abrasive Selection Guide
GRIT COMMON APPLICATION
24 Grit Abrasive planing, surfacing rough-
sawn boards, maximum stock removal
glue removal
36 Grit Abrasive planing, surfacing rough-
sawn boards, maximum stock removal
glue removal
50 Grit Surfacing and dimensioning boards,
trueing warped boards
60 Grit Surfacing and dimensioning boards,
trueing warped boards
80 Grit Light dimensioning, removal of planer
ripples
100 Grit Light dimensioning, removal of planer
ripples
120 Grit Light surfacing, minimal stock removal
150 Grit Finish sanding, minimal stock removal
180 Grit Finish sanding only, not for stock
removal
220 Grit Finish sanding only, not for stock
removal
Installing and Wrapping Abrasives
Accurate attachment of the abrasive strip to the
drum is critical to achieving the top performance
from your SuperMax 19-38 Drum Sander.
Wrapping Abrasives
Pre-cut wraps have been factory tapered to the
specific width of your drum. If you are cutting your
own abrasive, use the wrap that came on the drum
as a template.
To attach a wrap to the drum, follow the procedure
below.
1. Start on the left (outboard) side of the drum.
Raise the clip lever on the left (outboard) side
of the drum. Insert the tapered end through the
slot and into the fastener so that it uses most of
the width of the slot. Release the clip lever to
securely hold the wrap end in the fastener.
2. Wind the wrap around the drum, being care-
ful not to overlap the windings. The tapered
cut of the wrap end should follow the edge of
the drum. Continue to wrap the abrasive in a
spiral fashion by rotating the drum with your
left hand and guiding the wrap with your right
hand. Successive windings of the wrap should
be flush with previous windings without any
overlap.
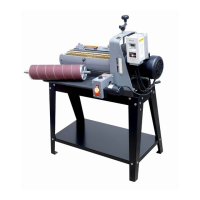
Take-up fastener. Take notice that for detail
only the drum was removed to show the out-
board take-up fastener.
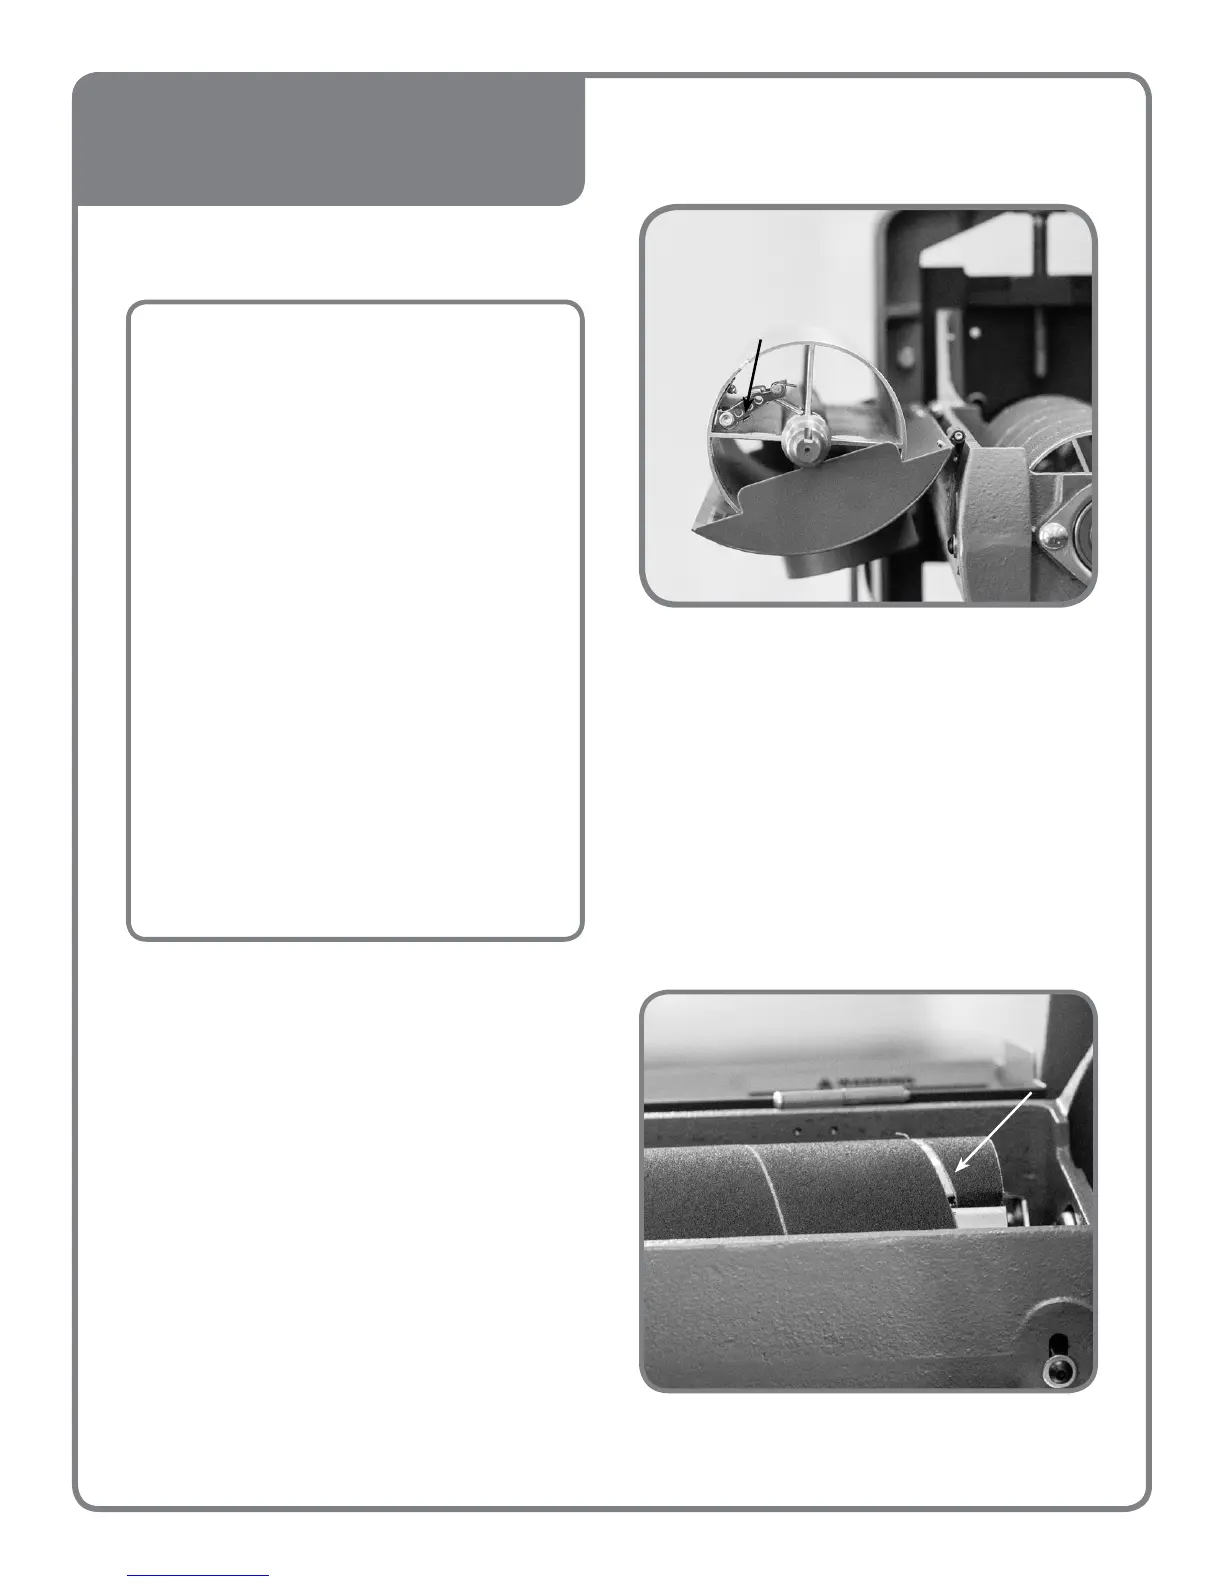
Leave a proper gap on the last wrap before it
goes into the fastener.