55
Chapter 2: Installation
CMOS Clear
JBT1 is used to clear CMOS, which will also clear any passwords. Instead of pins, this jumper
consists of contact pads to prevent accidentally clearing the contents of CMOS.
To Clear CMOS
1. First power down the system and unplug the power cord(s).
2. Remove the cover of the chassis to access the motherboard.
3. Remove the onboard battery from the motherboard.
4. Short the CMOS pads with a metal object such as a small screwdriver for at least four
seconds.
5. Remove the screwdriver (or shorting device).
6. Replace the cover, reconnect the power cord(s), and power on the system.
Note: Clearing CMOS will also clear all passwords.
Do not use the PW_ON connector to clear CMOS.
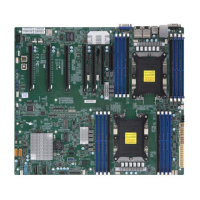
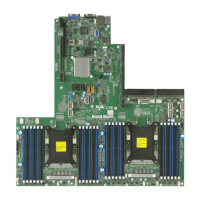
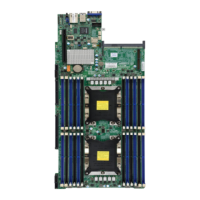
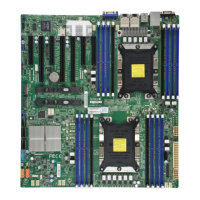
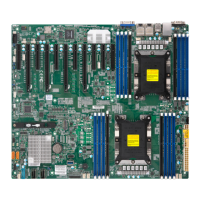
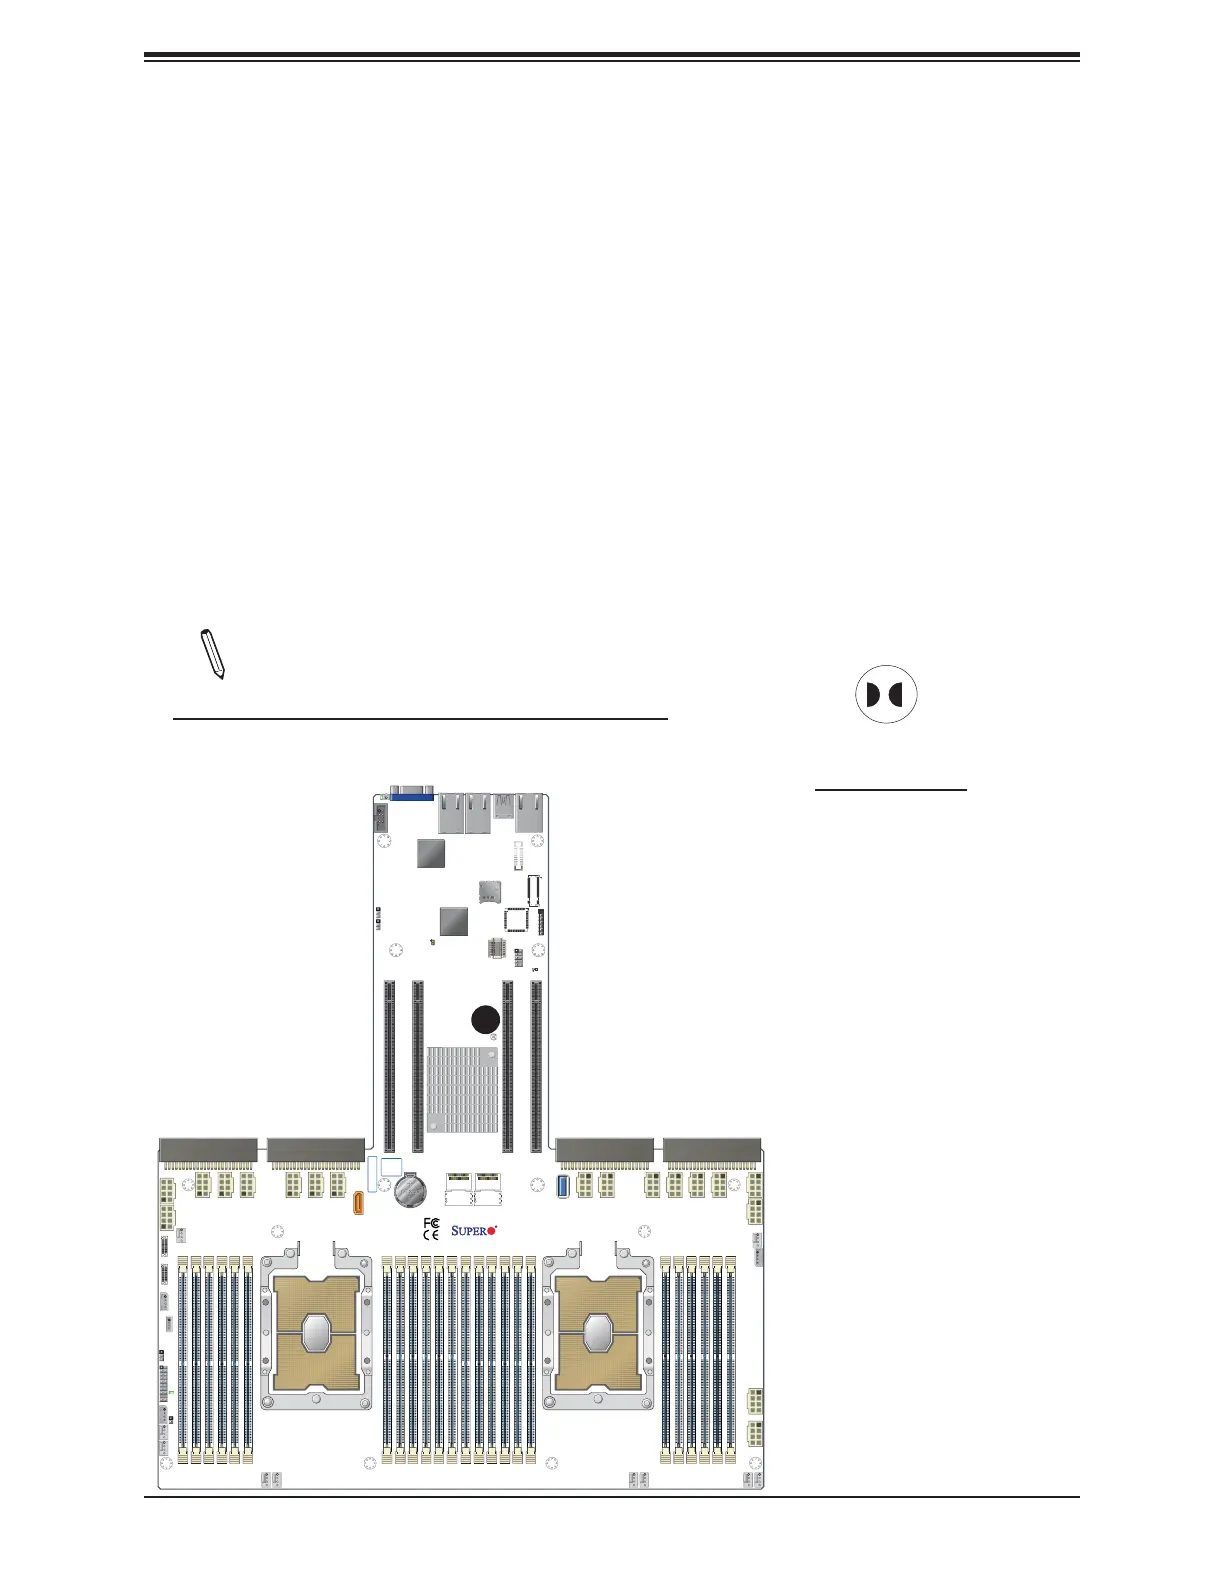
JBT1 contact pads
1. Clear CMOS
IPMI CODE
BIOS
LICENSE
X11DPG-OT-CPU
REV:1.00
SMCI-Proprietary PCI-E x24 Slot
S-SATA0
JNCSI
CN10
FAN8
F
AN7
FAN10
FAN5
FAN4
FAN3
FAN9
J31J33
J34
JPW12JPW11
JPW21
JPW22
JPW19 JPW20
JPWR1
JPWR2
JPWR3
JPWR4
JPWR5
JPWR6
JPWR7
JPWR8
JPWR9
JPWR10
JPWR13
JPWR15
JPWR14
JPWR16
JPWR12
JPWR
11
CN11
LE2
LE1
JBT1
JF1
JRK1
BT1
JSDCARD1
JTPM1
JP2
JNVI2C1
JNVI2C2
JIPMB1
JUIDB1
JWD1
JPME1
JL1
JS2
JS1
BIOS
J32
FAN6
FAN2
FAN1
JPG1
SD CARD
SATA0-3 SATA4-7
UID
COM1
VGA
LAN2
LAN1
USB3/4
(3.0)
IPMI_LAN
USB1/2 (3.0)
CPU2
USB0
CPU1
BATTERY
P2-DIMMF2
P2-DIMME1
P2-DIMME2
P2-DIMMD1
P2-DIMMD2
P2-DIMMA2
P2-DIMMA1
P2-DIMMB2
P2-DIMMB1
P2-DIMMC2
P2-DIMMC1
P1-DIMMF2
P1-DIMME1
P1-DIMME2
P1-DIMMD1
P1-DIMMD2
P1-DIMMA2
P1-DIMMA1
P1-DIMMB2
P1-DIMMB1
P1-DIMMC2
P1-DIMMC1
LEDM1
BMC
SMCI-Proprietary PCI-E x24 Slot
SMCI-Proprietary PCI-E x24 Slot
SMCI-Proprietary PCI-E x24 Slot
LAN
CTRL
PCH
LED1
JM2-1
1