Page 9
Alternatively, SureFlap
TM
may be installed in the recommended 210mm
diameter hole without use of the glass mount adaptor. However, a small gap
at the top of the unit (6mm) will require sealing with glazing putty, and we
would recommend all 4 sides to be sealed in order to ensure that the unit is
weather tight.
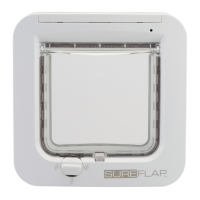
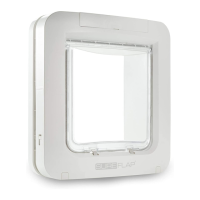
Installation in metal doors
Microchipping is based on the use of radio waves that are absorbed by metal.
As a result SureFlap
TM
is not suitable for direct mounting in metal doors. This
includes the following:
- Metal skin doors
- Security doors
- Metal garage doors
- UPVC coated metal doors
In order to mount into these doors a spacer panel is required that separates
SureFlap
TM
from the surrounding metal.
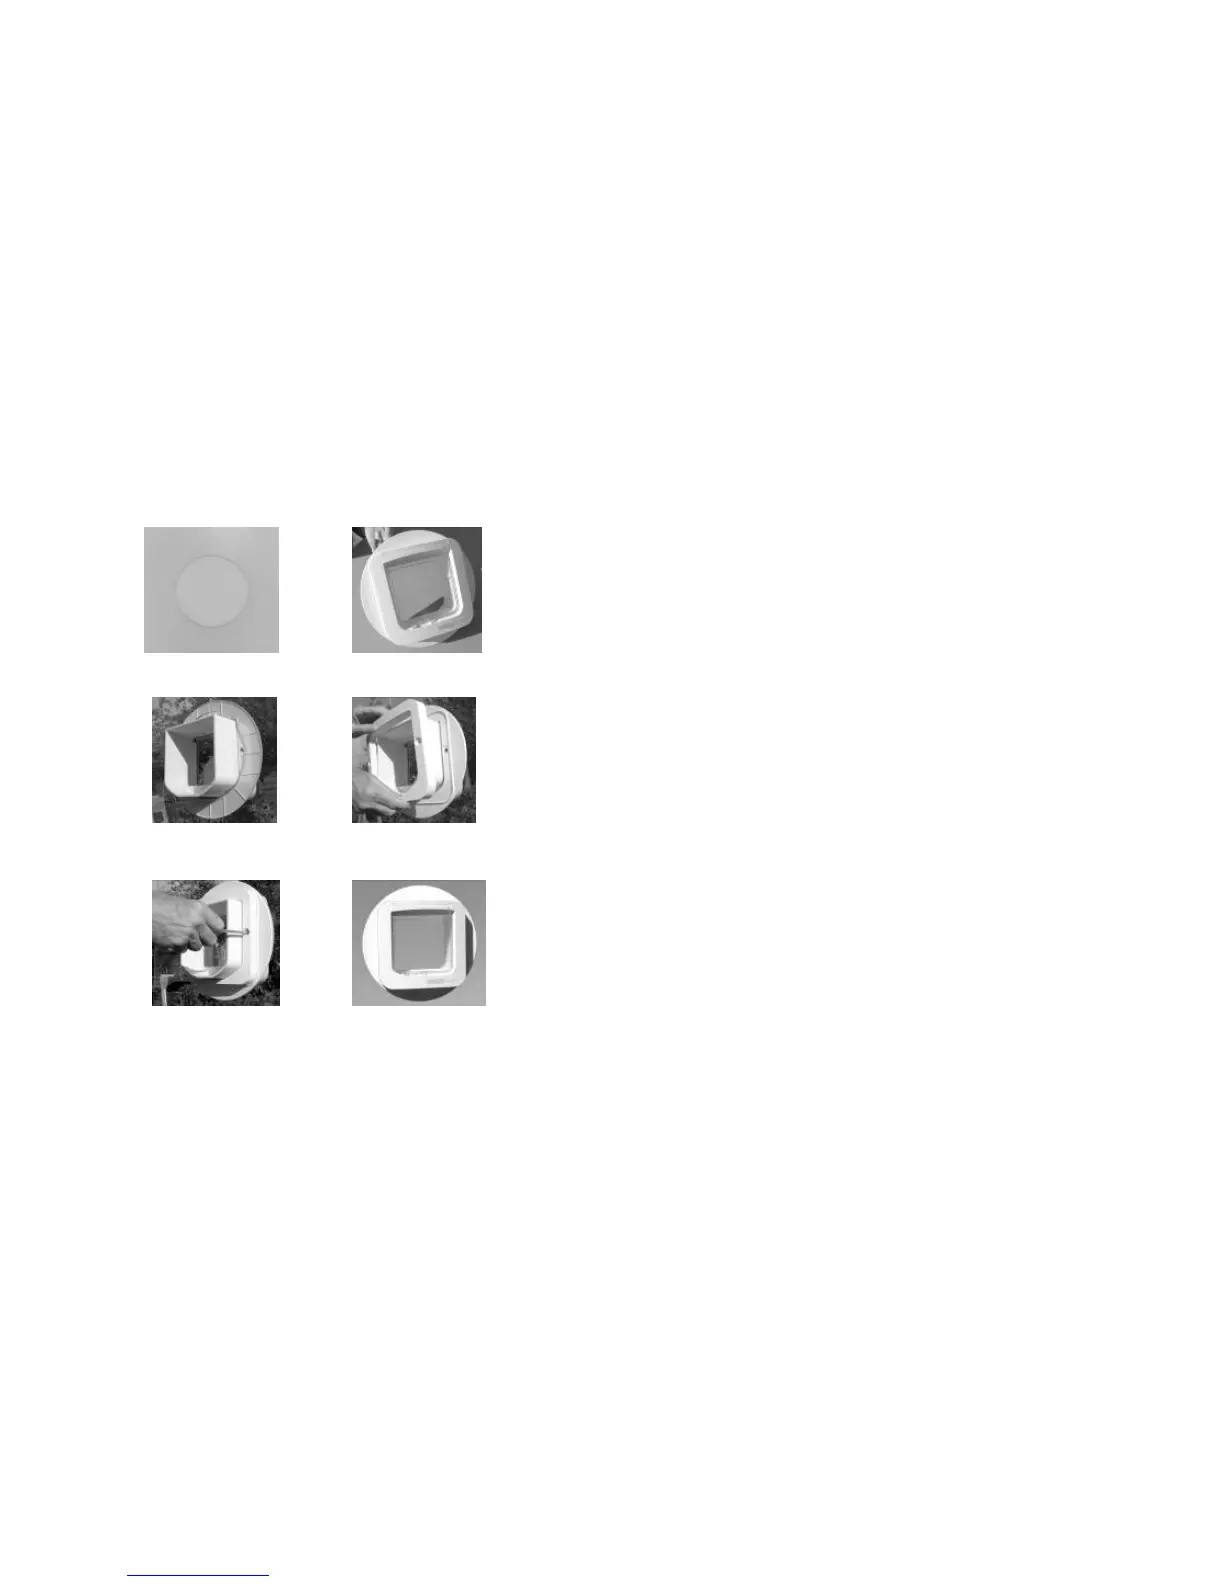
1. Cut a hole for the spacer panel with minimum dimensions 300mm x
300mm - see figure 17.
2. Insert a wooden panel with the same dimensions as the hole and fix
into place with screws and/or glue. See figure 18. (Alternatively
wooden batons may be used to reduce the hole size).
3. Mount SureFlap
TM
in the centre of the spacer panel, as described in
the wooden door mounting installation guide. See figures 19 and
20.
Installation in brick walls
SureFlap may be installed in a brick wall. First cut a hole in the wall the
appropriate side for the tunnel.
The SureFlap
TM
tunnel will extend approximately 7cm into the wall from the
inside of the house. The region of the wall between the tunnel end and the
outside of the house may be left bare brick or lined with cement, etc. If
installing in a cavity wall, pre-lining the hole may be advisable to avoid
moisture collecting in the cavity - if in doubt consult a qualified builder. Avoid
the use of metal in any lining used.
Mounting holes can be drilled in the wall with a 5mm diameter drill bit.
However, to use the screws provided with thick walls, the mounting holes
should be drilled again from the outside of the house with a drill bit 8mm in
 Loading...